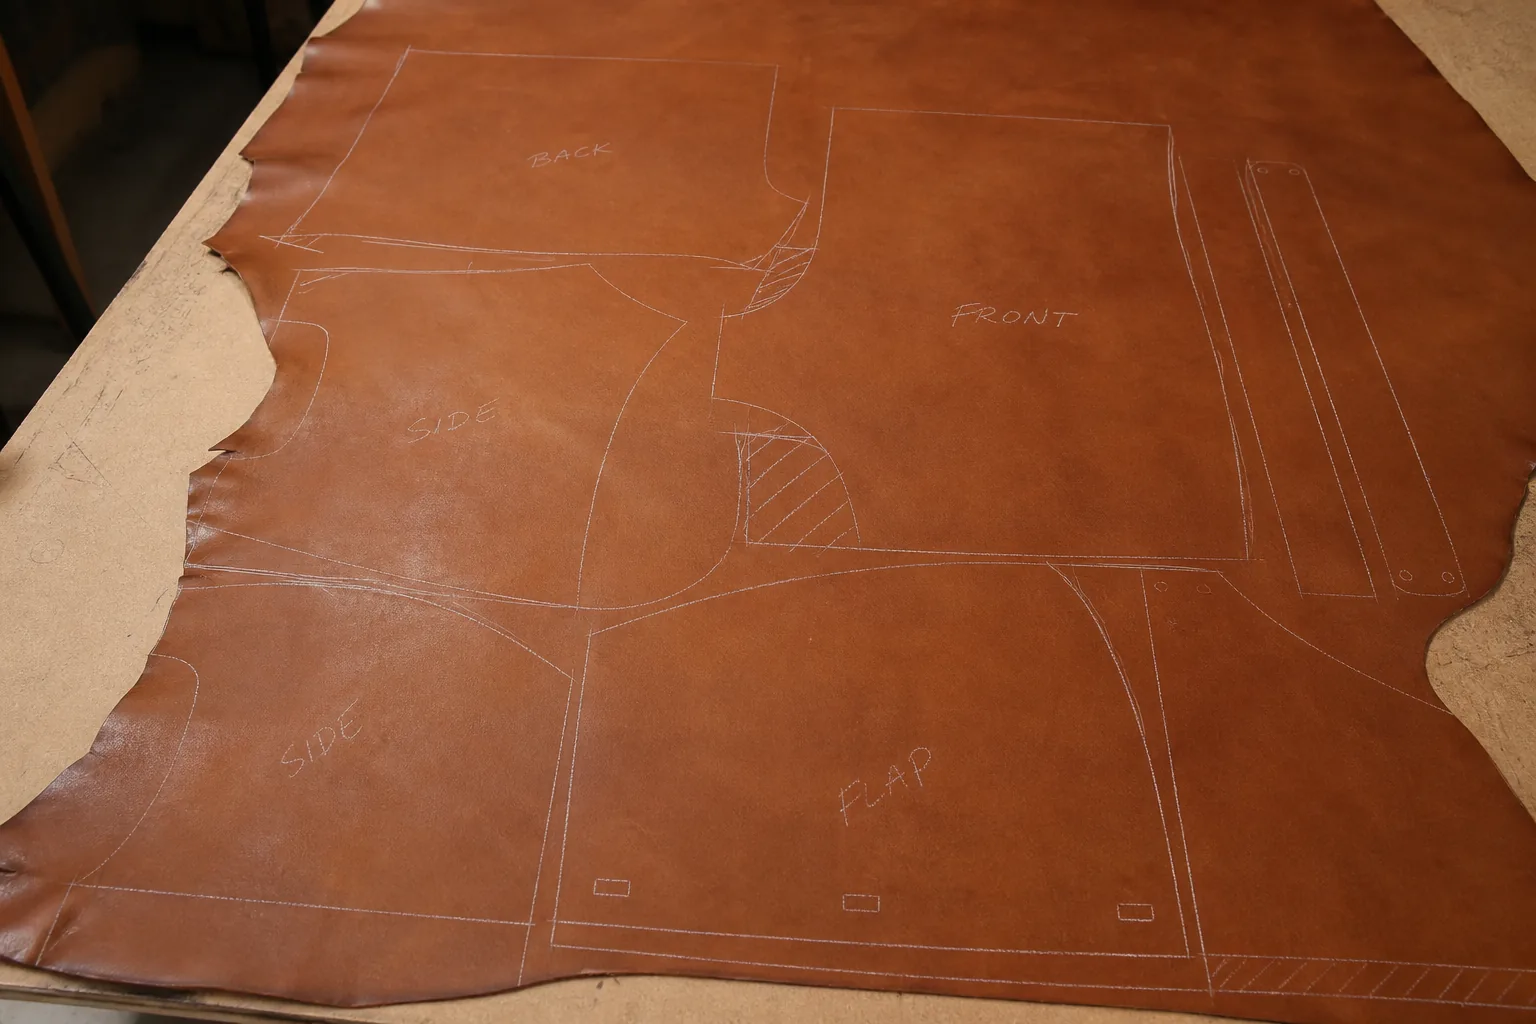
Leather is sold by area, but it performs by thickness. Two hides can cover the same square footage and still produce completely different bags — one crisp and structured, the other floppy at the flap and worn through at the strap.
For a bag factory, thickness and grading are the two specifications that translate a leather purchase into a manufacturable product. Get them right and the line runs clean. Get them vague and the problems appear downstream: sagging panels, bulky seams, machines that stall, edges that refuse to finish, and a yield that eats the margin.
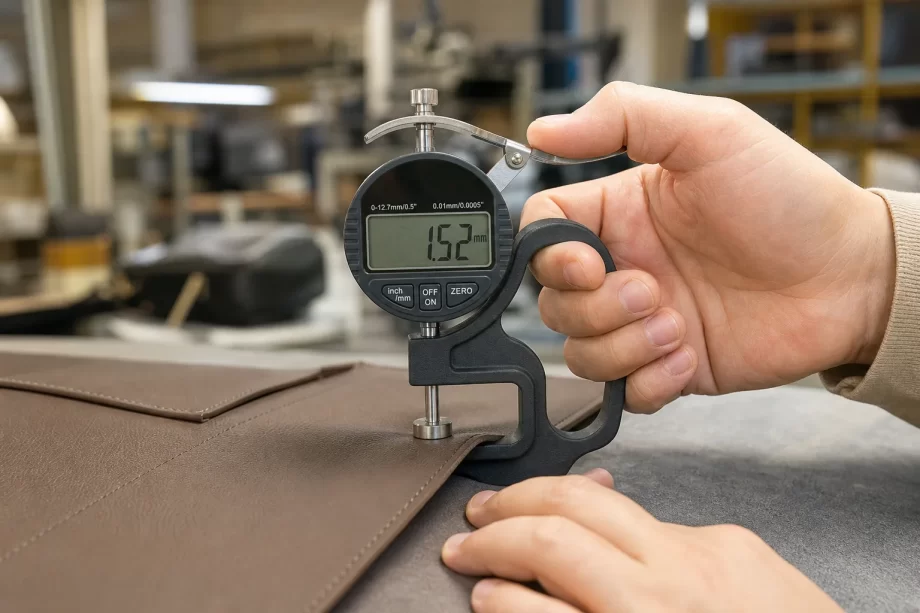
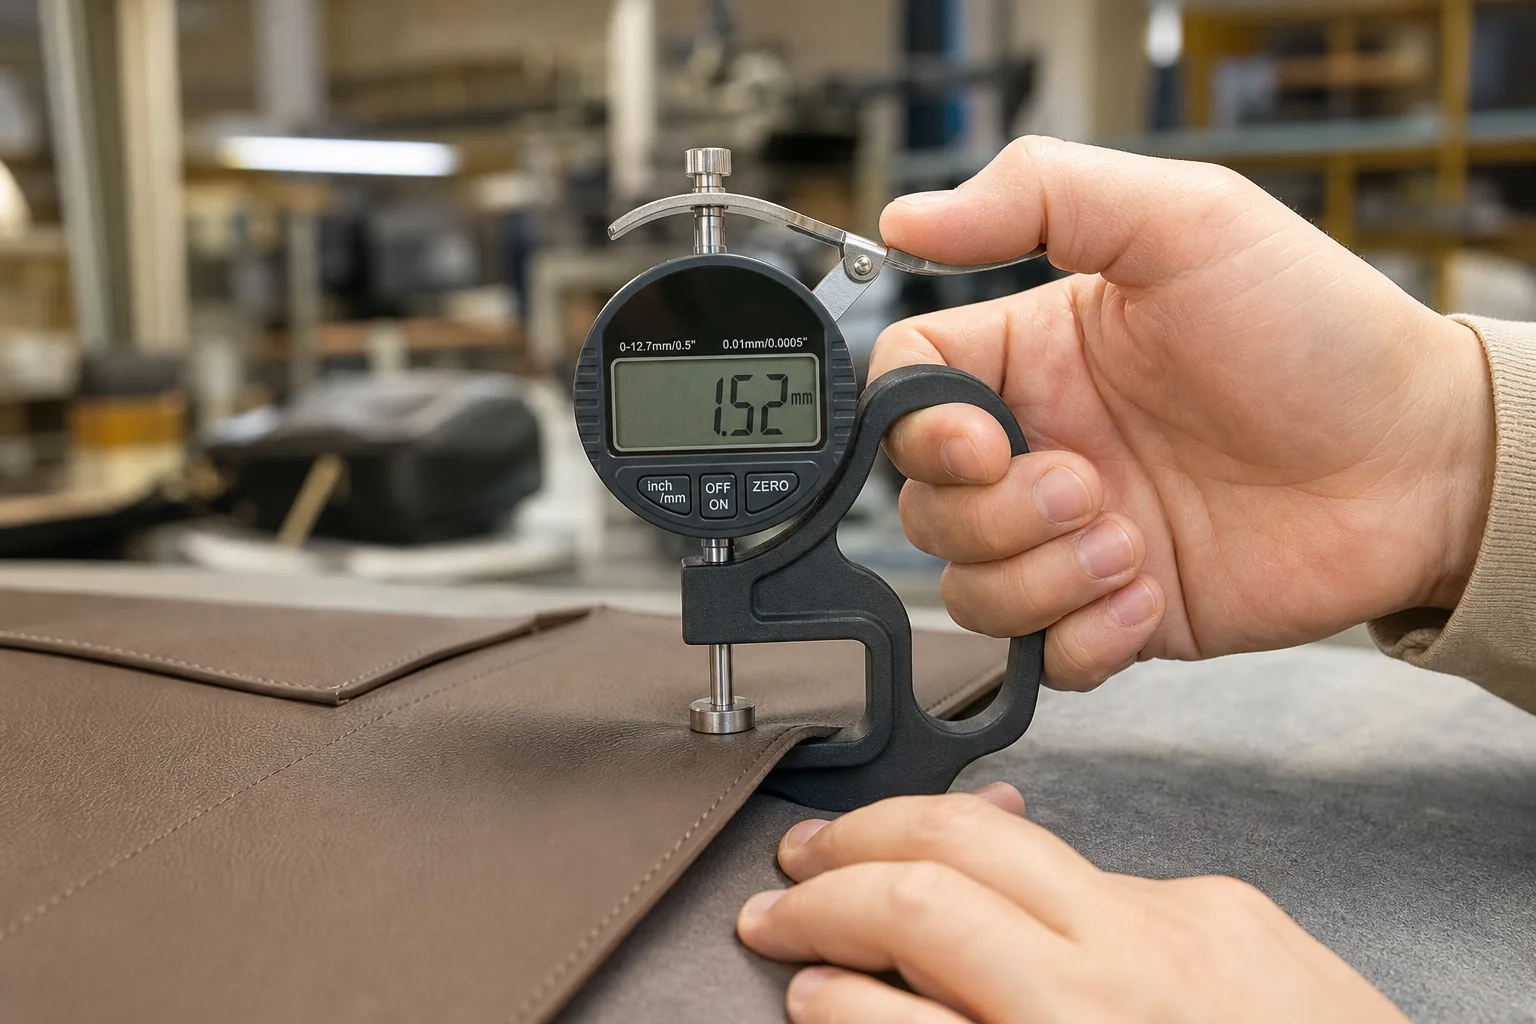
Digital thickness gauge measuring leather
This guide explains how leather thickness is measured, how hides are graded, how thickness drives every production stage, and how to write specifications that hold up in bulk.
Thickness is not a single number. It is a range that behaves differently in each part of the bag, and grading is what determines how much of a hide can actually be used.
The Three Consequences
Consequence
Mechanism
Structure
Thicker panels hold shape
Durability
Material resists abrasion
Manufacturability
Machines and seams behave predictably
The Cost Consequence
Thickness tolerance and grading both translate directly into money.
Variable
Cost effect
Tight tolerance
Higher material price
Loose tolerance
Higher reject and rework
Low grading
Lower yield per hide
High grading
Fewer claims, higher price
The Perception Consequence
Customers judge a bag in the first five seconds. Thickness is what their hand reads.
Customer read
Cause
“Feels premium”
Firm, consistent panels
“Feels cheap”
Thin, spongy, or uneven
“Well made”
Crisp edges and flat seams
“Poorly made”
Bulky corners, puckered seams
Factory note: The most expensive leather decision is not buying thicker material — it is buying inconsistent material and trying to correct it on the line. Skiving every panel to size costs more labor than the thickness you saved on the hide.
How Leather Is Measured
Measurement discipline separates a controlled program from a hopeful one.
The Units
Unit
Where used
Millimeter (mm)
Most international specs
Ounce (oz)
US leather trade, 1 oz ≈ 0.4 mm
Iron
Historical, still seen in some markets
Gauge
Conversion tables vary by material
The Common Conversion Points
mm
Approximate oz
0.8 mm
2 oz
1.0 mm
2.5 oz
1.2 mm
3 oz
1.4 mm
3.5 oz
1.6 mm
4 oz
2.0 mm
5 oz
2.4 mm
6 oz
The Measurement Protocol
Measurement is only meaningful if it is repeatable.
Step
Standard practice
1
Use a dial or digital gauge with a 10 mm foot
2
Measure on flat areas, never on folds or markings
3
Take at least five points per hide
4
Record butt, shoulder, belly, and neck zones
5
Log values against the hide number
6
Compare zone averages to spec
Why Measurement Points Matter
Thickness varies naturally across a hide.
Zone
Typical character
Butt
Thickest, tightest fiber
Shoulder
Thick, flexible
Belly
Thinner, stretchy
Neck
Irregular, variable
Legs
Thin, inconsistent
The Tolerance Question
Every spec needs a stated tolerance. Without one, both parties will interpret the material differently.
Tolerance
Effect
±0.05 mm
Premium, costly, tight supply
±0.10 mm
Standard for quality bags
±0.20 mm
Common in volume production
None stated
Disputes guaranteed
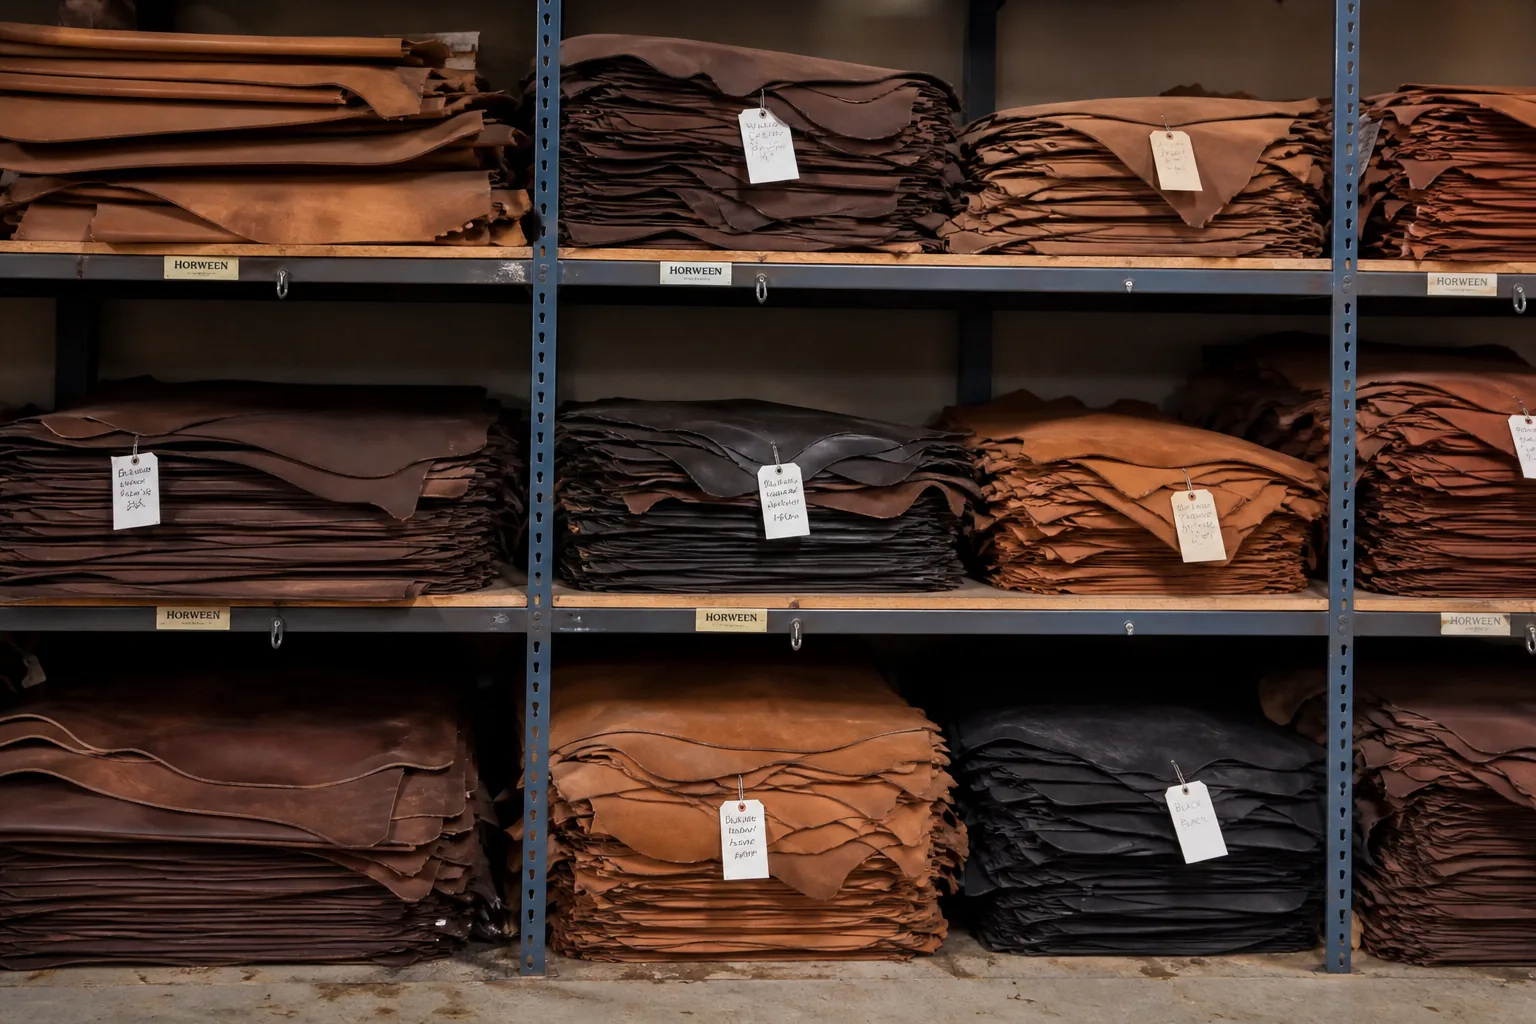
Leather hides stacked in graded piles
The Grading System Explained
Grading decides how much usable leather a hide contains. It is the difference between paying for area and actually getting it.
What Grading Measures
Factor
Influence on grade
Defect count
Fewer defects, higher grade
Defect location
Central defects hurt more
Usable area
Percentage of clean surface
Thickness consistency
Even hides grade higher
Grain quality
Surface clarity matters
The Common Selection Grades
Different tanneries use different letters, but the logic is consistent.
Grade
Usable area
Typical use
A / First
Above 85%
Main body panels
B / Second
70–85%
Secondary panels
C / Third
55–70%
Small parts, interior
D / Fourth
Below 55%
Samples, small goods
The Defect Categories
Defect
Effect on grading
Scars and scratches
Surface downgrade
Insect bites
Localized holes
Growth marks
Weak fiber zones
Veins
Loose structure
Grain breaks
Cracking risk
Color patches
Panel matching problem
Thickness dips
Skiving and structure issues
The Commercial Language
Term
Meaning
Selection
Grade mix within a shipment
Run
Typical grade distribution
Average hide
Weighted average area
Measured area
Billed square footage
Claim allowance
Agreed defect discount
How Grading Is Verified
Method
Practice
Visual inspection
Light table scan
Defect marking
Chalk or sticker zones
Area calculation
Clean zones measured
Sampling plan
Percentage of shipment
Documentation
Per-hide grading log
The Grading Risk in Quotations
Quotation style
Risk
“Grade A hides”
Undefined usable area
“First selection”
Depends on tannery standard
“85% usable”
Verifiable
“Mixed run”
Variable yield
No grade stated
Unbounded risk
Factory note: Always convert grade claims into usable-area percentages before comparing quotes. A cheaper hide at C grade often costs more per finished panel than a pricier A-grade hide, because the cutting room pays for the difference in wasted area and extra layout time.
Standard Thickness Ranges by Application
Thickness should follow function. Each part of a bag carries a different load and needs different material.
The Panel Guide
Bag part
Typical thickness
Reason
Main body
1.4–1.8 mm
Structure and durability
Flap
1.2–1.6 mm
Flexibility with shape
Front pocket
1.2–1.5 mm
Sewing through layers
Base panel
1.8–2.4 mm
Abrasion and load
Straps
1.8–2.4 mm
Tensile strength
Handle
2.0–3.0 mm
Grip comfort and strength
Piping and trim
1.0–1.2 mm
Foldability
Lining
0.6–0.9 mm
Weight and flexibility
Small goods
1.0–1.4 mm
Fold and edge work
The Bag-Type Guide
Bag type
Main body
Heritage briefcase
1.6–2.0 mm
Structured backpack
1.5–1.8 mm
Minimalist pack
1.2–1.5 mm
Fashion tote
1.2–1.6 mm
Travel duffel
1.6–2.0 mm
Laptop sleeve
1.0–1.3 mm
Tool bag
1.8–2.4 mm
The Weight Trade-off
Thickness adds weight faster than customers expect.
Thickness
Relative panel weight
1.0 mm
Baseline
1.4 mm
+40%
1.8 mm
+80%
2.4 mm
+140%
The Interaction with Interlining
Thickness is not the only structure tool. Interlining can substitute partially.
Approach
Result
Thick leather, no interlining
Heavy, natural, costly
Medium leather plus reinforcement
Balanced weight
Thin leather plus stiffener
Light but can feel artificial
Thin leather alone
Soft, low structure
How Thickness Affects Each Production Stage
Every station on the line reacts to thickness. Understanding the reactions prevents rework.
Cutting
Thickness
Cutting behavior
Below 1.0 mm
Curls, hard to control
1.0–1.4 mm
Cuts cleanly, best yield
1.4–1.8 mm
Standard, slight edge drag
Above 2.0 mm
Requires more force, die wear
Skiving
Skiving thins edges so seams lie flat. Thickness determines how much material must be removed.
Application
Skiving depth
Seam allowance
0.4–0.6 mm
Folded edge
0.5–0.8 mm
Strap ends
0.6–1.0 mm
Zipper tape junction
0.3–0.5 mm
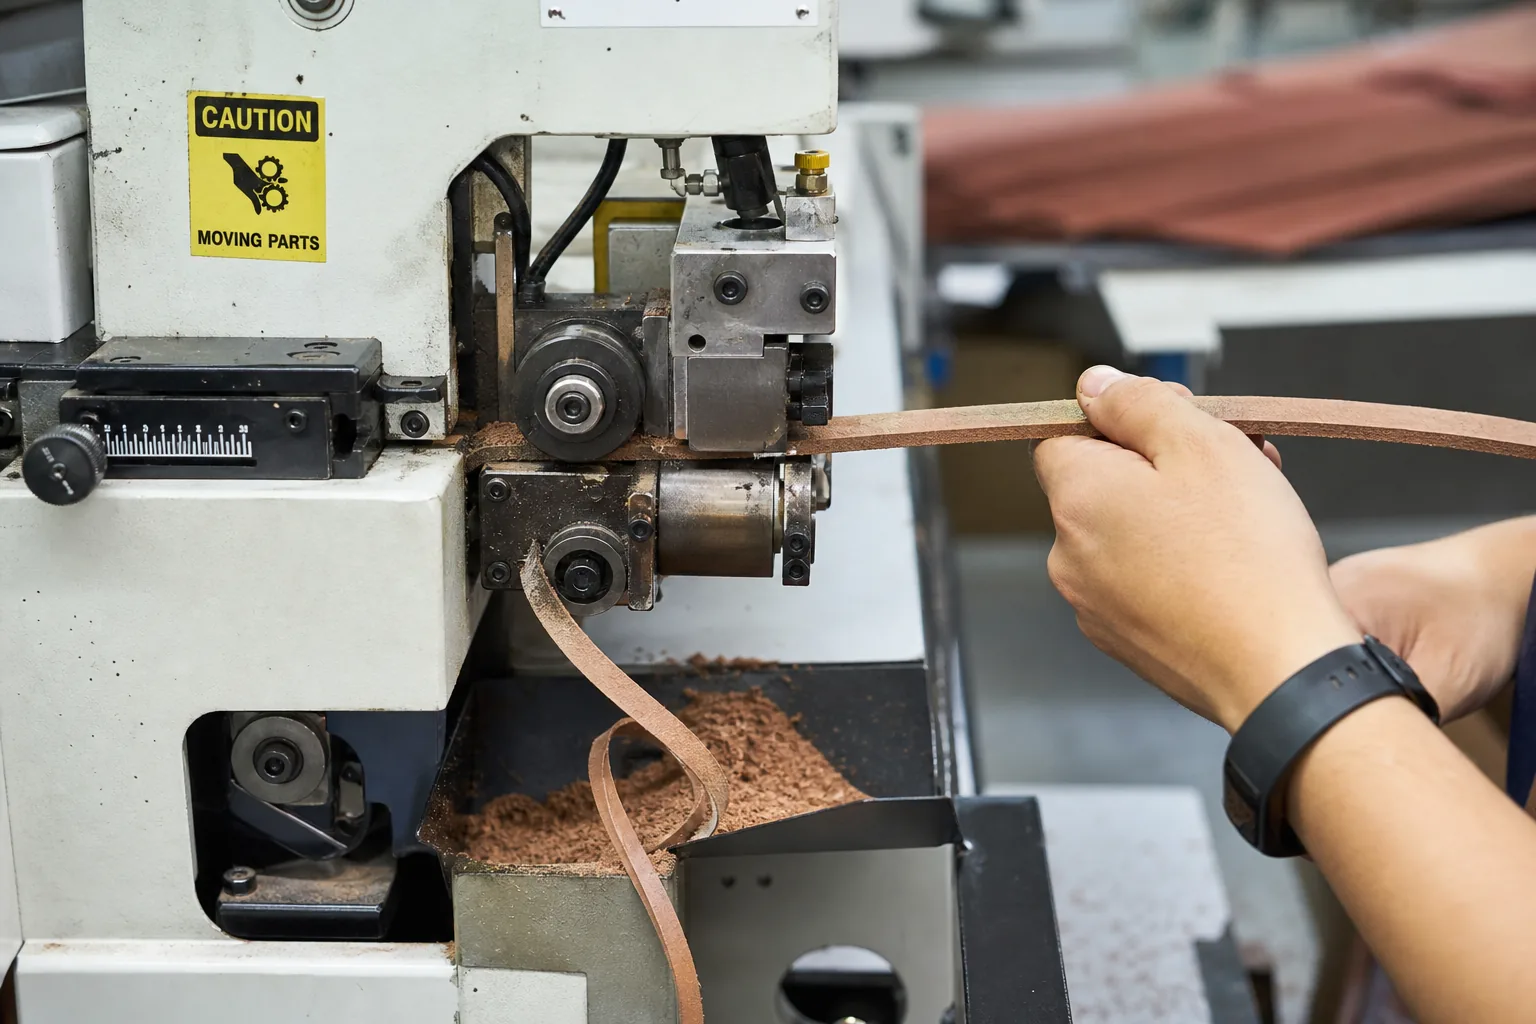
Skiving machine thinning leather edge
Stitching
Factor
Thickness influence
Needle size
Bigger needle for thicker
Thread size
Matched to material
Stitch length
Longer for thick seams
Machine type
Walking foot for heavy
Needle heat
Thicker material generates more
The Seam Bulk Ladder
Total layers
Effect on seam
2 layers, 1.4 mm
Clean
3 layers, 1.4 mm
Skiving needed
4 layers, 1.4 mm
Skive and hammer
4 layers, 2.0 mm
Avoid design if possible
Edge Finishing
Thickness
Edge treatment
0.8–1.2 mm
Fold, paint, bind
1.2–1.6 mm
Burnish, paint, turn
1.6–2.0 mm
Burnish, bevel, paint
Above 2.0 mm
Bevel first, then finish
Hardware and Reinforcement
Hardware
Requirement
Rivets
Thickness plus backing
Buckles
Thickness of strap
Zippers
Tape thickness matched
D-rings
Reinforcement patch
Magnetic snaps
Concealed support layer
The Line Setting Table
Setting
Thin leather
Thick leather
Presser foot pressure
Light
Firm
Stitch length
Standard
Slightly longer
Thread tension
Lower
Higher
Needle size
90–100
110–130
Skiving depth
Minimal
Deeper
Ironing temperature
Lower
Standard
Grading and Yield Economics
Leather grading is a financial instrument. Buyers who treat it as a quality detail pay for the lesson.
The Yield Formula
Variable
Definition
Gross area
Billed square footage
Usable area
Clean area after defects
Pattern area
Total panel area needed
Yield
Pattern area ÷ gross area
The Yield Range Table
Grade
Typical usable area
Practical yield
A
Above 85%
72–85%
B
70–85%
62–72%
C
55–70%
50–62%
D
Below 55%
Below 50%
The Cost per Panel Calculation
Grade
Hide price index
Cost per finished panel
A
120
100
B
100
100
C
85
105
D
70
115
The numbers tell the story: a lower-priced hide at poor grading frequently costs more per usable panel than a higher-priced hide at good grading.
The Hidden Labor Cost
Grade impact
Labor effect
More defects
More layout time
More small pieces
More handling
Higher rejection
Re-cutting and matching
Color patches
Panel sorting
The Panel Assignment Matrix
Cutting rooms should assign zones deliberately, not by whatever fits.
Hide zone
Best use
Butt
Body panels, straps
Shoulder
Flaps, pockets
Belly
Interior, small parts
Neck
Trim, test pieces
Legs
Scrap or small goods
Leather pattern pieces nested on hide
The Grading Negotiation Points
Point
Ask
Grade definition
Written usable-area percentage
Sampling
Percentage of hides inspected
Claim terms
Credit or replacement
Retention
Keep reference samples
Season consistency
Same grade across lots
The Yield Improvement Levers
Lever
Typical gain
Zone-aware nesting
3–6%
Pattern revision
2–5%
Acceptable joint placement
2–4%
Grade discipline
5–10%
Skiving optimization
1–3%
Factory note: A cutting room that tracks yield per hide, not per order, finds the real problem fastest. When one hide in ten produces a 40% yield and the rest produce 75%, the issue is grading, not operator skill — and the fix belongs in the purchase order, not on the line.
Specifying Thickness in the Tech Pack
A thickness spec is only useful if it is written precisely enough to be enforced. Vague language guarantees a bulk surprise.
The Required Spec Fields
Field
Example
Nominal thickness
1.4 mm
Tolerance
±0.10 mm
Measurement method
Gauge, 10 mm foot
Measurement points
Five per hide minimum
Zone rule
No measurement on folds
Grade
A, above 85% usable
Defect allowance
Grade B maximum
Thickness by part
Body 1.4, straps 2.0
The Per-Part Specification Table
Part
Thickness
Tolerance
Body front
1.4 mm
±0.10
Body back
1.4 mm
±0.10
Flap
1.3 mm
±0.10
Base
2.0 mm
±0.15
Straps
2.0 mm
±0.15
Piping
1.0 mm
±0.10
Lining
0.8 mm
±0.10
The Language to Avoid
Avoid
Use instead
“Standard thickness”
“1.4 mm ±0.10”
“Thick leather”
“2.0 mm ±0.15 for straps”
“Premium hide”
“Grade A, above 85% usable”
“Same as sample”
Signed retained sample
“Approximately”
Defined tolerance
The Approval Sequence
Step
Output
Spec drafted
Technical sheet
Sampled
Physical swatches
Measured
Recorded values
Approved
Signed sheet plus sample
Bulk compared
Lot acceptance record
The Change Control Rule
Change
Required action
Thickness altered
Re-sample and re-measure
Grade altered
Recalculate yield and price
Tannery altered
Re-test and re-approve
Finish altered
Re-check edge work
Inspection and QC Protocol
Thickness and grading failures are visible at goods-in if the inspection is designed to catch them.
The Goods-In Steps
Step
Action
1
Count hides and record lot numbers
2
Measure thickness at five points per hide
3
Inspect grain under raking light
4
Mark and classify defects
5
Estimate usable area per hide
6
Compare against grade claim
7
Log and grade the lot
8
Accept, discount, or reject
The Sampling Plan
Lot size
Sample
Under 50 hides
10%
50–200 hides
8%
200–500 hides
5%
Above 500 hides
3% minimum
The Defect Log Columns
Column
Content
Hide ID
Tannery lot reference
Zone
Butt, shoulder, belly
Defect type
Scar, vein, hole
Defect area
Estimated cm²
Usable area
Percentage
Grade
A to D
Action
Accept or claim
The In-Production Checks
Stage
Check
Cutting
Thickness verified per panel
Skiving
Output thickness measured
Assembly
Seam bulk acceptable
Edge work
Finish adheres correctly
Final
Panel consistency and flatness
The Acceptance Criteria
Criterion
Threshold
Within tolerance
90% of measurements
Out of tolerance
Remaining within 0.2 mm
Reject
Any systematic deviation
Grade shortfall
Claim per agreement
The Documentation Package
Document
Holder
Spec sheet
Buyer and factory
Retained sample
Both parties
Measurement log
Factory QC
Defect log
Factory QC
Claim record
Buyer and tannery
Common Problems and Root Causes
Thickness and grading problems follow predictable patterns. Naming the cause fixes it faster than adjusting the line.
The Problem Map
Symptom
Likely cause
Sagging panels
Thickness below spec
Bulky seams
Thickness above spec
Machine stalls
Excessive thickness
Torn skived edges
Over-skiving
Wavy flaps
Uneven hide thickness
Visible mismatched panels
Poor grading or sorting
Low yield per hide
Defect density
Recurring rework
Tolerance not enforced
The Root Cause Analysis Table
Cause
Fix
Vague spec
Write nominal plus tolerance
No measurement protocol
Standardize five points per hide
Tannery variation
Add lot control and claim terms
Zone misuse
Assign zones deliberately
Skiving set by eye
Use gauged output checks
Mixed grades on line
Separate and label lots
The Cost of Ignoring Tolerance
Stage
Cost impact
Cutting
Higher waste
Skiving
Slower throughput
Stitching
Rework and needle breaks
Edge finishing
Rejects
Assembly
Mismatched panels
Customer
Returns and reputation
The Prevention Checklist
Practice
Benefit
Nominal plus tolerance
Enforceable spec
Per-part thickness table
Correct material per part
Five-point measurement
Real variation visible
Zone-based nesting
Higher yield
Retained sample
Dispute reference
Lot traceability
Fast root cause
The Improvement Priorities
Priority
Expected effect
Tighten tolerance
Fewer rejects
Improve grading terms
Higher usable yield
Standardize measurement
Comparable data
Train cutting team
Better zone use
Audit tannery lots
Consistent input
Thickness at Hardware and Reinforcement Zones
Hardware points concentrate load. They are where thin material fails first and where thickness specifications pay for themselves.
The Load Points
Point
Failure mode
Strap anchors
Tearing and elongation
Handle roots
Stretch and cracking
Zipper ends
Pull-through
Buckle slots
Abrasion and stretch
Base corners
Abrasion and puncture
Shoulder pad junction
Stitch tear-out
The Specification Table
Zone
Thickness
Reinforcement
Strap anchor
2.0–2.4 mm
Plus backing panel
Handle root
2.0–3.0 mm
Plus folded insert
Zipper end
Panel thickness
Plus tape support
Buckle slot
2.0 mm plus
Lined fold
Base corner
1.8–2.4 mm
Plus corner patch
Shoulder junction
1.8–2.0 mm
Plus bar-tack
The Reinforcement Materials
Material
Effect
Leather backing patch
Same material, invisible
Non-woven stiffener
Cheap, adds bulk
Woven tape
Strong, low profile
Ripstop patch
Lightweight, technical
Rivet or bar-tack
Mechanical fastening
The Testing Points
Test
Purpose
Static load
Confirms no elongation
Cycle test
Confirms no fatigue cracking
Tear test
Confirms anchor strength
Abrasion test
Confirms base durability
Factory note: Thickness alone does not make a strong anchor. A 2.4 mm strap on a 1.2 mm panel tears the panel, not the strap. Match the reinforcement to the weaker layer — that is the one that will fail.
Working with the Tannery on Thickness and Grade
Thickness and grading are negotiated parameters, not fixed facts. The conversation shapes what you receive.
The Negotiation Points
Point
Ask
Nominal thickness
Confirm per production lot
Tolerance
Written, with measurement method
Grade definition
Usable area percentage
Sampling plan
Percentage of hides checked
Claim window
Days after receipt
Replacement terms
Credit or physical replacement
The Tannery Capability Questions
Question
Why it matters
“What tolerance can you hold?”
Sets realistic expectation
“How do you grade hides?”
Defines usable area
“What is your claim rate?”
Indicates consistency
“Which split thickness available?”
Determines options
“Can you supply A grade only?”
Price and availability
The Lot Control Practices
Practice
Benefit
Single lot per season
Consistent color and thickness
Retained sample per lot
Dispute reference
Batch reference on labels
Traceability
Pre-shipment sample
Early validation
Measurement record
Objective comparison
The Escalation Path
Situation
Action
Minor deviation
Document and accept with note
Systematic deviation
Claim and request replacement
Repeated failure
Change lot or tannery
Compliance risk
Stop production immediately
Grading for Seasonal Programs
Seasonal buying magnifies grading decisions. The same grade claim can behave differently across factories and seasons.
The Volume Planning Table
Program size
Grade strategy
Under 200 units
Single lot, A grade
200–1,000 units
Two lots, consistent grade
1,000–5,000 units
Reserved capacity, fixed grade
Above 5,000 units
Multi-lot protocol, sampling plan
The Season Buffer Rules
Risk
Buffer
Grade shortfall
8% extra material
Color lot change
Reserve lot early
Thickness variation
Tighter tolerance in spec
Transport delay
Two weeks minimum
The Yardage Planning Formula
Step
Calculation
1
Total panel area per bag
2
Multiply by unit volume
3
Divide by expected yield
4
Add grade buffer
5
Add claim allowance
6
Convert to hides
The Reorder Discipline
Practice
Reason
Reorder from same lot
Consistency
Keep retained sample
Comparison
Re-measure on arrival
Early detection
Log yield by lot
Trend visibility
The Buyer’s Thickness and Grading Checklist
One page that prevents the majority of leather disputes in bag programs.
Before Ordering
Check
Done
Nominal thickness per part defined
☐
Tolerance stated with method
☐
Grade expressed as usable area
☐
Measurement points agreed
☐
Sampling plan agreed
☐
Claim terms written
☐
Retained sample stored
☐
At Bulk Arrival
Check
Done
Lot numbers recorded
☐
Thickness measured at five points
☐
Grain inspected under light
☐
Defects marked and measured
☐
Usable area estimated
☐
Grade compared to claim
☐
Acceptance decision logged
☐
In Production
Check
Done
Zone assignment followed
☐
Skiving output measured
☐
Seam bulk acceptable
☐
Edge finishing consistent
☐
Yield tracked per hide
☐
The Five Questions
What is the nominal thickness and tolerance for each part?
How is thickness measured, and at how many points?
What usable-area percentage defines the grade?
What is the claim procedure if the lot falls short?
Where is the retained sample kept?
Glossary of Thickness and Grading Terms
The vocabulary used in quotations and spec sheets, translated into practical meaning.
The Thickness Vocabulary
Term
Meaning
Substance
Leather thickness in millimeters
Gauge
Instrument for measuring thickness
Tolerance
Permitted deviation from nominal
Nominal
The specified target value
Oz
Ounce thickness rating
Split
Hide layer separation
Skiving
Thinning edges mechanically
Caliper foot
Measuring contact surface
The Grading Vocabulary
Term
Meaning
Selection
Grade distribution within a shipment
Run
Typical grade mix
Usable area
Clean area after defects
Defect zone
Marked unusable region
Claim
Requested compensation
Retention sample
Reference reference piece
Lot
Production batch
Average hide
Weighted mean area
The Terms That Cause Disputes
Phrase
Risk
“Standard thickness”
No tolerance defined
“Good grade”
No usable-area figure
“Similar to sample”
No measured comparison
“Export quality”
Undefined standard
“Same lot”
Requires batch records
Define every one of these in writing before the order is placed. A spec sheet that survives a tannery change, a season change, and a factory change is the only one worth writing.
Thickness Standards Across Markets
Specification habits differ by market. Knowing the local convention prevents conversion mistakes at the quotation stage.
The Market Conventions
Market
Common unit
Note
EU
Millimeter
Metric specs dominate
North America
Ounce
Often paired with mm
UK
Millimeter
Metric adoption broad
Japan
Millimeter
Tight tolerances common
India
Millimeter
Growing export alignment
China
Millimeter
Domestic and export both
The Conversion Discipline
Practice
Benefit
Write mm as primary
Eliminates ambiguity
Note ounce in brackets
Familiarity for US buyers
State tolerance in mm
Enforceable
Avoid historical units
Iron and gauge vary
The Test Standard Map
Standard
Region
ISO methods
International
ASTM methods
North America
EN methods
Europe
JIS methods
Japan
Confirm which standard the tannery’s test report follows before accepting a result. Two labs using different methods can report different numbers for the same hide.
FAQ
What thickness leather is best for a backpack?
Most backpack bodies use 1.4–1.8 mm, flaps 1.2–1.6 mm, bases 1.8–2.4 mm, and straps 1.8–2.4 mm so they carry load without stretching. Lining runs 0.6–0.9 mm. Always specify a tolerance — typically ±0.10 mm — because the same nominal thickness in a different hide zone behaves differently.
How do you convert leather ounces to millimeters?
One ounce of leather thickness is approximately 0.4 mm, so 3.5 oz is roughly 1.4 mm and 5 oz is roughly 2.0 mm. The conversion is approximate because ounce ratings historically reflect weight per square foot rather than pure thickness. Always confirm the actual figure in millimeters when writing a specification.
What does leather grading mean?
Grading describes how much of a hide is usable after defects. Grade A is generally above 85% usable area, B is 70–85%, C is 55–70%, and D is below 55%. Grade drives yield, which drives cost per finished panel, so grading terms belong in the purchase order alongside the price.
Why does thicker leather cost more than the thickness difference suggests?
Thicker hides require more raw material and often come from fewer animals, and they reduce cutting yield because patterns are larger and less flexible. Thicker leather also adds weight in shipping and puts more strain on machines. The price difference reflects material, yield, and process — not just bulk.
Can I use one thickness for the whole bag?
You can, but it is rarely optimal. A single thickness forces compromises: thick enough for straps means bulky seams at pockets, while thin enough for pockets means weak straps. A per-part thickness table lets each area perform its function with less material, less skiving, and better structure.
How do I check that my supplier delivered the right thickness?
Measure at least five points per hide with a dial or digital gauge using a 10 mm foot, on flat areas only, and record the values by hide. Compare the average and variation against the specified nominal and tolerance. Request the tannery lot records and keep a retained sample from the approved lot.
What is skiving and why does thickness matter for it?
Skiving thins the edge of a leather piece so seams and folds lie flat. Thicker leather needs deeper skiving, and over-skiving weakens the panel and causes tearing. Specify skiving depth by application — usually 0.4–0.6 mm at seam allowances and 0.5–0.8 mm at folded edges — and verify the output thickness during production.
Does grading affect the price I should accept?
Yes, and in ways that surprise buyers. A cheaper hide at C grade often costs more per finished panel than a higher-priced A-grade hide, because the cutting room pays the difference in wasted area and extra layout labor. Compare quotes as cost per usable panel, not cost per square foot.
Conclusion
Thickness and grading are the two specifications that decide whether a leather program runs smoothly or fights the factory all season. Thickness controls structure, durability, machine behavior, and how the finished bag feels in a customer’s hand. Grading controls how much of what you paid for actually becomes panels.
The working rules are straightforward. Write nominal thickness with an explicit tolerance and a measurement method. Set thickness per part rather than one number for the whole bag. Define grading as a usable-area percentage. Inspect every lot with a sampling plan and log the results. Assign hide zones deliberately so the butt carries the straps and the belly does not. Then compare quotes on cost per usable panel, not cost per square foot.
Do that, and the leather that arrives matches the leather you approved — hide after hide, season after season.