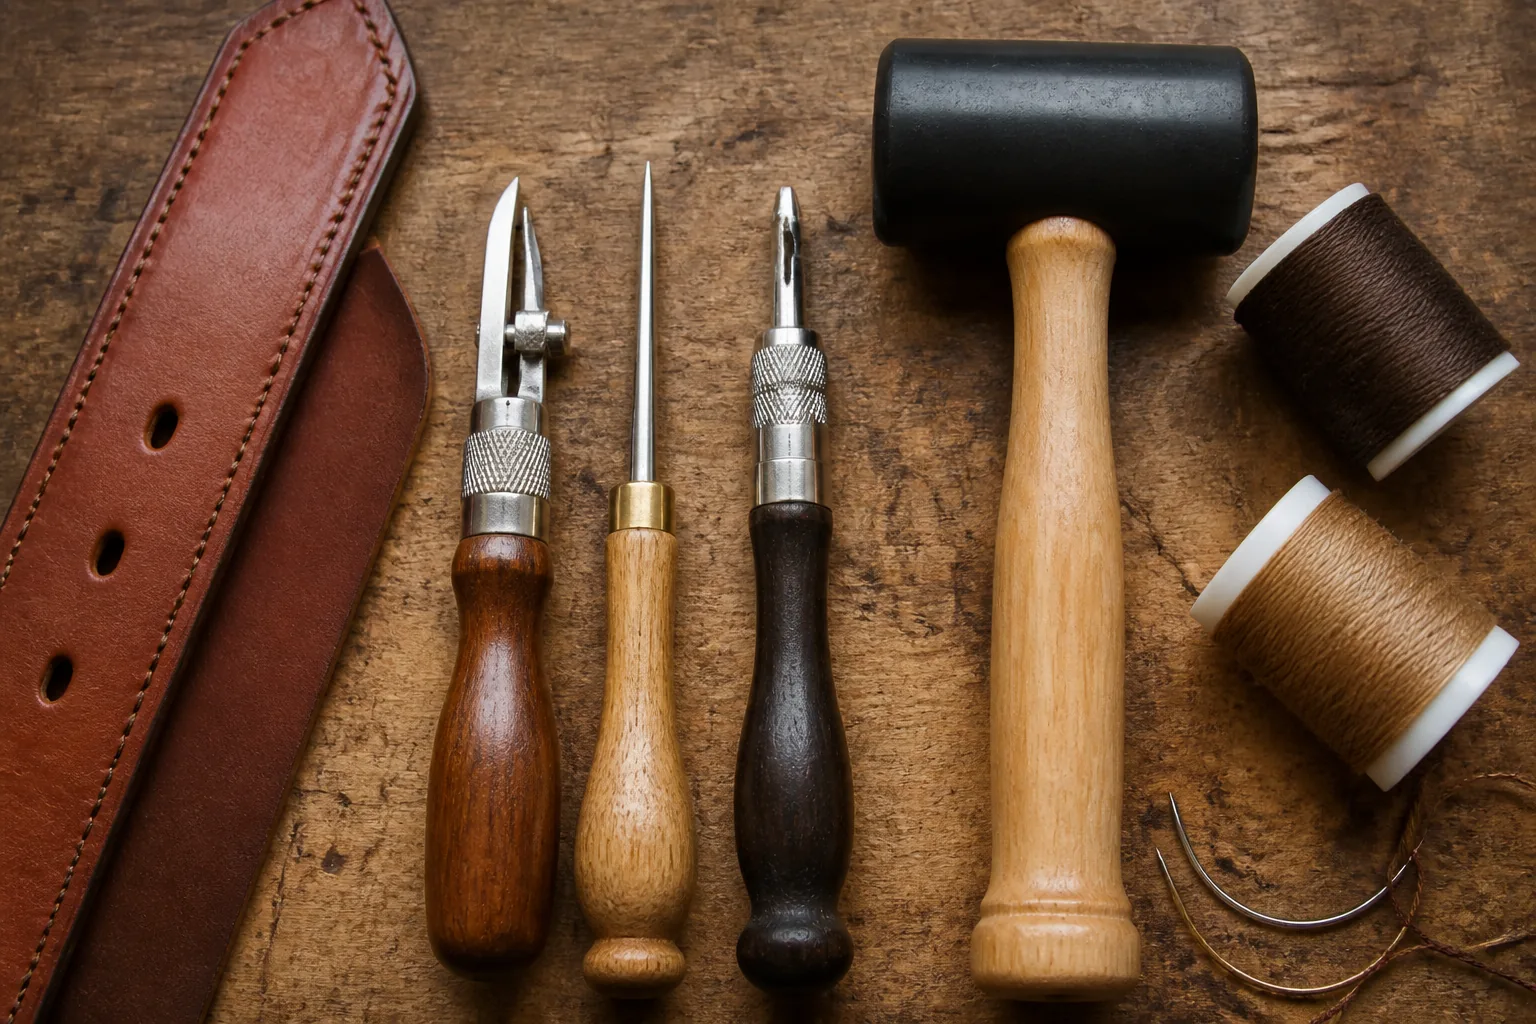
Sewing Leather Bags: Machines, Threads and Techniques
Sewing Leather Bags: Machines, Threads and Techniques
Fabric forgives. Leather does not. A needle placed wrong in nylon can be unpicked and the panel reused. The same needle placed wrong in leather leaves a permanent hole that no amount of skill will close.
That difference defines leather bag manufacturing. Every machine, needle, thread, and stitch length decision exists to place perforations correctly the first time, in a material that records every mistake permanently.
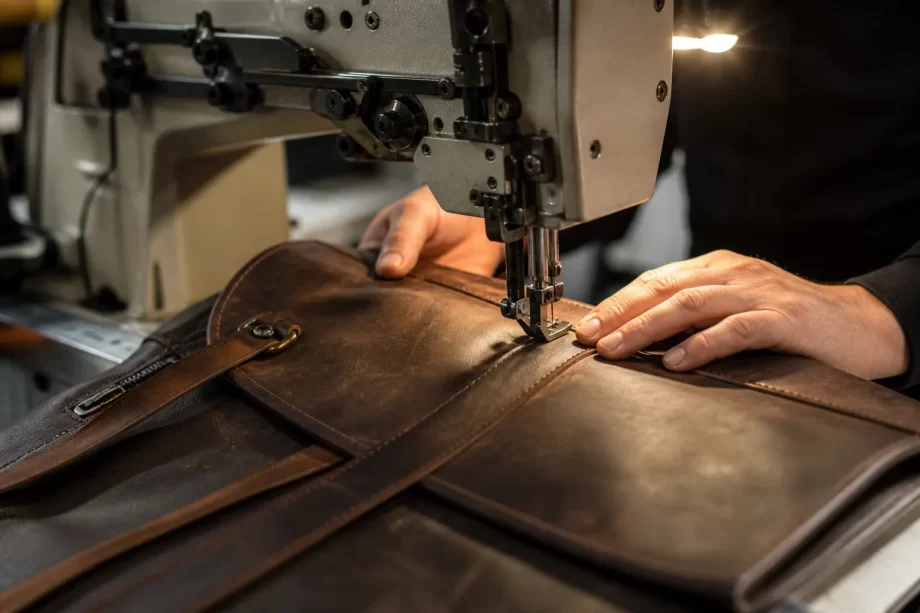
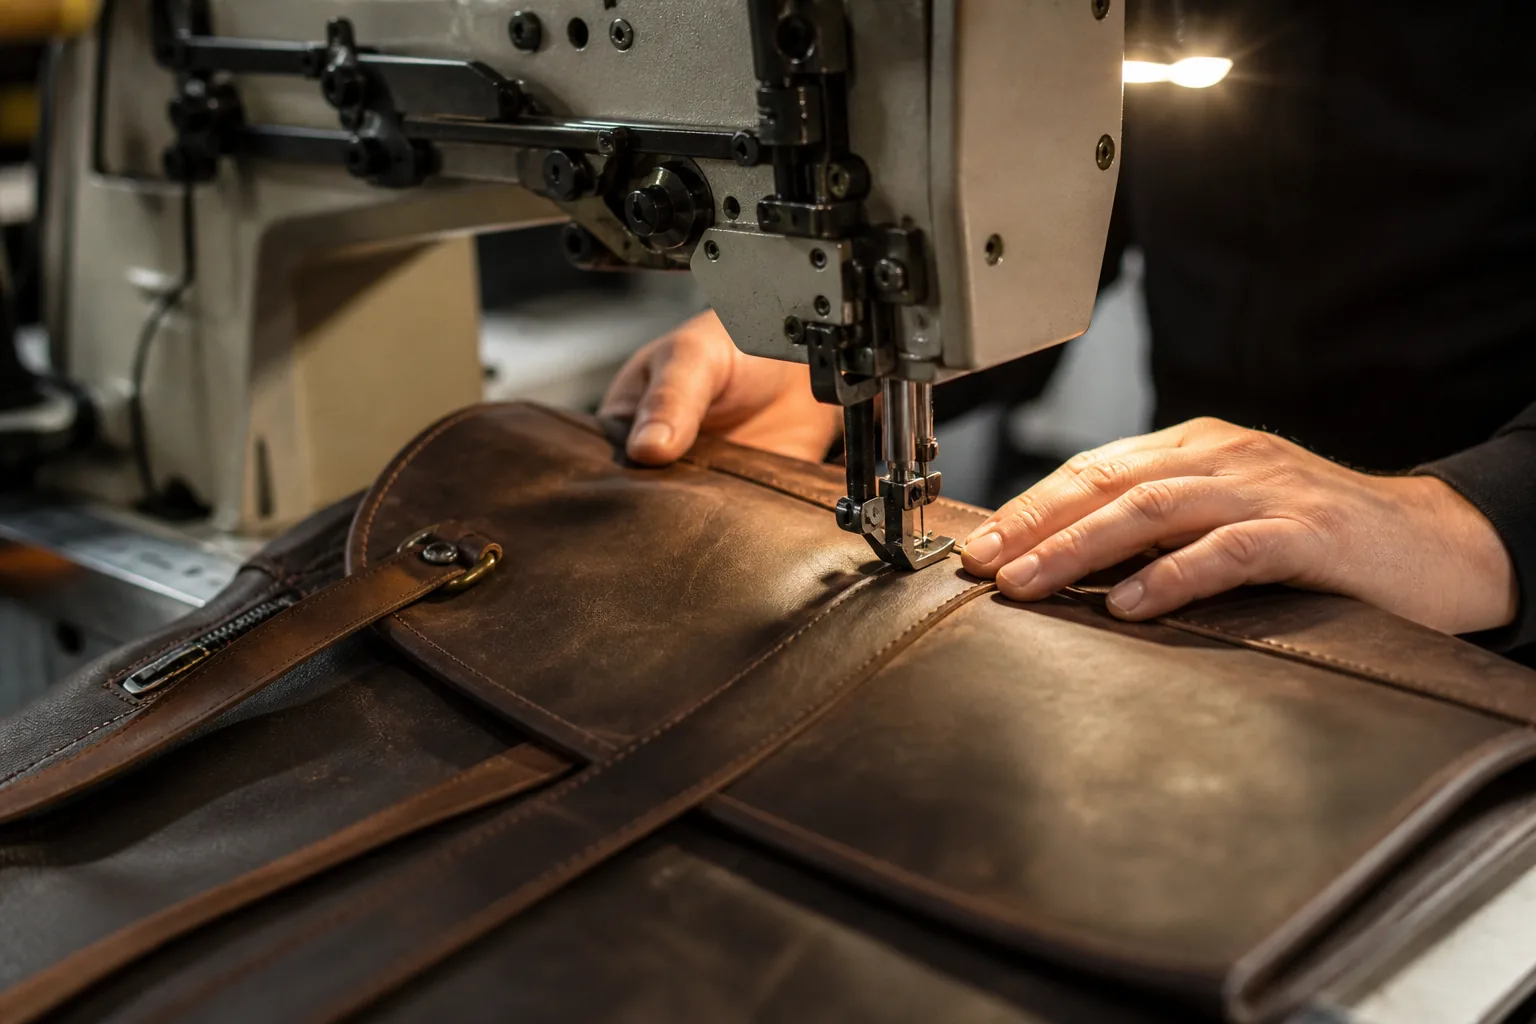
Walking foot leather sewing machine stitching a panel
This guide covers the equipment, consumables, and techniques used to sew leather bags in production — what each choice changes, and how to specify it so the sample and the bulk run match.
Leather sewing is not fabric sewing with heavier material. The physics of the process change, and the tolerances tighten.
The Irreversible Needle Hole
Property
Consequence
Perforation is permanent
No unpicking without a visible scar
Holes weaken fiber
Repetition causes tearing
Hole shows on grain side
Cosmetic reject risk
Hole pattern memorized
Re-stitching follows old holes
The Material’s Resistance
Resistance
Effect on stitching
Thickness
Needle force increases
Density
Higher needle heat
Friction
Thread abrasion
Layering
Uneven feeding
Grain surface
Surface marking risk
The Consequences of Error
Error
Outcome
Wrong stitch line
Panel scrapped
Too-short stitch
Perforation crowding
Too-long stitch
Weak seam
Wrong tension
Looping or puckering
Wrong needle
Cut fibers, torn seam
The Three Rules of Leather Sewing
Test on scrap from the same hide before touching a real panel.
Mark the stitch line precisely — chalk or crease, never guess.
Feed steadily; stopping mid-seam leaves a needle mark cluster.
Factory note: In leather production, the sample room and the bulk line must use the same needle system, thread size, and stitch length. A sample sewn with 100/16 needles and bulk sewn with 110/18 needles will look different at the stitch line — and the difference is visible to a trained buyer.
Leather Sewing Machines
Machine choice determines what construction is possible. Three machine families cover most leather bag production.
The Flatbed Walking Foot Machine
The workhorse of leather bag production.
Feature
Function
Walking foot
Moves material from above
Needle feed
Moves material with the needle
Compound feed
Both combined
Large bobbin
Fewer changes on long seams
Reverse
Back-tacking at seam ends
The Cylinder Arm Machine
For three-dimensional work — gussets, corners, and tubular assemblies.
Advantage
Application
Narrow arm
Sews inside bags
Rotating work
Curved seams
Access to depth
Gusset attachment
Better control
Corner turning
The Post Bed Machine
For precision work on raised or shaped components.
Feature
Use
Raised post
Strap and handle work
Fine control
Topstitching
Small parts
Hardware tabs
The Machine Comparison Matrix
Criterion
Flatbed
Cylinder arm
Post bed
Flat panels
Excellent
Good
Fair
Gussets
Fair
Excellent
Good
Corners
Good
Excellent
Fair
Straps and handles
Good
Good
Excellent
Topstitching
Good
Good
Excellent
Learning curve
Low
Medium
Medium
Cost
Baseline
Higher
Higher
The Setup Parameters
Parameter
Typical range
Stitch length
4–6 mm for leather
Presser foot pressure
Firm but not crushing
Thread tension
Balanced for thickness
Needle size
Matched to material
Speed
Reduced for control
Foot type
Walking or roller
The Consumables and Accessories
Accessory
Purpose
Roller foot
Reduces surface marking
Teflon foot
Glides on coated leather
Edge guide
Consistent seam distance
Stitch gauge
Verifies stitch length
Leather point needle
Clean perforation
The Machine Maintenance Points
Item
Frequency
Needle replacement
Per shift or per damage
Tension check
Daily
Bobbin winding
Per production run
Oil and lubrication
Per manual schedule
Feed dog inspection
Weekly
Factory note: The single fastest quality improvement in a leather line is usually a machine audit, not a training day. Confirm that every station uses the specified needle, that feet are the right type for the material, and that stitch length is gauged rather than estimated.
Choosing Needles for Leather
The needle is the most consequential consumable in leather sewing. It cuts the hole that defines the seam.
The Leather Point Needle
Feature
Purpose
Cutting point
Penetrates dense leather
Blade shape
Varies by material
Point type
Determines cut direction
The Point Types
Point type
Shape
Best use
Round point
Standard
Fabric only
Wedge point
Narrow wedge
Dense leather
Chisel point
Chisel edge
Thick leather
Diamond point
Diamond blade
General leather
Tri-point
Three cutting edges
Heavy leather
The Needle Size Guide
Material thickness
Needle size
Up to 1.0 mm
90/14 to 100/16
1.0–1.6 mm
100/16 to 110/18
1.6–2.4 mm
110/18 to 125/20
Above 2.4 mm
125/20 to 140/22
The Thread-to-Needle Rule
Thread size
Needle size
40/3
100/16
30/3
110/18
20/3
125/20
15/3
140/22
The Needle Heat Problem
Condition
Effect
High speed
Needle temperature rises
Dense leather
More friction
Coated leather
Heat melts coating
Blunt needle
Heat and tearing
The Needle Change Discipline
Trigger
Action
New production run
New needle
Every shift
Inspect and replace
Any skipped stitch
Replace immediately
Material change
Confirm point type
The Symptoms of a Wrong Needle
Symptom
Indicates
Tearing along seam
Needle too large or blunt
Skipped stitches
Wrong point or size
Surface marking
Wrong point shape
Needle flex
Needle too thin
Frequent breakage
Needle too fine for density
Threads for Leather Bags
Thread carries the load across every seam. In leather work it is chosen for strength, abrasion resistance, and how it behaves against the leather’s surface.
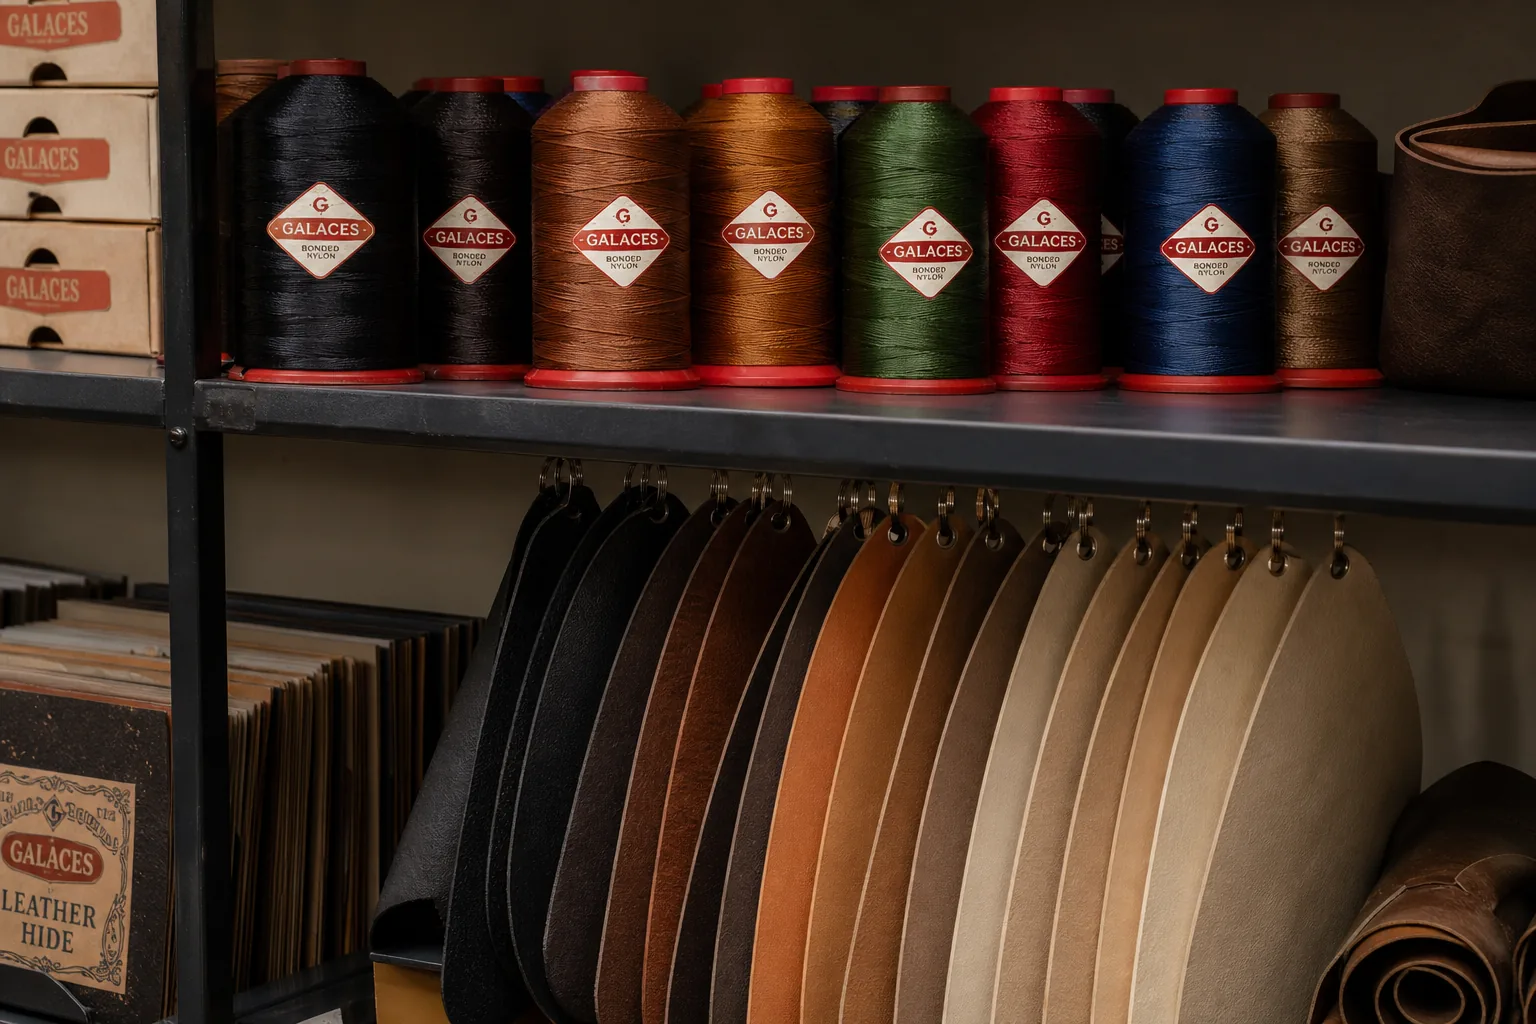
Industrial sewing thread spools in different colors
The Thread Materials
Material
Character
Bonded nylon
Strong, abrasion resistant
Polyester
UV stable, strong
Cotton
Traditional, weaker
Waxed linen
Craft work, hand sewing
Aramid
Extreme strength, niche
The Thread Sizes
Size notation
Meaning
40/3
Fine, light bags
30/3
Standard bag thread
20/3
Heavy bags and straps
15/3
Extreme load, thick leather
138 / 210 / 277
Ticket system equivalents
The Bonded Nylon Advantage
Property
Benefit
Bonding
Resists fraying
Strength
High tensile per size
Abrasion
Survives friction
Elasticity
Moderate stretch
The Polyester Case
Property
Benefit
UV stability
Outdoor bags
Color fastness
Retains color
Cost
Lower than nylon
Strength
Comparable
The Thread Color Decision
Approach
Effect
Matching thread
Invisible seams, clean
Contrast thread
Design feature, must be perfect
Slight darker match
Hides minor irregularity
Slight lighter match
Highlights stitching
The Bobbin Thread Rule
Practice
Reason
Same size as top thread
Balanced tension
Slightly finer allowed
Reduces bulk
Never coarse
Weak lockstitch
Consistent supply
Avoid mid-seam change
The Thread Selection Table
Application
Thread
Light leather panels
40/3 or 30/3
Body seams
30/3
Straps and anchors
20/3
Handle attachment
20/3 to 15/3
Decorative topstitch
30/3 or 20/3
Factory note: Thread size and stitch length must be matched. A 20/3 thread at 3 mm stitch length crowds the leather with perforations; the same thread at 5–6 mm stitch length produces a strong, clean seam. Specify both together, never separately.
Stitch Types and Seam Construction
Stitch type defines how the seam holds. Leather bags rely on a small set of proven constructions.
The Main Stitch Types
Stitch
Structure
Use
Lockstitch
Two threads interlock
Most bag seams
Chain stitch
Looped single thread
Rare in leather
Saddle stitch
Hand, two needles
Luxury and repair
Zigzag
Alternating angle
Elastic areas
Bar tack
Dense short stitch
Reinforcement
The Seam Types
Seam
Construction
Plain seam
Two edges joined, opened or pressed
Lap seam
One panel overlaps another
Bound seam
Edges wrapped in tape
Butted seam
Edges joined without overlap
Folded seam
Edge folded and stitched
The Stitch Length Decision
Stitch length
Effect
2–3 mm
Dense, weakens leather
4–5 mm
Standard bag seam
6–7 mm
Heavy leather, strong
Above 8 mm
Decorative or coarse
The Seam Strength Factors
Factor
Influence
Stitch length
Perforation density
Thread size
Tensile capacity
Seam allowance
Load distribution
Stitch count
Redundancy
Reinforcement
Failure prevention
The Seam Allowance Guide
Application
Allowance
Body panels
8–10 mm
Pockets
6–8 mm
Straps
10–12 mm
Zipper panels
8 mm
Edge-bound areas
6 mm
The Topstitch Distance
Distance from edge
Effect
2 mm
Tight, formal look
3–4 mm
Standard, forgiving
5–6 mm
Casual, sporty
Uneven distance
Immediate reject
The Backstitch and Locking Rules
Rule
Reason
Backstitch 3–4 stitches
Secure seam ends
Do not over-backstitch
Perforation cluster
Bar tack at load points
Reinforce stress
Melt thread ends
Prevent unraveling
Techniques for Thick and Curved Work
Once thickness rises above about 1.6 mm, standard techniques stop working. Production needs different approaches.
The Thickness Handling Ladder
Thickness
Approach
Up to 1.2 mm
Standard stitching
1.2–1.6 mm
Walking foot, hammer seams
1.6–2.4 mm
Skive, hammer, slow speed
Above 2.4 mm
Skive plus hand-finish
The Skiving Rule
Junction
Action
Two-layer overlap
Skive one layer
Three-layer
Skive two layers
Fold-over
Skive full fold
Zipper junction
Skive to tape thickness
The Hammering Technique
Practice
Purpose
Hammer seam after stitching
Flattens bulk
Use flat-faced hammer
Avoids surface marks
Work on hard surface
Even compression
Repeat at corners
Consistent thickness
The Corner Technique
Corner type
Method
Outside corner
Clip and turn, then hammer
Inside corner
Clip to seam, ease fabric
Rounded corner
Shorten stitch length
Sharp corner
Hand-finish or reinforce
The Curve Technique
Curve
Method
Gentle curve
Steady feed, guide edge
Tight curve
Reduce speed, lift foot
Compound curve
Pre-shape and pin
Tube work
Cylinder arm machine
The Adhesive Aid
Adhesive use
Benefit
Temporary hold
Prevents shifting
Fold setting
Clean fold lines
Zipper placement
Accurate alignment
Strap holding
Easier feeding
The Surface Protection Measures
Risk
Protection
Foot marks
Roller or Teflon foot
Needle marks
Correct point type
Adhesive residue
Clean after stitching
Handler oil
Gloves and clean hands
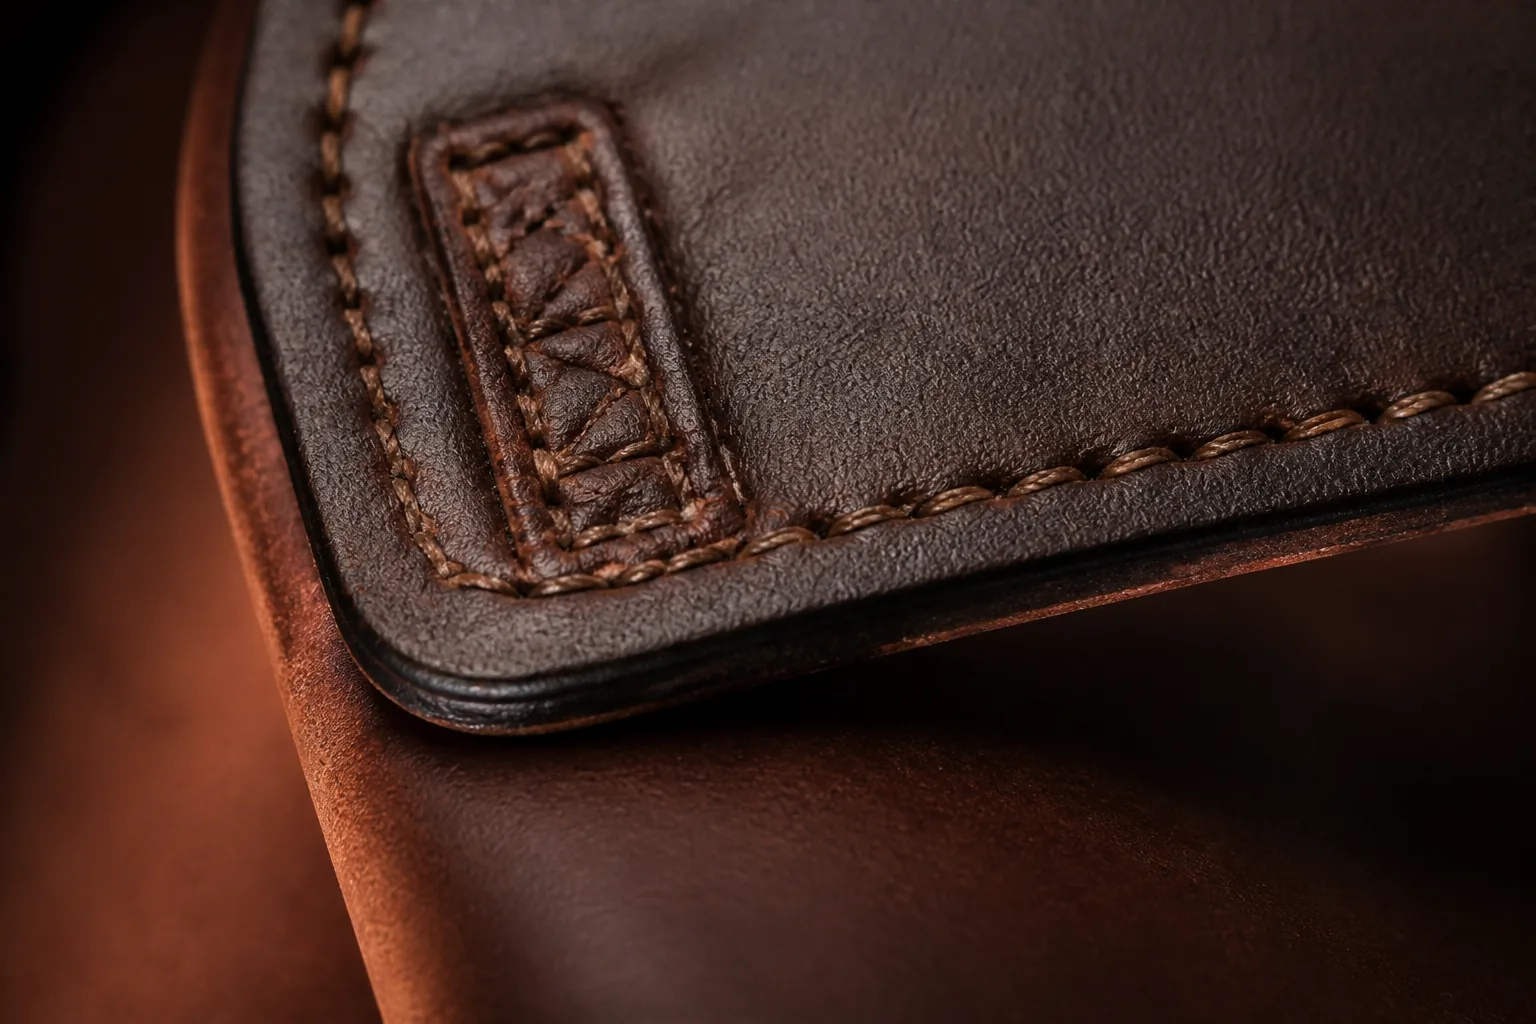
Close-up of even stitching on thick leather seam
Factory note: The most common cause of rejected leather panels is not bad sewing — it is bad preparation. Pre-skived, pre-hammered, and pre-creased panels sew cleanly at normal speed. Panels that reach the machine raw force the operator to compensate with speed and force, and that is where seams go wrong.
Reinforcement at Load Points
Bags fail at specific places. Leather sewing must anticipate them, because a seam is easier to reinforce during production than to repair afterward.
Leather working hand tools on a workbench
The Load Point Map
Point
Force type
Strap anchor
Tension and tearing
Handle root
Tension and fatigue
Zipper end
Pull and shear
Buckle slot
Abrasion and stretch
Base corner
Abrasion and puncture
Shoulder pad joint
Stitch tear-out
The Reinforcement Methods
Method
Effect
Bar tack
Dense stitch block
Box-X stitch
Load spreading
Rivet
Mechanical fastening
Backing patch
Layer reinforcement
Folded reinforcement
Adds thickness
Tape insert
Load distribution
The Box-X Stitch
A leather-specific reinforcement used at strap and handle attachments.
Element
Detail
Structure
Rectangle with crossing diagonals
Stitch length
4–5 mm
Corners
Locked with backstitch
Diagonal
Two crossing lines
Use
Strap ends, handle roots
The Reinforcement Placement Table
Point
Reinforcement
Strap top
Box-X plus rivet
Strap bottom
Box-X or double bar tack
Handle root
Folded insert plus bar tack
Zipper end
Tape support plus backstitch
Base corner
Patch plus dense stitching
D-ring tab
Double-layer leather
The Stitch Count Rule
Load
Minimum
Light use
2 lines of stitching
Medium use
2 lines plus tack
Heavy use
3 lines plus tack
Extreme load
Box-X plus hardware
The Testing Points
Test
Confirms
Static load
No elongation
Cyclic load
No fatigue cracking
Tear test
Anchor strength
Drop test
Base and corner integrity
Factory note: The most common field failure in leather bags is not a broken seam — it is a torn panel. Load concentrated at a stitch line tears the leather beside the stitching. Spread the load with a backing patch or hardware instead of adding more stitches to the same line.
Quality Control for Leather Stitching
Leather sewing defects are visible and permanent. QC must catch them before assembly hides them.
The Defect Catalogue
Defect
Cause
Skipped stitches
Needle or timing issue
Uneven stitch length
Feed irregularity
Loop on surface
Tension imbalance
Puckered seam
Tension or feed issue
Cut holes
Wrong point type
Wavy seam
Material stretch
Misaligned seam
Preparation error
Visible needle marks
Re-stitching
The Inspection Points
Stage
Check
Pre-sewing
Stitch line marked correctly
In-sewing
Steady feeding, no skips
Post-sewing
Seam straightness and tension
Pre-assembly
Component accuracy
Final
Overall appearance
The Tension Test
Test
Method
Visual balance
Threads meet inside material
Pull test
Seam holds under load
Unpick check
Lock forms correctly
Scrap trial
Test before production
The Seam Quality Criteria
Criterion
Standard
Stitch length
Within ±0.5 mm
Seam straightness
No visible deviation
Topstitch distance
Uniform
Thread ends
Clean and secured
Surface
Free of marks
The Sampling AQL Approach
Lot size
Sample
Under 200
20 pieces
200–500
32 pieces
500–1,200
50 pieces
Above 1,200
80 pieces
The Defect Classification
Class
Definition
Action
Critical
Structural failure risk
Reject
Major
Visible functional defect
Rework
Minor
Slight cosmetic deviation
Accept or note
The Repair Limits
Damage
Repairable
Loose thread end
Yes
Single skipped stitch
Sometimes
Misaligned seam
Rarely
Wrong stitch line
No
Torn panel
No
Setup, Sampling and Bulk Consistency
The gap between an approved sample and a bulk run is where leather programs succeed or fail.
The Setup Record
Item
Recorded value
Machine model
Per station
Needle system and size
Per operation
Thread size and color
Per operation
Stitch length
Per seam
Tension setting
Recorded number
Foot type
Per material
Skiving depth
Per junction
The Sample Protocol
Step
Action
1
Test on scrap from the same hide
2
Set stitch length and gauge it
3
Confirm tension on a test seam
4
Sew a full component
5
Photograph the seam close-up
6
Store the approved sample
The Photo Standard
Photo
Purpose
Stitch close-up
Shows length and tension
Seam overview
Shows straightness
Edge finish
Shows construction
Hardware junction
Shows reinforcement
Back side
Shows locking
The Bulk Consistency Checks
Check
Frequency
Needle replacement
Per shift
Stitch length gauge
Per shift
Tension check
Daily
Seam samples
Per lot
Photo comparison
Weekly
The Drift Signals
Signal
Meaning
Stitch length creeping
Setup drift
Tension changes
Thread or machine issue
Increasing rework
Operator fatigue or material
More needle breaks
Wrong needle or material change
Color of thread mismatch
Supply variation
Factory note: Keep the approved sample and its setup record together with the purchase order. When a bulk run is questioned, the fastest answer is a photo of the approved seam beside the current seam, taken under the same light. Data ends arguments that memory cannot.
Operator Training for Leather Sewing
Leather sewing skill is built, not hired. Factories that train deliberately produce consistent quality; those that rely on experience alone inherit whatever the individual learned.
The Skill Levels
Level
Capability
Beginner
Straight seams on light leather
Intermediate
Body seams, pockets, standard curves
Advanced
Gussets, straps, reinforcement stitches
Senior
Sample making, setup, troubleshooting
The Training Path
Week
Focus
1
Machine control, scrap practice
2
Straight seams, stitch length
3
Curves and corners
4
Thickness handling and skiving
5–6
Reinforcement and load points
7–8
Full assembly under supervision
The Practice Material Rule
Rule
Reason
Practice on scrap of the same hide
Real density and thickness
Never practice on production panels
No second chances
Keep a scrap bin per lot
Consistent test material
Label practice pieces
Avoid mixing
The Assessment Points
Check
Standard
Stitch length accuracy
Within tolerance
Seam straightness
Uniform
Tension balance
No loops or puckers
Speed control
Steady at corners
Surface care
No marks
Specifying Leather Sewing in the Tech Pack
A sewing specification is what makes bulk repeatable. It belongs in the tech pack, not in the sample room’s memory.
The Required Fields
Field
Example
Machine type
Walking foot flatbed
Needle system
Leather point, diamond
Needle size
110/18
Thread size
30/3 bonded nylon
Thread color
Matched to approved swatch
Stitch length
5 mm
Seam allowance
10 mm body, 8 mm pockets
Topstitch distance
3 mm
Reinforcement
Box-X at strap ends
Thread ends
Backstitch 3, trimmed
The Per-Seam Specification Table
Seam
Stitch length
Thread
Body side
5 mm
30/3
Body bottom
5 mm
30/3
Pocket
4 mm
30/3
Zipper panel
4 mm
30/3
Strap
5 mm
20/3
Handle
5 mm
20/3
Topstitch
5 mm
30/3
Bar tack
2 mm dense
20/3
The Approval Requirement
Item
Status
Physical sample
Approved and stored
Setup record
Documented
Seam photo
Archived
Test seam
Retained
The Language to Avoid
Avoid
Use instead
“Strong stitching”
“5 mm stitch, 30/3 thread”
“Double stitched”
“Two parallel lines at 3 mm and 8 mm”
“Reinforced”
“Box-X at strap ends”
“Sewn securely”
“Backstitch 3 stitches, trimmed”
Common Problems and Their Fixes
Leather sewing problems repeat across factories. Each has a specific cause and a specific correction.
The Troubleshooting Table
Problem
Likely cause
Fix
Skipped stitches
Blunt or wrong needle
Replace needle, check point type
Loops underneath
Upper tension too loose
Increase tension
Loops on top
Bobbin tension off
Adjust bobbin case
Puckered seam
Tension plus feed mismatch
Reduce tension, adjust foot
Torn leather
Needle too large or blunt
Smaller, sharp leather point
Uneven stitch length
Feed slipping
Increase foot pressure
Wavy seam
Material stretch
Reduce speed, add support
Needle breakage
Needle flexing or deflection
Larger needle, check alignment
Surface marks
Foot type or pressure
Roller foot, reduce pressure
Thread fraying
Thread too fine or eye damage
Larger thread, check guides
The Priority Order for Diagnosis
Order
Check
1
Needle condition and type
2
Needle-to-thread sizing
3
Thread path and guides
4
Tension settings
5
Presser foot and feed
6
Machine timing
The Scrap Test Rule
Situation
Action
Any setting change
Test on scrap first
New lot of leather
Test density and thickness
New thread batch
Verify tension
New operator
Verify setup on scrap
After maintenance
Full test seam
Machine Maintenance and Consumable Control
Machines that run leather run hard. Maintenance discipline is what keeps output stable across a season.
The Maintenance Schedule
Task
Frequency
Needle inspection
Each shift
Tension verification
Daily
Bobbin case cleaning
Daily
Lint and fiber removal
Daily
Lubrication
Per manual
Feed dog inspection
Weekly
Belt and timing check
Monthly
Full service
Per manufacturer schedule
The Consumable Stock Rules
Item
Control
Needles
Size-labeled bins per station
Thread
Color and size logged
Bobbins
Wound per run, not per piece
Feet
Matched to material type
Guides
Checked for wear
The Spare Parts Worth Stocking
Part
Why
Needles in each size
Immediate replacement
Bobbin cases
Fast swap
Presser feet
Different materials
Belts
Prevent downtime
Feed dogs
Wear item
Tension springs
Common failure
The Downtime Prevention Table
Signal
Action
Increasing skipped stitches
Service the machine
Odd machine noise
Inspect timing
Inconsistent tension
Clean and reset
Frequent needle breaks
Check alignment and size
The Shift Handover Checklist
Item
Recorded
Needle replaced
Yes or no
Tension changed
Value
Thread lot changed
Reference
Issues observed
Notes
Output and rework
Counts
Factory note: Keep the maintenance log beside the setup record. When a batch shows a sudden change in seam quality, the log usually identifies the cause in minutes — a needle change on the wrong station, a new thread lot, or a machine that was serviced without recalibrating tension.
Cost and Efficiency in Leather Sewing
Sewing cost is mostly labor and rework, not thread. Reducing rework is the largest available saving.
The Cost Components
Component
Share of sewing cost
Operator time
70–80%
Rework and rejects
10–20%
Machine depreciation
5–10%
Consumables
3–5%
The Rework Drivers
Driver
Share of rework
Preparation errors
Highest
Wrong machine setup
High
Needle and thread mismatch
Medium
Operator inexperience
Medium
Material variation
Lower
The Efficiency Levers
Lever
Effect
Pre-skived components
Faster, cleaner sewing
Crease-marked stitch lines
Fewer misalignments
Standard setup records
Faster changeovers
Gauged stitch length
Consistent quality
Station specialization
Higher throughput
The Throughput Reality
Factor
Effect on speed
Thickness above 2 mm
Slower feed required
Tight curves
Reduced speed
Frequent layer changes
More handling
Poor preparation
Rework and stops
The Cost Comparison Table
Approach
Relative cost
Prepared components plus trained operator
Baseline efficient
Unprepared components
Higher rework
Wrong needle and thread
High reject rate
No setup records
Repeated trial and error
Track rework rate per station, not just per order. The station with the highest rework rate always identifies the next process improvement.
FAQ
What kind of sewing machine is used for leather bags?
Most leather bag production uses a walking foot flatbed machine for panels, a cylinder arm machine for gussets and tubular assemblies, and a post bed machine for straps and precision topstitching. The essential feature is compound feed — a walking foot combined with needle feed — which moves thick, layered leather evenly without slipping.
What needle should be used for sewing leather?
Use a leather point needle — diamond, wedge, chisel, or tri-point depending on thickness — never a round point fabric needle. Size typically ranges from 100/16 for leather up to 1.6 mm, 110/18 to 125/20 for 1.6–2.4 mm, and 125/20 to 140/22 above 2.4 mm. Match the needle to the thread size as well as the material.
What thread is best for leather bags?
Bonded nylon is the standard for leather bags because bonding prevents fraying and resists abrasion. Size 30/3 suits most body seams, 20/3 suits straps and load points, and 15/3 is used for extreme-load applications. Polyester is a good alternative where UV stability matters more than abrasion resistance.
What stitch length should be used on leather?
Most leather bag seams use 4–6 mm stitch length. Below 4 mm the perforations crowd and weaken the leather, while above about 8 mm the seam becomes coarse. Stitch length must be specified together with thread size, because the right combination depends on both.
Can leather be sewn on a regular home sewing machine?
Only very light leather, and the results are limited. Standard machines lack the feed strength and needle capacity for production leather work, and the universal round-point needle cuts rather than cleanly perforates leather. Production bags require industrial compound-feed machines and leather point needles.
Why can’t you unpick stitching on leather?
Every needle penetration leaves a permanent hole, so removing a seam exposes a line of visible perforations on the leather surface. In light fabric the fibers close back; in leather they do not. That is why leather sewing requires test seams on scrap and precise stitch-line marking before any production panel is touched.
How do you reinforce high-load seams in leather bags?
Use mechanical reinforcement at the specific load points: box-X stitching at strap ends and handle roots, backing patches to spread load, folded leather inserts, bar tacks at hardware junctions, and rivets where appropriate. Reinforcement should spread the load across a wider area rather than concentrating more stitches on the same line.
What causes skipped stitches in leather sewing?
Skipped stitches usually come from a blunt or wrong-type needle, incorrect needle-to-thread sizing, timing issues, or excessive speed on thick material. In leather the consequences compound because skipped stitches often require re-stitching, which leaves visible needle marks. Replace the needle first, then verify tension and timing.
Conclusion
Sewing leather is a discipline of precision under permanent consequences. The material records every decision: the perforation line, the stitch spacing, the tension balance, and the reinforcement at load points.
For production teams, the working rules are clear. Use compound-feed machines matched to the assembly geometry — flatbed for panels, cylinder arm for gussets, post bed for straps. Choose leather point needles and bonded nylon thread, and specify needle size and thread size together with stitch length.
Prepare panels properly with skiving, hammering, and crease marking before they reach the machine. Reinforce the six load points deliberately. Then document the setup and keep the approved sample beside its photo, so bulk consistency is measured against evidence rather than memory.
Do that, and the seams your sample room approves are the seams your customers will examine years later.