Warehouse Layout for Bag Factories: How Do You Cut Travel Time?
Warehouse Layout for Bag Factories: How Do You Cut Travel Time?
Travel time is the largest controllable labour cost in a bag factory warehouse, and it is almost always invisible in the accounts. Nobody invoices for the forty metres a picker walks to fetch a roll of webbing, but the walking is paid for in every order.
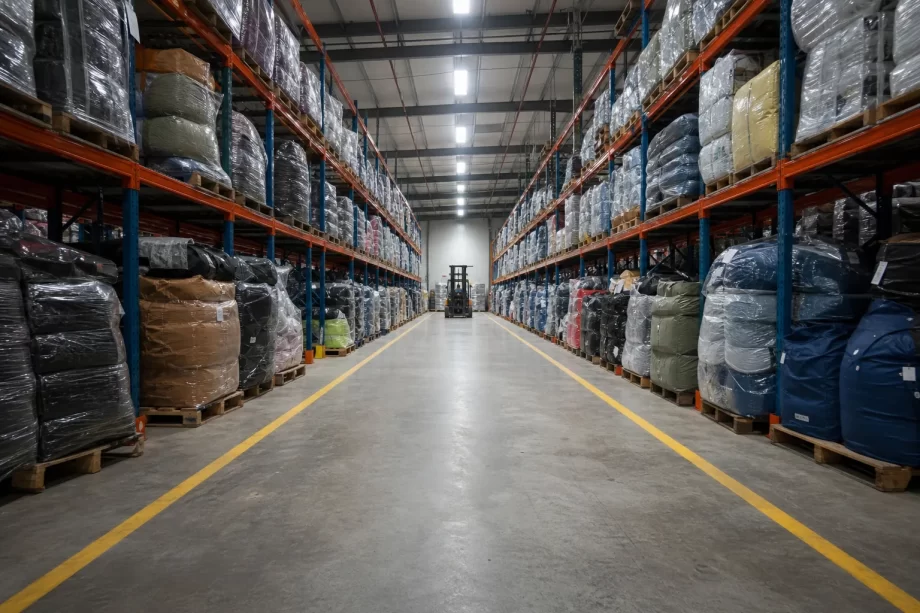
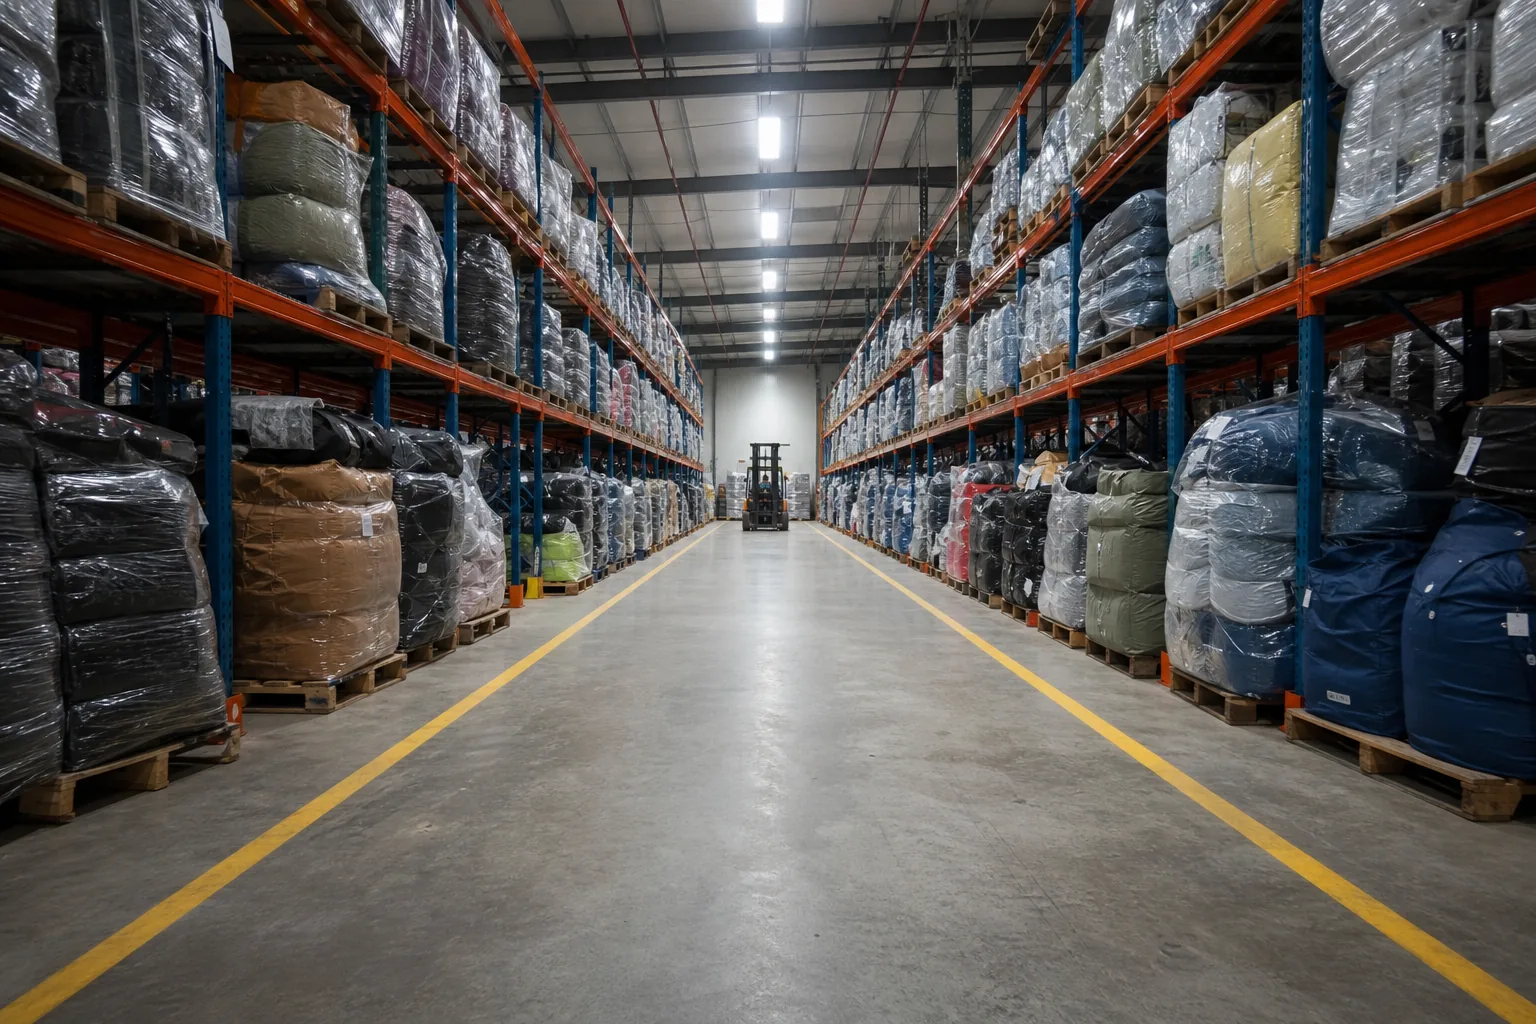
Wide warehouse aisle with pallet racking on both sides and marked floor lines
A backpack warehouse is harder to lay out than a general distribution centre because it holds four very different things at once: bulky fabric rolls, small hardware in bins, work-in-process kits that must stay together, and finished cartons waiting for a container. Each has a different handling unit, a different turnover and a different tolerance for damage.
This guide covers the layout decisions that reduce travel: how to measure the current state, how to classify components by movement, how slotting, aisle geometry, racking choices and flow direction interact, and how to change a live warehouse without stopping production.
The perspective is that of a plant engineer working with a warehouse supervisor, not a consultant selling automation.
Travel is a function of distance and frequency, and layout is the only lever that changes both without buying anything.
The Travel Cost Cost Table
Cost element
Share of warehouse labour
Travel
Largest single share
Searching
Second largest
Handling
Moderate
Counting
Moderate
Paperwork
Small
Waiting
Variable
The Driver Table
Driver
Effect on travel
Distance
Direct proportion
Frequency
Multiplier
Load size
Fewer trips
Route logic
Backtracking
Slot fit
Extra handling
Congestion
Delay
The Travel Cost Symptom Table
Symptom
Underlying cause
Pickers crossing paths
Poor zoning
Empty hands one way
One-way routing absent
Frequent short trips
Small handling units
Congested main aisle
Wrong aisle width
Items stored far away
No ABC logic
Double handling
Staging missing
The Travel Cost Metric Table
Metric
What it shows
Lines per hour
Productivity
Travel per line
Distance cost
Order cycle time
Service level
Dock to stock time
Receiving speed
Stock accuracy
Control quality
Space utilisation
Density
The Travel Cost Constraint Table
Constraint
Reality
Building shape
Fixed
Column grid
Fixed
Floor loading
Limited
Fire egress
Mandatory
Ceiling height
Limited
Budget
Finite
Measure travel in metres per order line before changing anything, because a layout argument without a baseline is settled by whoever speaks loudest.
Measuring the Current Layout
The current layout can be measured with a stopwatch, a tape and a week of observation, and the result usually surprises the people who work in it.
The Survey Table
Measurement
Method
Aisle length
Tape measure
Storage positions
Count
Daily picks per item
System report
Walking route
Observation
Time per trip
Stopwatch
Congestion points
Observation
The Data Table
Source
Provides
Warehouse system
Pick frequency
Order history
Line profile
Receiving log
Inbound pattern
Dispatch log
Outbound pattern
Stock count
Position accuracy
Staff feedback
Friction points
The Profile Table
Profile
Meaning
Fast movers
High frequency
Medium movers
Regular
Slow movers
Occasional
Dead stock
No movement
Seasonal
Predictable peaks
Kit items
Always together
The Baseline Table
Baseline
Use
Metres per line
Compare layouts
Lines per hour
Productivity
Trips per order
Route quality
Search time
Slotting quality
Damage rate
Handling quality
Space per pallet
Density
The Analysis Table
Finding
Response
Long main aisle
Rethink entry point
Scattered fast movers
Re-slot
Congested crossing
Change flow
Idle capacity at back
Rebalance
Excess dead stock
Clear out
Manual search
Label and index
Walk the warehouse with the pick list in hand for one full shift, because the route people actually take is rarely the route the layout intended.
ABC Classification for Bag Components
ABC classification puts the effort where the movement is, and in a bag warehouse the movement is concentrated far more tightly than most supervisors expect.
The Class Table
Class
Share of lines
Storage position
A
Highest
Nearest to pick face
B
Medium
Middle zone
C
Low
Remote zone
D
Very low
Bulk overflow
Seasonal
Variable
Flexible bay
Kit
Grouped
Assembly adjacent
The Component Table
Component
Typical class
Main zipper
A
Buckles and adjusters
A
Webbing
A
Lining fabric
B
Foam sheet
B
Branded labels
B
The Exception Table
Situation
Handling
Heavy item high frequency
Ground level
Fragile high frequency
Protected bay
Oversized roll
Roll rack
Small high count
Bin front
Regulated item
Locked store
Sample stock
Separate area
The Reclassification Table
Trigger
Action
New style launch
Re-slot
Season change
Rebalance
Frequency shift
Move class
Discontinuation
Clear position
Supplier change
Re-check unit
Layout change
Re-plan
The Review Table
Frequency
Task
Monthly
Frequency report
Quarterly
Slot review
Semi-annual
Full re-slot
Annual
Layout review
On launch
New item placement
On problem
Targeted fix
Classify by the number of times an item is picked rather than by its value, because travel is caused by frequency and not by price.
Slotting Rules That Actually Work
Slotting rules are simple statements that resolve most placement decisions without a meeting.
The Rule Table
Rule
Rationale
Fast to the front
Less walking
Heavy low
Safety and effort
Kit together
Fewer trips
Similar together
Less search
Reserve above
Density
Clear labels
Speed
The Position Table
Zone
Height
Prime
Waist to shoulder
Secondary
Knee to waist
Reserve
Above shoulder
Bulk
Floor or rack top
Return
Near dispatch
Quarantine
Controlled
The Pairing Table
Item pair
Reason
Zipper and slider
Always used together
Buckle and webbing
Same operation
Fabric and lining
Same style
Label and hangtag
Packing step
Thread and needle
Machine setup
Carton and tape
Dispatch
The Conflict Table
Conflict
Resolution
Fast item is bulky
Ground bay near door
Kit spans classes
Kit bay separate
Seasonal surge
Flexible front bay
Shared item
Two positions
Safety item
Fixed location
Regulated item
Locked and logged
The Slotting Failure Table
Failure
Consequence
Slot by value only
Walking to expensive slow items
No re-slot after launch
Dead frontage
Duplicate positions
Confusion
Unlabelled bins
Search time
Mixed units
Counting errors
Overflow in aisle
Congestion
Reserve the frontage for what moves, and accept that the expensive slow-moving item belongs at the back, because frequency pays for the position.
Aisle Width and Equipment Geometry
Aisle width is set by the equipment that has to turn in it, and widening an aisle costs storage positions that must be earned back in productivity.
The Width Table
Handling method
Typical width
Hand cart
Narrowest
Pallet truck
Moderate
Counterbalance forklift
Wide
Reach truck
Moderate
Order picker
Moderate
Two-way passage
Double
The Geometry Table
Dimension
Determines
Turning radius
Minimum width
Load overhang
Clearance
Rack depth
Aisle pitch
Column spacing
Bay module
Door width
Flow entry
Headroom
Lift height
The Trade-Off Table
Choice
Cost
Wide aisles
Fewer positions
Narrow aisles
Slower movement
One-way flow
Discipline needed
Two-way flow
More width
Deep racking
More travel
Shallow racking
More aisle
The Aisle Congestion Table
Point
Cause
Main aisle
All traffic funnels
Pick face
Two pickers
Dock approach
Peak arrivals
Weighing area
Single station
Wrap station
Queue
Door
Narrow opening
The Aisle Improvement Table
Measure
Effect
One-way loop
Less conflict
Passing bay
Clears queue
Wider main aisle
Faster trunk route
Remote bulk store
Fewer obstacles
Time slot booking
Spreads peak
Marked lanes
Predictable
Set the main aisle by the heaviest equipment that must pass and the pick faces by the cart, because building every aisle for the forklift wastes the space that pays for the layout.
Racking Versus Floor Stacking
Storage method decides how much fits, how fast it can be reached, and how much damage the goods absorb.
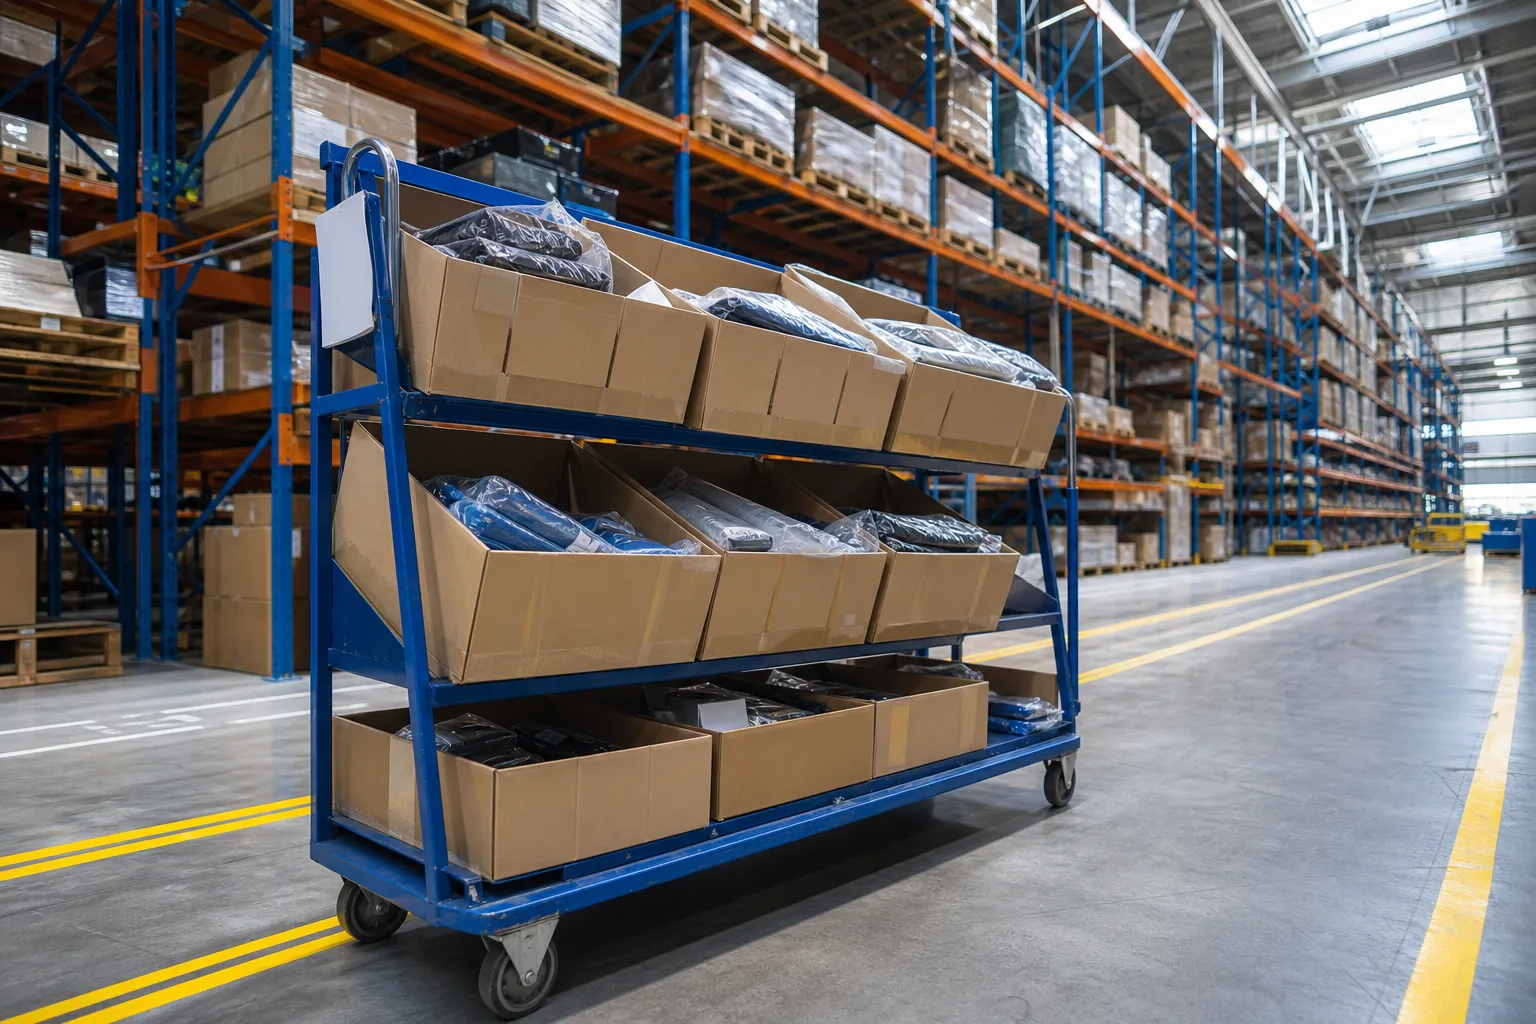
Warehouse picking cart loaded with cartons of bag components on a marked route
The Racking Method Table
Method
Character
Pallet racking
Selective access
Block stacking
High density
Roll racking
Fabric handling
Shelving
Small parts
Mezzanine
Vertical use
Floor marking only
Flexibility
The Suitability Table
Goods
Best method
Cartoned hardware
Shelving or racking
Fabric rolls
Roll rack
Foam sheet
Racking
Finished cartons
Racking
Bulk packaging
Block stack
Work in process
Marked floor
The Density Table
Method
Space efficiency
Block stacking
Highest
Double deep racking
High
Selective racking
Moderate
Shelving
Moderate
Mezzanine
High vertical
Floor only
Lowest
The Access Table
Method
Access speed
Selective racking
Fast
Shelving
Fast
Roll rack
Moderate
Double deep
Slower
Block stacking
Slowest
Mezzanine
Slow travel
The Racking Damage Table
Method
Risk
Block stacking
Compression
Racking
Handling impact
Roll rack
Creasing
Shelving
Dust and mixing
Floor stack
Moisture
Mezzanine
Handling drops
Store fabric on roll racks rather than stacked flat, because a crease pressed into a coated roll becomes a defect that appears after cutting.
Receiving and Putaway Flow
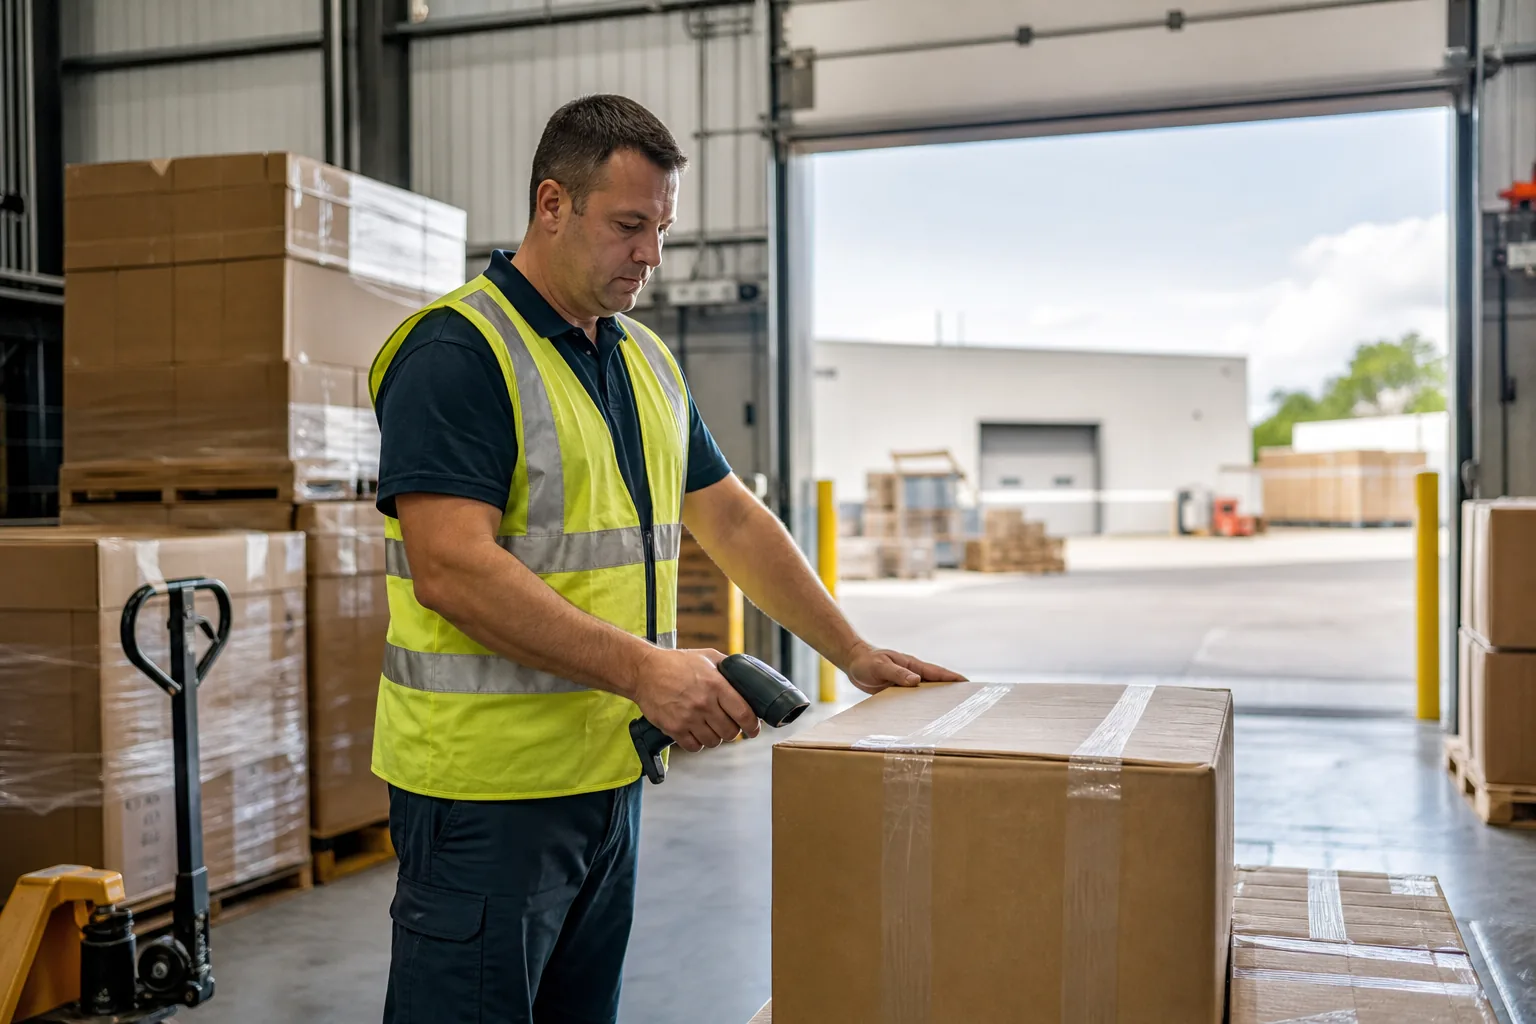
Receiving is where the layout is tested first, because inbound goods arrive in units chosen by the supplier rather than by the warehouse.
Warehouse staff scanning cartons at a receiving dock with stacked pallets
The Flow Table
Step
Location
Unload
Dock
Count
Receiving bay
Inspect
Inspection area
Label
Receiving desk
Putaway
Storage position
Record
System entry
The Inbound Table
Inbound type
Handling unit
Fabric rolls
Pallet or stillage
Cartoned hardware
Carton
Foam sheet
Bundle
Zippers
Box
Labels
Small carton
Packaging
Bale
The Delay Table
Cause
Effect
No dock space
Truck waits
Count at door
Blocks aisle
No staging area
Double handling
Missing labels
Queued stock
Single inspector
Bottleneck
No system entry
Unrecorded stock
The Putaway Table
Rule
Reason
Same day
Avoids clutter
Fixed position
Findable
Label before store
Traceable
Heavy low
Safe
Kit adjacency
Fewer trips
Record immediately
Accurate
The Receiving Improvement Table
Measure
Effect
Booked delivery slots
Levelled arrivals
Separate counting bay
Clear dock
Pre-printed labels
Faster putaway
Two-person inspection
Throughput
Direct putaway
One touch
Mobile entry
Immediate record
Give receiving its own floor space apart from the aisles, because counting cartons in a traffic lane turns every delivery into a congestion event.
Picking Methods for Bag Kitting
A bag order is a kit rather than a set of independent lines, and picking methods that ignore that produce short kits and repeated trips.
The Picking Method Table
Method
Best for
Single order pick
Large orders
Batch pick
Many similar orders
Zone pick
Wide item range
Kit cart
Repeating bill
Two-stage
High volume
Wave pick
Scheduled dispatch
The Kit Table
Kit element
Picking unit
Shell fabric
Roll length
Lining
Roll length
Zipper
Metres or pieces
Hardware
Pieces
Labels
Pieces
Thread
Cones
The Route Table
Route type
Character
S-shape
Simple, effective
Return
Short aisles
Midpoint
Split zones
Largest gap
Skip empty
Zone sequence
Parallel work
Kit loop
Fixed path
The Error Table
Error
Cause
Short kit
Missed line
Wrong variant
Similar items adjacent
Over-pick
Count error
Mixed unit
Unit confusion
Missing label
Late picking
Damaged item
Handling
The Control Table
Control
Effect
Scan per line
Verified pick
Kit checklist
Completeness
Colour coding
Variant clarity
Weigh check
Quantity proof
Photo of kit
Dispute evidence
Supervisor audit
Discipline
Pick by kit and stage by kit, because an order that arrives at the sewing line one component short costs more than the walking saved by picking loosely.
Packing and Dispatch Flow
Dispatch is the mirror of receiving, and the layout works when goods move through in one direction without revisiting a space they have already occupied.
The Station Table
Station
Requirement
Final inspection
Light and space
Packing bench
Height and bins
Carton sealing
Tape and power
Labelling
Printer access
Weighing
Scale position
Staging lane
Marked area
The Sequence Table
Step
Failure risk
Inspect
Missed defect
Pack
Wrong carton
Seal
Weak seal
Label
Wrong destination
Weigh
Missed short ship
Stage
Mixed with other orders
The Staging Table
Type
Use
Order lane
Single order
Container lane
Load build
Export lane
Documentation
Hold lane
Pending release
Return lane
Rejected goods
Sample lane
Courier picks
The Load Table
Consideration
Effect
Carton strength
Compression
Pallet pattern
Stability
Container fill
Freight cost
Loading sequence
Unload order
Weight distribution
Safety
Documentation
Clearance
The Dispatch Congestion Table
Point
Remedy
Single scale
Add station
Narrow dispatch door
Schedule
Shared aisle with picking
Separate
Label printer queue
Second printer
Manual paperwork
Pre-print
Late order insertion
Cut-off time
Separate dispatch staging from picking aisles with a marked lane, because staged cartons in a pick route become obstacles within the first busy hour.
Bulk Fabric and Roll Storage
Fabric dominates the footprint of a bag warehouse, and its handling unit dictates both the storage method and the aisle design.
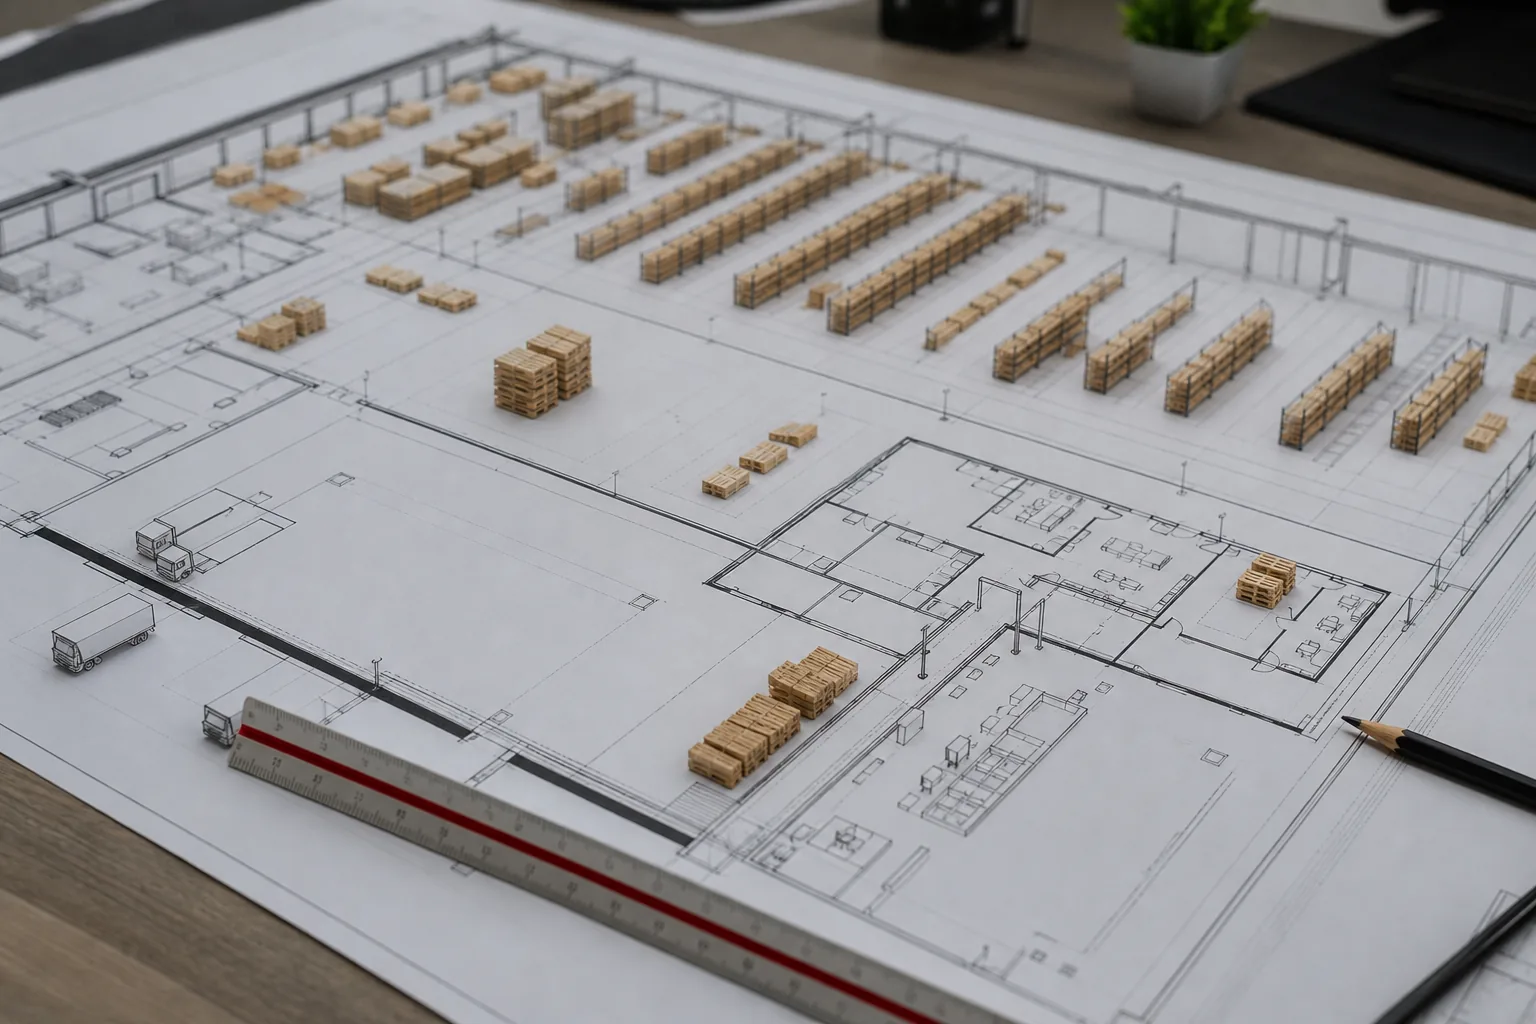
Warehouse layout plan on a desk with a scale ruler and wooden pallet blocks
The Roll Table
Consideration
Requirement
Support
Cradle, not point
Orientation
Horizontal or vertical
Access
One roll at a time
Identification
Label on end
Protection
Wrap or cover
Rotation
First in first out
The Rack Table
Type
Character
Cantilever
Long rolls
Cradle rack
Horizontal
Vertical rack
Standing rolls
A-frame
Short lengths
Palletised
Forklift moves
Floor cradle
Low volume
The Roll Damage Table
Risk
Cause
Creasing
Bad support
Edge damage
Dragging
Moisture
Floor contact
Dust
Open storage
UV fade
Daylight exposure
Compression
Stacking heavy
The Retrieval Table
Factor
Effect
Roll weight
Equipment need
Cut length
Handling time
Position height
Access speed
Queue at cutting
Staging space
Return remnant
Storage plan
Traceability
Batch link
The Remnant Table
Remnant size
Handling
Full roll
Return to rack
Over half
Rack with label
Small length
Shelf with tag
Offcut
Scrap or sample
Reserved
Style-tagged
Unknown
Quarantine
Never allow a cutting station to become fabric storage, because rolls parked beside the table block the aisle and hide the inventory count at the same time.
Small Components and Hardware Storage
Hardware is where picking time is lost to searching rather than walking, and the fix is indexing rather than distance.
The Container Table
Container
Use
Open bin
Fast small parts
Divided box
Variants
Drawer unit
Very small parts
Tote
Kit assembly
Shelf tray
Medium parts
Sealed bag
Controlled issue
The Index Table
Index element
Purpose
Position code
Location
Item code
Identity
Bin label
Match
Photo
Visual check
Count card
Quantity
Reorder point
Supply
The Variant Table
Variant risk
Control
Similar colours
Separate bins
Sizes adjacent
Size labels
Left and right
Paired label
Plated versus painted
Distinct colour bin
Supplier difference
Note in system
Unit difference
Marked unit
The Replenishment Table
Method
Trigger
Two-bin
Empty first bin
Kanban card
Card returned
Min-max
Level reached
Cycle count
Schedule
Kit demand
Order release
Manual check
Shift start
The Theft Table
Risk
Control
Small high value items
Locked store
Loose count
Weigh count
Open access
Issue slip
Return not recorded
Return bin
Scrap unrecorded
Scrap log
Sample removal
Approval
Label every bin with position, item code and a photograph, because a photograph resolves variant questions that a code alone cannot answer during a shift handover.
Work-in-Process Buffers
Work in process occupies space without earning storage density, and its position decides whether the sewing line waits or walks.
The Buffer Table
Buffer
Position
Cut parts
Before sewing
Kitted components
Line side
Semi-finished
Between operations
Awaiting trim
Before finishing
Awaiting inspection
Before packing
Awaiting dispatch
Before staging
The Sizing Table
Factor
Effect
Line takt time
Buffer size
Changeover length
Larger buffer
Defect rate
Rework buffer
Shift pattern
End of shift spike
Transport batch
Handling unit
Space available
Constraint
The Line-Side Table
Item
Provision
Thread
Rack at machine
Needles
Dispenser
Labels
Small bin
Zip tape
Roll holder
Small tools
Shadow board
Scrap
Bin below
The Buffer Congestion Table
Problem
Remedy
Buffer blocks aisle
Marked boundary
Overflow on floor
Cap and escalate
Mixed styles
Tagged trolleys
Unlabelled WIP
Kit card
Forklift conflict
Route change
Double handling
Direct feed
The Visual Table
Signal
Meaning
Full trolley
Line behind
Empty trolley
Line starved
Red tag
Hold
Yellow tag
Rework
Green tag
Released
No tag
Uncontrolled
Cap the work-in-process buffer at a marked floor area and treat overflow as a signal to stop releasing work, because unmarked buffers grow until the aisle disappears.
Cross-Docking and Staging
Cross-docking removes storage from the flow, and it works only when the layout provides space for goods to wait without being put away.
The Case Table
Situation
Cross-dock fit
Container loading
Strong
Sample dispatch
Strong
Urgent replacement
Strong
Bulk fabric
Weak
Seasonal stock
Weak
Kit assembly
Moderate
The Space Table
Area
Purpose
Inbound lane
Arrival staging
Sort area
Allocation
Outbound lane
Load staging
Hold area
Pending release
Document desk
Paperwork
Route aisle
Movement
The Condition Table
Condition
Requirement
Volume known
Predictable flow
Timing aligned
Truck schedule
Labelling ready
At arrival
Quality checked
At receipt
System entry
Immediate
Ownership clear
No ambiguity
The Cross-Dock Failure Table
Failure
Effect
No staging space
Goods in aisle
Late truck
Lane blocked
Unchecked quality
Rework after load
Mixed destinations
Wrong shipment
No hold area
Premature shipping
Paperwork delay
Container waits
The Measure Table
Measure
Target
Dock to load time
Short
Touches per carton
One
Staging occupancy
Monitored
Load accuracy
High
Truck waiting
Minimal
Rework
None
Reserve staging lanes by truck schedule rather than by order, because two loads sharing one lane always ends with cartons in the wrong container.
Safety, Fire and Egress Constraints
Every layout decision is bounded by fire safety, and the constraints that look like obstacles are also what keeps the building insurable.
The Safety Constraint Table
Constraint
Typical effect
Egress width
Aisle minimum
Travel distance
Exit placement
Sprinkler clearance
Stack height
Extinguisher access
Local space
Electrical clearance
Panel access
Loading area
Separation
The Storage Table
Requirement
Application
Clearance below sprinklers
Stack height limit
Aisle at exits
Kept clear
No storage in egress
Enforced
Racking fixed
Anchored
Flammable segregation
Separate store
Ignition control
No hot work
The Fabric Table
Material
Fire consideration
Synthetic fabric
Rapid spread
Foam sheet
High load
Coated fabric
Smoke density
Packaging film
Easily ignited
Cartons
Fuel load
Adhesive
Flammable vapour
The Discipline Table
Practice
Purpose
Floor marking
Keeps lanes clear
Daily walk
Detects blockage
Housekeeping
Removes fuel
Hot work permit
Controls ignition
Training
Response
Drill
Preparedness
The Audit Table
Check
Frequency
Exit clear
Daily
Extinguisher
Monthly
Sprinkler clearance
Quarterly
Racking damage
Quarterly
Electrical panels
Annual
Evacuation drill
Periodic
Mark the egress lanes on the floor and treat anything stored in them as a stop-work issue, because a blocked exit is the one layout shortcut that can end a business.
Layout Change Without Stopping Production
A layout change in a live warehouse is a series of small moves scheduled around dispatches, not a weekend rebuild.
The Changeover Phase Table
Phase
Activity
Prepare
Clear dead stock
Zone one
Re-slot fast movers
Zone two
Rework aisles
Zone three
Move bulk
Relabel
Update positions
Settle
Measure and adjust
The Window Table
Window
Suitability
Weekend
Larger moves
Shift change
Small relocations
Post-dispatch
Aisle work
Low season
Major change
Holiday shutdown
Structural work
Night shift
Racking install
The Risk Table
Risk
Control
Wrong stock picked
Temporary labels
Lost traceability
System update first
Forklift conflict
One-way plan
Fire lane blocked
Staged removal
Staff confusion
Briefing and map
Dispatch delay
Cut-off protection
The Communication Table
Audience
Message
Pickers
New positions
Supervisors
Sequence
Production
Kit timing
Dispatch
Lane changes
Maintenance
Rack work
Management
Progress
The Rollback Table
Situation
Response
Accuracy drops
Pause and count
Congestion worsens
Reopen old lane
Racking delay
Keep temporary
System mismatch
Freeze moves
Staff resistance
Involve early
Cost overrun
Re-scope
Move one zone at a time and count stock at the boundary, because a warehouse moved in one weekend usually loses accuracy for a month afterwards.
Measuring Improvement
Improvement has to be measured against the baseline taken before the change, and the measurement should be simple enough to repeat monthly.
The Improvement Metric Table
Metric
Method
Travel per line
Sample timing
Lines per hour
System output
Order cycle
Timestamp difference
Search incidents
Log count
Congestion events
Observation
Damage rate
Claim count
The Sample Table
Sample
Frequency
Random order
Weekly
Peak order
Monthly
Bulk pick
Monthly
Receiving event
Weekly
Dispatch load
Weekly
Full shift
Quarterly
The Comparison Table
Period
Purpose
Before
Baseline
First month
Early signal
Third month
Settled result
Sixth month
Sustainment
Annual
Trend
Post-change
Regression check
The Reporting Table
Audience
Content
Warehouse team
Daily numbers
Operations
Weekly summary
Management
Monthly trend
Finance
Labour saving
Quality
Error trend
Safety
Incident trend
The Sustainment Table
Practice
Effect
Monthly slot review
Prevents drift
Label audit
Keeps index
New item protocol
No random placement
Housekeeping routine
Preserves lanes
Feedback loop
Early warning
Annual plan
Continuous gain
Publish the travel metric where the team can see it, because a layout that is measured monthly stays intact and a layout that is measured once reverts within a season.
Common Layout Mistakes
The same mistakes appear in most bag warehouses, and each of them is cheap to fix once it is named.
The Mistake Table
Mistake
Cost
Layout drawn once
Drift over years
No ABC data
Frontage wasted
Shelving everywhere
Slow bulk handling
Wide aisles throughout
Positions lost
No staging area
Aisle congestion
Unlabelled positions
Search time
The Cause Table
Cause
Explanation
Incremental growth
No redesign
Space shortage
Store anywhere
No owner
Nobody decides
Production priority
Warehouse ignored
Budget cycles
Piecemeal spend
Fear of disruption
Change deferred
The Mistake Symptom Table
Symptom
Diagnosis
Aisle parking
No overflow zone
Mixed stock in bay
No slot control
Forklift waiting
Main aisle too narrow
Long pick times
Poor slotting
Recounts
Position errors
Damaged goods
Handling method
The Correction Table
Mistake
Correction
No data
Pull pick history
Frontage wasted
Re-slot by class
Wrong storage type
Match unit to method
Excess width
Re-plan by equipment
No staging
Mark lanes
No labels
Index positions
The Prevention Table
Practice
Effect
Annual layout review
Keeps fit
Change control
Prevents drift
Named owner
Accountability
Simple metrics
Visibility
Staff involvement
Practical design
Phased budget
Steady improvement
Draw the layout as it actually is rather than as it was designed, because most warehouses have not matched their drawing for years and decisions built on the drawing fail.
Layout for Multi-Storey and Rented Buildings
Many bag factories operate in buildings that were not designed for storage, and the constraints of rented space decide what is achievable.
The Building Table
Type
Character
Single storey
Flexible
Multi-storey
Vertical transport cost
Mezzanine
Light goods only
Basement
Humidity risk
Shared building
Restricted hours
Temporary structure
Limited load
The Transport Table
Method
Suitability
Goods lift
Pallet movement
Ramp
Cart movement
Stair carry
Small parts
Hoist
Heavy rolls
Conveyor
Repetitive flow
Chute
Waste only
The Building Constraint Table
Constraint
Effect
Floor loading
Stack height
Lift capacity
Pallet size
Ceiling height
Rack height
Column density
Aisle layout
Door size
Handling unit
Lease terms
Alteration limits
The Strategy Table
Situation
Approach
Upper floor light goods
Hardware and labels
Ground floor heavy
Fabric and cartons
Tight lift
Smaller units
Low ceiling
Shelving
Shared yard
Scheduled loads
Short lease
Mobile racking
The Building Cost Table
Factor
Effect
Lift waiting
Labour time
Extra handling
Damage risk
Restricted hours
Schedule pressure
Rack installation
Capital
Lease restoration
Exit cost
Insurance
Compliance
Put the light, high-frequency items upstairs and the heavy, low-frequency items downstairs, because vertical transport is the most expensive metre in a multi-storey building.
Owner, Cost and Phasing
A layout improvement with no owner becomes a complaint about space, and the budget question is easier once travel is expressed in hours.
The Owner Table
Role
Duty
Warehouse manager
Layout owner
Plant engineer
Space and racking
Planning
Slot data
Production
Kit timing
Finance
Budget case
Safety
Compliance
The Business Case Cost Table
Element
Relative cost
Floor marking
Low
Labels and signage
Low
Shelving
Moderate
Racking
Higher
Handling equipment
Higher
Layout study
Low to moderate
The Saving Table
Source
Mechanism
Travel reduction
Fewer steps
Faster picking
More lines per hour
Less damage
Fewer claims
Better accuracy
Fewer recounts
Space release
Avoided rent
Faster dispatch
Fewer delays
The Business Case Phase Table
Phase
Content
One
Measure and classify
Two
Re-slot frontage
Three
Relabel and mark
Four
Racking change
Five
Flow redesign
Six
Measure and hold
The Business Case Table
Input
Source
Hours saved
Timing sample
Labour rate
Payroll
Capital cost
Quotation
Payback
Calculation
Risk
Qualitative
Decision
Management
Convert travel reduction into hours per month before asking for money, because a layout proposal in metres is a preference and a proposal in hours is a business case.
The Warehouse Layout Checklist
Before Changing Anything
Item
Done
Pick frequency report pulled
☐
Travel baseline measured
☐
Current layout drawn
☐
Dead stock identified
☐
Constraints confirmed
☐
Owner named
☐
Storage and Slots
Item
Done
ABC classes assigned
☐
Fast movers at frontage
☐
Kit items adjacent
☐
Heavy items low
☐
Fabric on cradles
☐
Positions labelled
☐
Flow and Space
Item
Done
One-way route defined
☐
Main aisle sized
☐
Receiving bay separate
☐
Staging lanes marked
☐
WIP buffers capped
☐
Egress kept clear
☐
After the Change
Item
Done
Travel re-measured
☐
Accuracy checked
☐
Labels verified
☐
Staff briefed
☐
Metrics posted
☐
Review scheduled
☐
FAQ
How much travel time can a layout change realistically remove?
In a warehouse that has grown without redesign, removing a third of travel time is a common outcome, because the fastest-moving items are usually stored wherever space was free rather than where they are needed. The gain comes from three changes rather than one: moving high-frequency items to the frontage, eliminating backtracking with a one-way route, and separating receiving and dispatch staging from the pick aisles. A warehouse that is already well slotted should expect much less.
Do we need a warehouse management system to improve the layout?
No. A pick frequency report from whatever system issues the pick lists, a tape measure and a stopwatch are enough for the first redesign. A system helps afterwards, because it can enforce slotting rules and hold position data, but the layout decision itself needs only movement data and a floor plan. Many plants improve substantially with a printed plan, floor paint and a relabelling exercise.
How often should slotting be reviewed?
Monthly for frequency data, quarterly for slot decisions, and immediately whenever a new style is launched or discontinued. The failure mode is not a wrong initial decision; it is a correct decision that is never revisited while the product mix changes around it. A quarterly review of the top twenty items by pick frequency catches most of the drift.
What aisle width should a bag warehouse use?
Set the main aisle by the widest equipment that must pass through it at the same time as another vehicle, and set the pick-face aisles by the cart or truck used for picking. Building every aisle for the forklift wastes storage positions; building every aisle for the cart blocks the forklift. The practical answer is a hierarchy: a generous trunk route, moderate cross aisles and narrow pick faces.
Should fabric rolls be stored vertically or horizontally?
Horizontally on a cradle is the safer default, because it avoids the point loading that creases a coated fabric and it keeps the roll from standing unsupported. Vertical storage saves floor space and suits short lengths, but it needs a proper rack so the roll does not lean against a neighbour. Whichever is chosen, the fabric must never rest directly on the floor.
How do we handle peak season without expanding the building?
By using temporary capacity deliberately rather than by filling the aisles. Options include a marked overflow zone that is cleared afterwards, a rented container or trailer for slow-moving stock, extended receiving hours to spread arrivals, and pre-kitting orders in advance so the pick face is used only for assembly. The one approach that reliably fails is storing overflow in pick aisles, because it degrades both travel time and safety at the moment both matter most.
What is the single most useful measurement to start with?
Metres walked per order line on a representative sample of orders. It captures the effect of distance, slotting and route in one number, it is comparable before and after a change, and it can be taken with a pedometer or a tape measure and a notebook in a single shift. Everything else, including lines per hour, follows from it.
Can the layout be changed while production continues?
Yes, and it usually has to be. The workable method is to move one zone at a time during low-activity windows, count stock at the boundary of each move, update labels and system positions before the next zone, and keep the old lane available until the new one is proven. A single weekend rebuild is the approach that most often damages accuracy for weeks afterwards.
Conclusion
Travel time in a bag warehouse is a design outcome, and the design is usually inherited rather than chosen. The good news is that the largest gains come from the cheapest changes.
Classify components by pick frequency and move the fast movers to the frontage. Separate receiving, staging and dispatch from the pick aisles so that goods in transit stop competing with goods in storage. Match the storage method to the handling unit, with fabric on cradles, hardware in indexed bins and finished cartons in racking. Label every position so that search time disappears, and mark the floor so that the layout survives the first busy week.
Then measure. Metres per line before and after, published monthly, is enough to keep the layout honest. Without a number, the warehouse drifts back towards convenience, and the walking returns quietly without appearing on any invoice.
The commercial point is simple: a warehouse that pays for its own floor space in saved hours funds the next improvement, and one that does not becomes a permanent argument about needing a bigger building.