A backpack can pass every incoming material inspection, every in-line stitch check, and every final visual audit, and still fail in the customer’s hands within a month. The failures that generate returns are rarely cosmetic.
They are structural: a shoulder strap anchor that tears out, a zipper slider that separates under load, a bottom panel that abrades through, a buckle that releases when it should hold. None of these appear in a visual inspection, because they depend on how the assembly behaves under force and repetition.
That is the purpose of finished-goods testing. It applies controlled loads, drops, and cycles to a complete bag and measures whether the structure survives. It converts an argument about quality into a measured result with a number attached, and it catches the design and assembly problems that inspection cannot see.
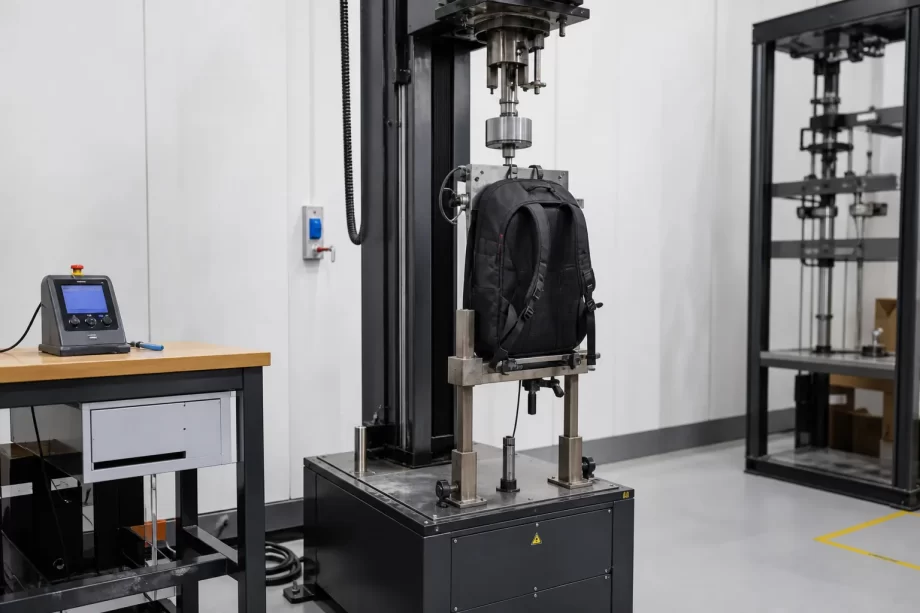
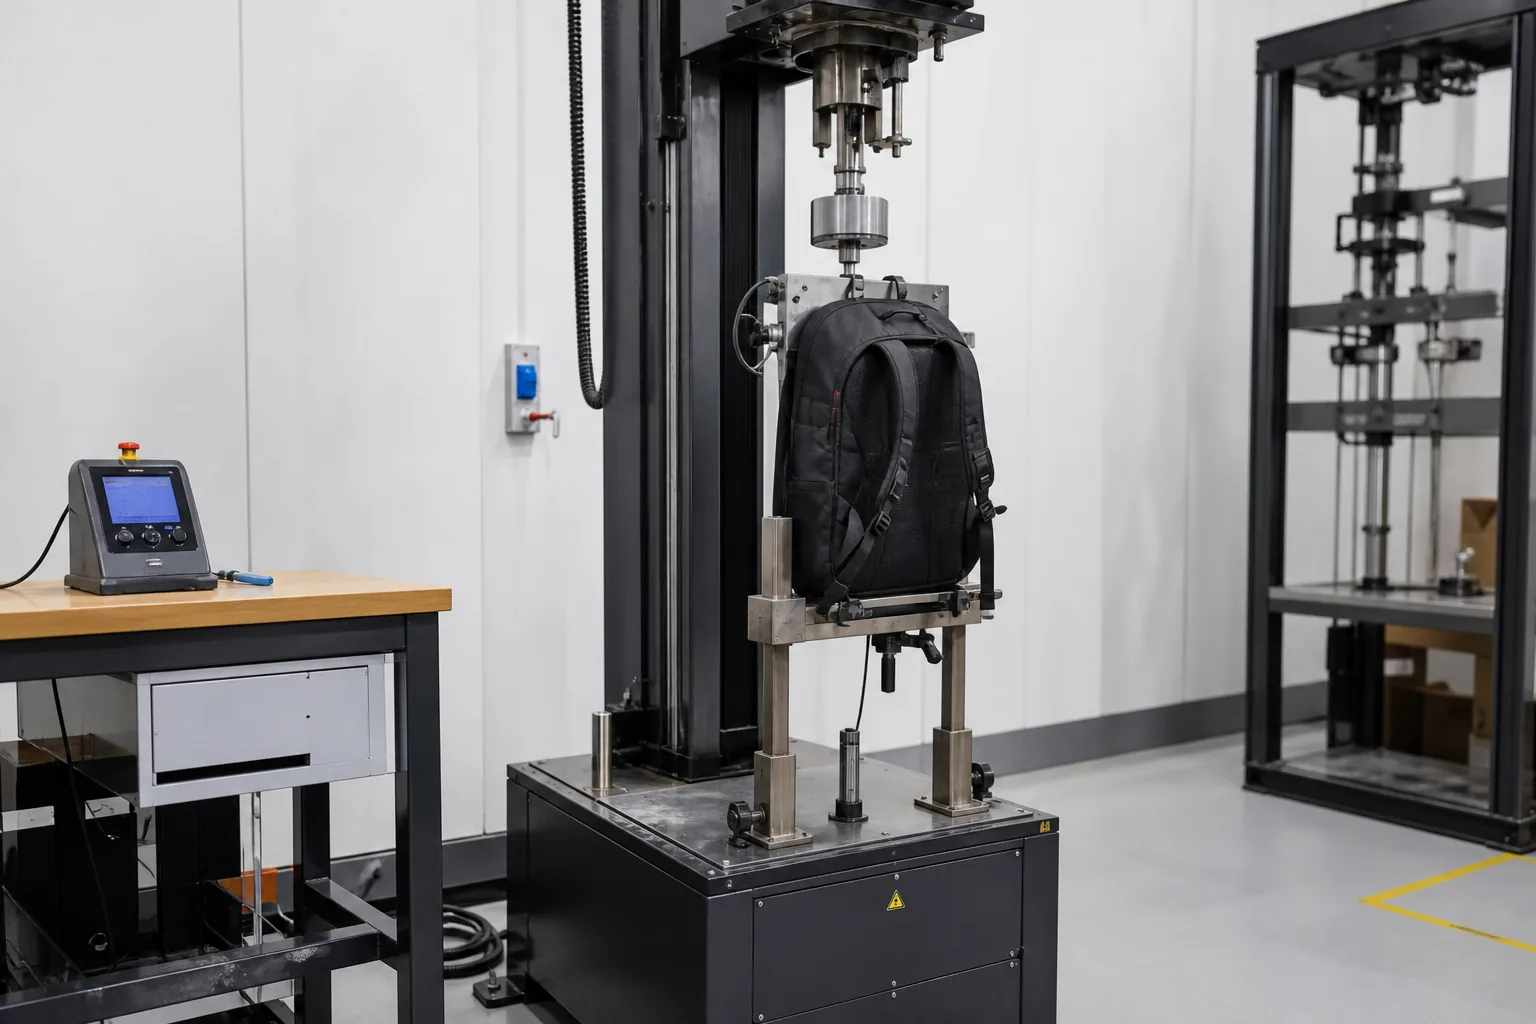
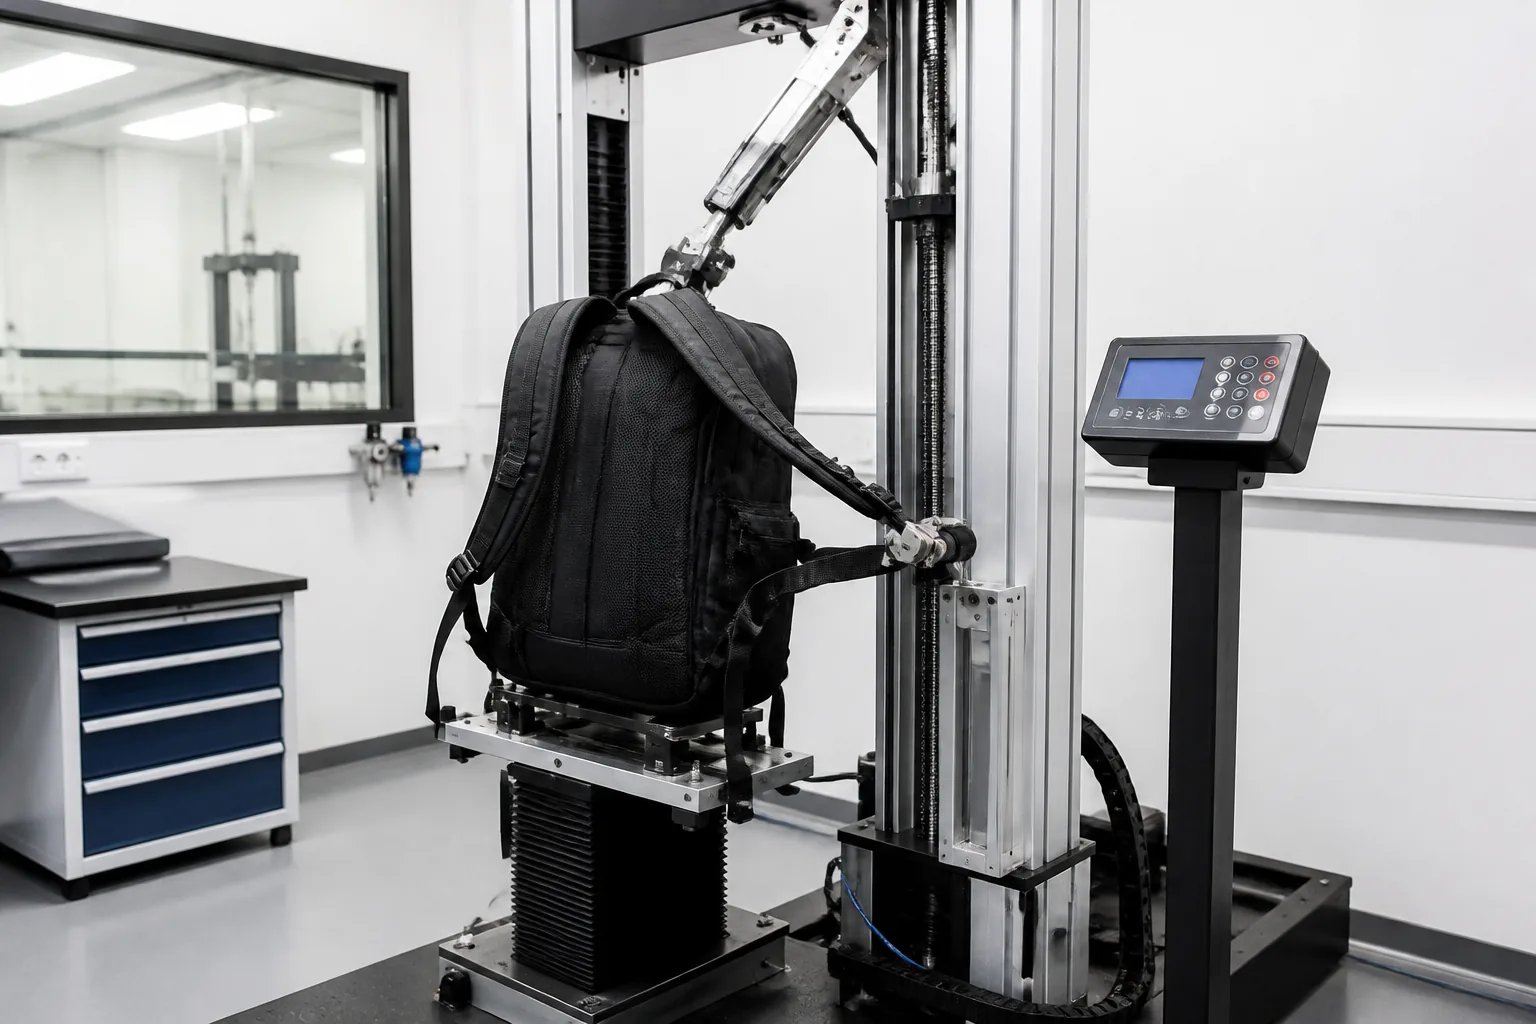
Bag testing laboratory with a drop test rig and mounted backpack
This guide covers finished-goods testing for backpacks and bags from a manufacturer’s perspective: why visual inspection is insufficient, how a test protocol is framed against a standard or a buyer specification, and how drop and shock testing is set up and judged.
It then covers how static and dynamic load testing is applied to the load-bearing points, how cycle testing measures latch and zipper life, how a test lab is equipped and maintained, how failures are interpreted and fed back into production, and how results are reported to a buyer.
Visual inspection confirms that a bag looks correct. It does not confirm that it will hold a load. The two are different questions, and the second one requires force and repetition to answer.
The Inspection Limit Table
Visual check
What it cannot reveal
Stitch appearance
Seam strength under load
Hardware present
Whether the buckle releases early
Zipper fitted
Slider life in cycles
Fabric unmarked
Abrasion resistance
Panel aligned
Anchor point tear strength
Weight as specified
Load distribution behaviour
The Failure Mode Table
Failure
Trigger
Strap anchor tear-out
Sudden load or repeated strain
Seam slippage
Insufficient stitch density or thread
Zipper separation
Slider wear or tooth damage
Abrasion through
Rubbing against a surface
Buckle release
Insufficient engagement force
Hardware deformation
Overload beyond design
Lining rupture
Internal load concentration
The Return Cost Table
Cost element
Character
Replacement unit
Direct product cost
Freight both ways
Logistics cost
Handling labour
Administrative cost
Buyer confidence
Commercial cost
Investigation time
Management cost
Claim negotiation
Relationship cost
The Testing Benefit Table
Benefit
Effect
Failure found before shipping
Protects the order
Measured limit known
Enables honest specification
Design feedback
Improves the next version
Buyer evidence
Supports the claim that quality is controlled
Production benchmark
Enables routine comparison
Claim defence
Data answers a complaint
The Test Type Table
Test type
Question answered
Drop
Does it survive impact?
Static load
Does it hold a steady force?
Dynamic load
Does it survive repeated strain?
Cycle
Does a mechanism last?
Abrasion
Does the surface resist rubbing?
Peel and tensile
Do bonds and seams hold?
Manufacturer note: The value of finished-goods testing is not the pass or fail result on one bag. It is knowing the margin between the load the bag is designed for and the load at which it fails. A bag that survives a test exactly at its design load has no margin. A bag that survives twice its design load has a margin that can absorb manufacturing variation, which is what protects the buyer from field failures.
Framing the Test Protocol
A test protocol defines what is tested, how the load is applied, what counts as a failure, and how many samples are needed. Without it, a test produces an opinion rather than a result.
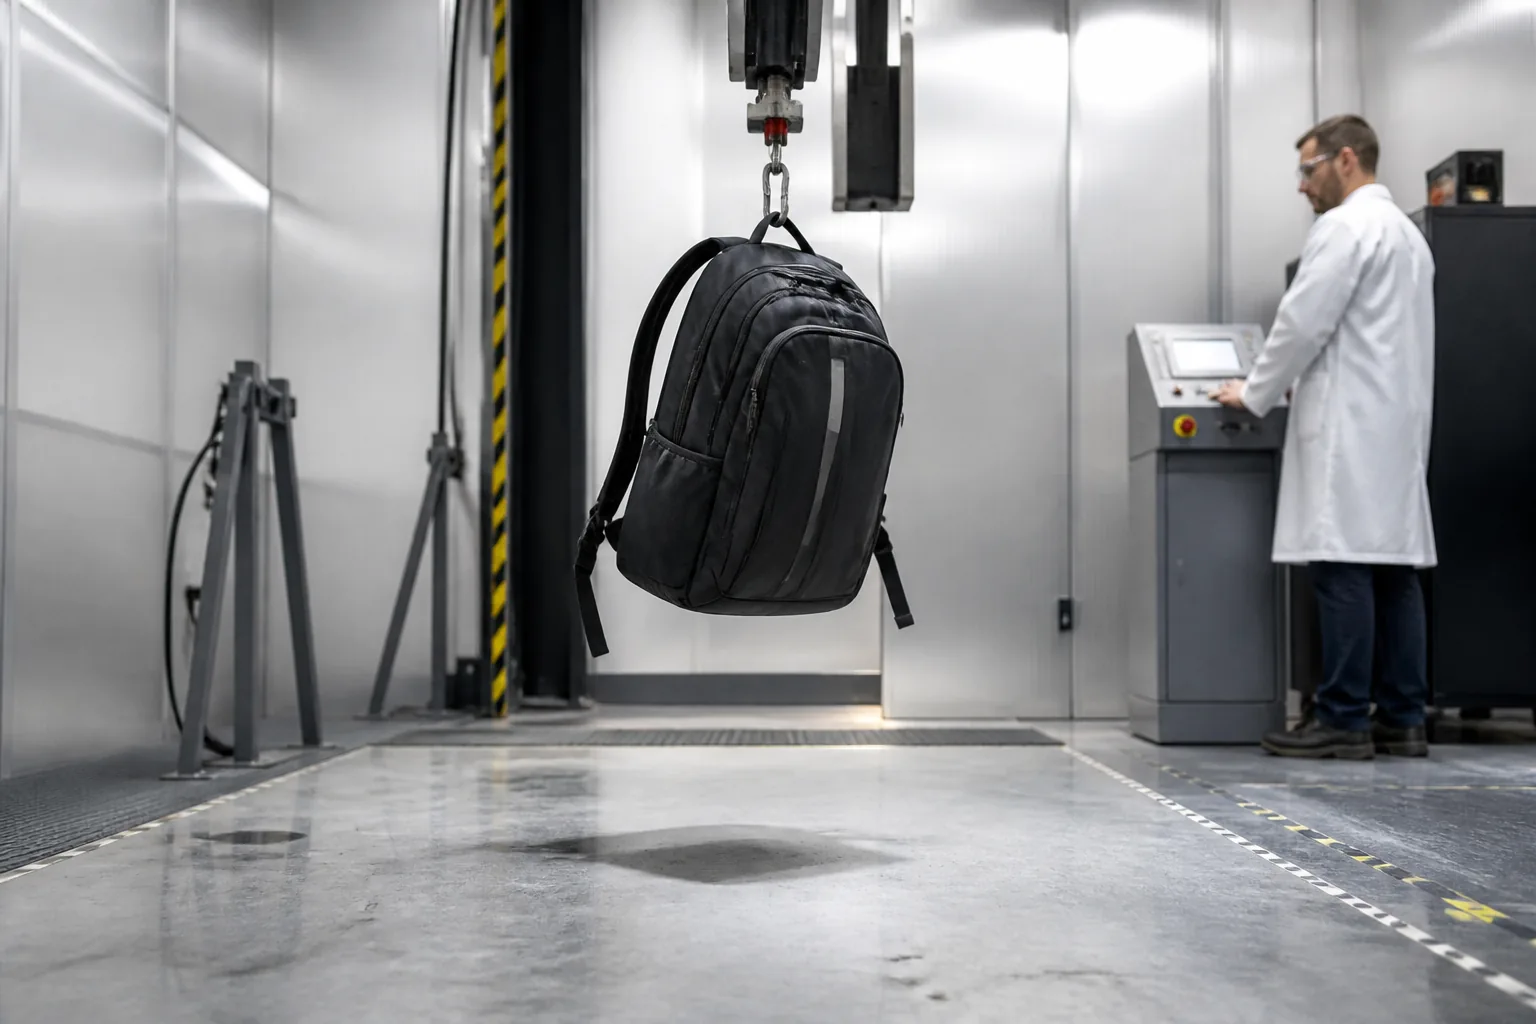
Backpack suspended from a hoist above a concrete floor for a drop test
The Protocol Element Table
Element
Definition required
Test object
Model, size, configuration
Sample size
Number of units tested
Conditioning
Temperature and humidity before testing
Load or drop condition
Mass, height, orientation, cycles
Failure criteria
What counts as a failure
Measurement
What is recorded
Accept criterion
Pass or fail threshold
Report format
How the result is documented
The Standard Source Table
Source
Character
Buyer specification
Contract-specific requirement
International standard
Recognised test method
Industry guideline
Common practice in the sector
Internal standard
Factory’s own proven method
Retailer requirement
Destination-specific
The Sample Table
Sample purpose
Typical quantity
Development trial
One to two units
Pre-production approval
Two to three units
Golden sample validation
Three units
Routine production check
One unit per batch or shift
Investigation of a claim
Units from the affected batch
The Conditioning Table
Condition
Reason
Standard laboratory atmosphere
Consistent comparison
Low temperature
Cold embrittlement of plastics
High temperature
Softening and creep
Humidity exposure
Mould, swelling, and adhesion
Wet and dry cycles
Realistic service conditions
The Failure Definition Table
Failure type
Description
Catastrophic
Structure separates or fails
Functional
No longer performs its function
Partial
Degraded but still usable
Cosmetic
Appearance affected only
The Accept Criteria Table
Criteria type
Basis
No catastrophic failure
Non-negotiable
Function retained
Mechanism still works
Limit not exceeded
Deformation within range
No seam rupture
Stitch integrity held
Buyer threshold met
Contract requirement
The Documentation Table
Record
Content
Test request
What and why
Sample identification
Model, batch, serial
Test condition
Load, height, cycles
Observation
What happened
Photograph
Failure location
Result
Pass or fail against criteria
Conclusion
Action and follow-up
Drop and Shock Testing
Drop testing simulates the impact a bag receives when it is set down hard, falls from a bench, or is thrown into a vehicle. It stresses the corners, the bottom panel, and the hardware, which are the points where impact energy concentrates.
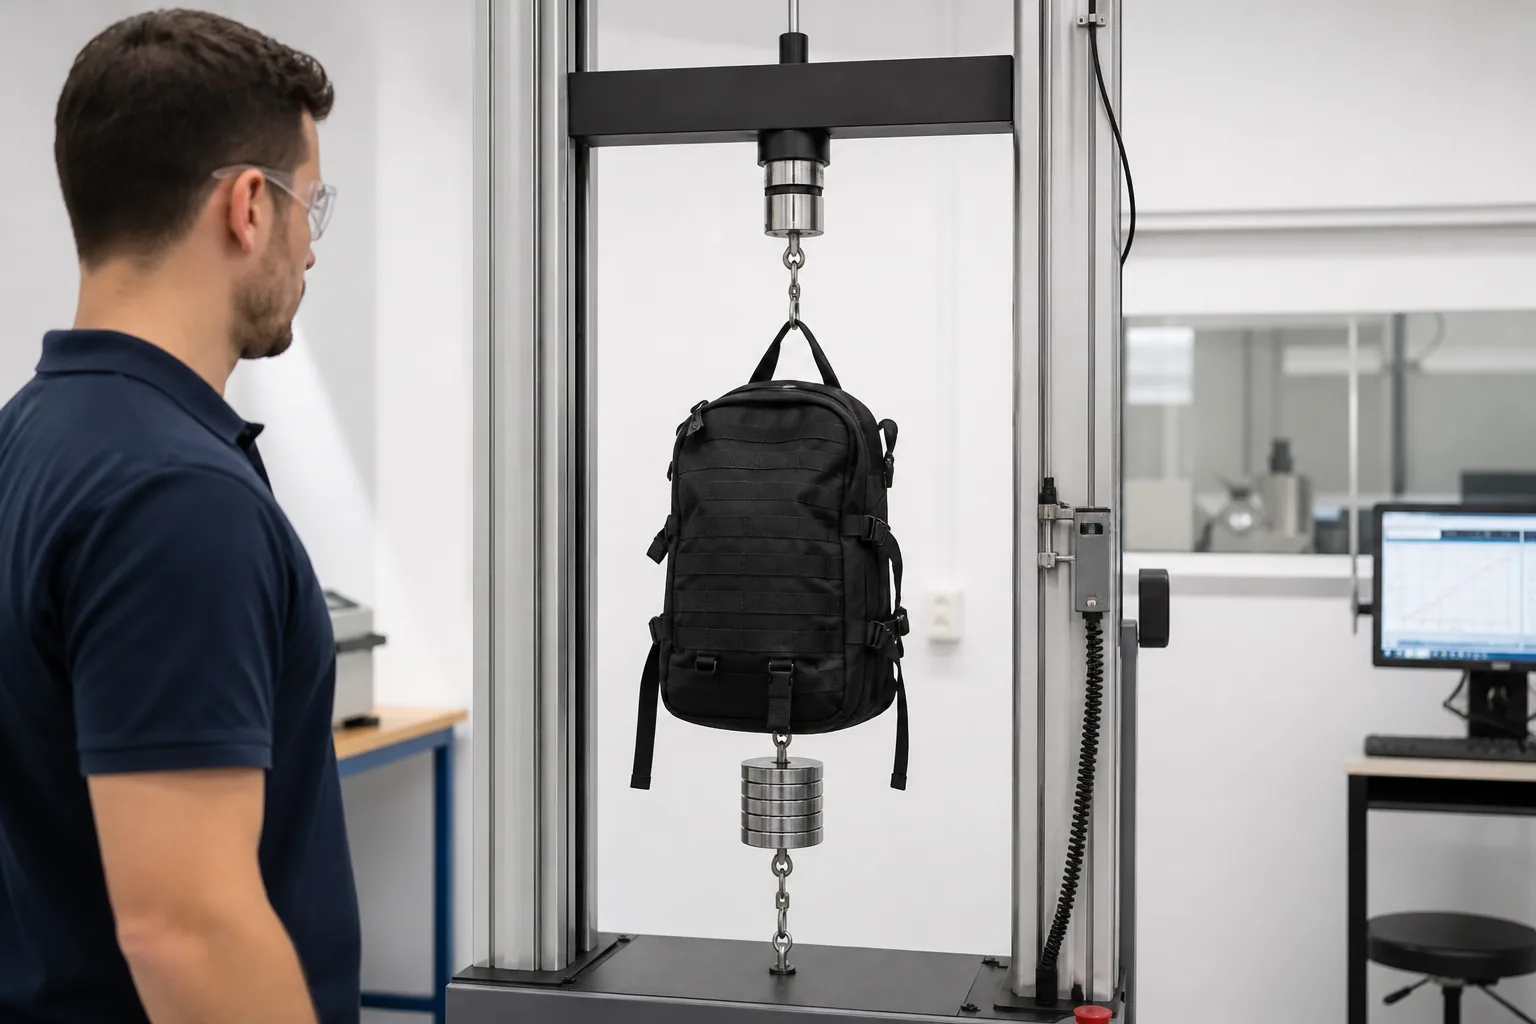
Backpack loaded with weights in a static load test on a tensile machine
The Drop Parameter Table
Parameter
Options
Drop height
Low, medium, high
Orientation
Bottom, corner, edge, face
Load inside
Empty, partial, rated load
Surface
Concrete, steel plate, wood
Number of drops
Single or repeated
Temperature
Ambient or conditioned
The Orientation Table
Orientation
Stresses
Bottom flat
Base panel and base seam
Corner
Corner construction and binding
Edge
Edge binding and piping
Face
Panel fabric and lining
Hardware down
Buckle, hook, and adjuster
Strap down
Anchor point and webbing
The Impact Effect Table
Component
Typical consequence
Base panel
Abrasion and puncture
Bottom seam
Stitch rupture
Corner binding
Splitting and fraying
Buckle
Cracking or release
Zipper
Slider displacement
Frame or sheet
Deformation
The Repeated Drop Table
Cycle count
What it tests
One drop
Immediate structural survival
Three to five drops
Cumulative damage
Ten or more
Fatigue at stress points
Sequence with load
Realistic handling
The Shock Test Table
Method
Application
Free drop
Handling and transport
Pendulum impact
Concentrated strike
Vibration table
Transport exposure
Tumble test
Repeated random impact
Compression
Stacking load
The Drop Judgement Table
Observation
Classification
Structure intact, no damage
Pass
Surface scuff only
Pass with note
Seam open but contained
Fail, repairable
Component fractured
Fail
Contents exposed
Fail, critical
The Transport Table
Stage
Exposure
Carton stacking
Compression
Manual handling
Drop and impact
Vehicle loading
Shock and vibration
Container transit
Long vibration
Distribution centre
Repeated handling
Static and Dynamic Load Testing
Load testing applies force to the bag’s load-bearing structure. Static testing holds a steady load; dynamic testing applies repeated or sudden loads that simulate carrying and movement.
The Load Path Table
Load point
Force path
Shoulder strap
Anchor to bag body
Top handle
Handle to top panel
Sternum strap
Strap to shoulder strap
Hip belt
Belt to lumbar panel
Attachment loop
Loop to mount point
Zipper
Slider to tape
The Static Load Table
Test
Application
Suspended load
Bag hung by handle or strap
Fixed load
Weight placed in the bag
Sustained hold
Load held for a set duration
Load at angle
Force applied off-axis
The Static Parameter Table
Parameter
Typical setting
Rated load
Declared capacity
Test load
Multiples of the rated load
Duration
Minutes to hours
Attachment point
Handle, strap, loop
Measurement
Extension or deformation
The Dynamic Load Table
Method
Application
Cyclic load
Repeated pull and release
Impact load
Sudden application of force
Walking simulation
Vertical oscillation
Carrying simulation
Loaded movement
The Cycle Parameter Table
Parameter
Setting
Load per cycle
Fraction or multiple of rated
Cycle rate
Cycles per minute
Cycle count
Target endurance
Attachment
Strap, handle, or loop
Pass criterion
No rupture or release
The Anchor Test Table
Test
Purpose
Pull to failure
Determines the limit
Sustained load
Detects creep and slippage
Cyclic pull
Measures fatigue life
Peel at the seam
Tests bond or stitch
The Deformation Table
Observation
Meaning
Elastic recovery
Within design
Permanent stretch
Material yield
Seam elongation
Stitch extension
Point distortion
Anchor movement
Hardware bend
Overload
The Load Limit Table
Result
Interpretation
Fails below rated load
Design or assembly fault
Fails near rated load
No safety margin
Fails well above rated
Margin present
No failure at test maximum
Consider raising the test
Manufacturer note: Load testing should always identify where the failure occurred, not only that a failure occurred. A strap that tears out at the anchor points to the bar-tack or box-stitch. A strap that fails mid-length points to webbing quality. A buckle that releases points to the engagement geometry. The location of the break is the diagnostic, and photographing it is as important as recording the load at which it happened.
Cycle Testing for Zippers, Buckles and Hardware
Cycle testing measures how long a mechanism lasts. A zipper, a buckle, or a hook is designed to operate many thousands of times, and the failure that matters is the one that occurs earlier than the design intends.
Backpack on an abrasion and cycle testing rig with a reciprocating arm
The Cycle Test Table
Component
Cycle performed
Zipper
Open and close full length
Slider
Reciprocate along the chain
Side-release buckle
Engage and release
Cam lock
Tighten and loosen
Hook
Attach and detach
Velcro closure
Peel and press
Drawstring lock
Operate and release
The Zipper Parameter Table
Parameter
Setting
Cycle length
Full or partial travel
Cycle rate
Cycles per minute
Cycle count
Target endurance
Load on the slider
Applied or free
Sideways force
Applied at an angle
Pass criterion
No separation or tooth loss
The Zipper Failure Table
Failure
Cause
Slider separates
Worn slider or tooth damage
Teeth pull apart
Chain damage or stress
Slider jams
Foreign matter or misalignment
Tape fraying
Abrasion at the slider
Pull tab breaks
Weak attachment or material
Stitching releases
Insufficient bottom stop
The Buckle Cycle Table
Failure
Cause
Release force drops
Latch wear
Prong fractures
Material or fatigue
Latch will not hold
Deformation
Strap slips in the adjuster
Tooth wear
Buckle body cracks
Overload or cold brittleness
The Cycle Record Table
Data
Purpose
Cycle count achieved
Endurance figure
Failure mode
Diagnosis
Load applied
Test severity
Temperature
Condition influence
Component batch
Supplier traceability
The Endurance Table
Component
Design intent
Zipper on a main compartment
High cycle expectation
Zipper on an internal pocket
Lower cycle expectation
Main closure buckle
High cycle expectation
Adjustment hardware
Frequent operation
Attachment hook
Occasional operation
The Abrasion Table
Test
Application
Martindale
Fabric surface wear
Taber
Coated fabric resistance
Flex
Coating cracking
Rubbing block
Base panel durability
Edge wear
Binding and piping
Laboratory Setup and Equipment
A finished-goods test capability does not require a large facility. It requires a defined space, calibrated equipment, trained staff, and a routine for keeping all three in working order.
The Equipment Table
Equipment
Purpose
Drop rig with hoist
Drop testing
Tensile or universal machine
Static and tensile testing
Cyclic test rig
Cycle endurance
Abrasion tester
Surface wear
Climate chamber
Conditioning
Weights and fixtures
Load application
Measuring tools
Dimension and deformation
Camera
Failure documentation
The Fixture Table
Fixture
Application
Strap clamp
Hold webbing without cutting
Handle hook
Suspend by the handle
Frame for the bag
Hold the shape
Load bag
Distribute internal weights
Anchor plate
Mount a loop
The Calibration Table
Item
Frequency
Load cell
Per schedule
Balance or scale
Per schedule
Measuring instruments
Per schedule
Drop height reference
Periodic verification
Cycle counter
Periodic check
The Environment Table
Factor
Requirement
Temperature
Controlled and recorded
Humidity
Controlled and recorded
Floor
Impact surface as specified
Space
Safe operating area
Lighting
Adequate for observation
The Competence Table
Role
Responsibility
Test technician
Perform and record
Supervisor
Verify and interpret
Quality manager
Approve results
Maintenance
Equipment upkeep
The Safety Table
Hazard
Control
Falling load
Excluded zone, guard
Stored energy in the rig
Lockout procedure
Sharp fixture edges
Inspection and guarding
Manual handling of weights
Trolley or hoist
Flying fragments
Protection and distance
The Maintenance Table
Task
Frequency
Inspect fixtures for wear
Before use
Check fasteners
Weekly
Verify calibration
Per schedule
Lubricate moving parts
Per manufacturer
Record maintenance
Each intervention
The Traceability Table
Record
Content
Equipment identity
Asset number
Calibration status
Date and result
Test association
Which test used it
Technician
Who performed
Result record
Stored against the sample
Interpreting Failures and Finding the Cause
A test result is only useful if it leads to a cause. The failure location narrows the investigation, and the production records confirm which process or material was responsible.
The Failure Location Table
Location
Likely cause
Anchor bar-tack
Insufficient stitch density
Strap mid-length
Webbing strength or damage
Bottom seam
Stitch type or thread
Corner binding
Binding width or feed
Buckle prong
Part geometry or material
Slider
Manufacturing tolerance
Zipper tape
Stitch placement
The Investigation Step Table
Step
Action
1
Photograph the failure and record the load
2
Identify the exact location and component
3
Retrieve the work order and material lots
4
Examine the failed part against specification
5
Reproduce with a sample from the same batch
6
Confirm the cause with a targeted test
The Process Cause Table
Cause
Test evidence
Weak stitch
Pull test below standard
Wrong thread
Lower breaking load
Missing reinforcement
Anchor tears out early
Wrong hardware grade
Prong fracture
Insufficient seam allowance
Seam pull-out
Substituted material
Test result differs from the approved sample
The Design Cause Table
Cause
Test evidence
Anchor in a high-stress position
Early tear-out
Insufficient material at the joint
Rupture at the seam
Hardware undersized
Deformation under rated load
Sharp internal edge
Cut or abraded webbing
Poor load distribution
Isolated failure point
The Material Cause Table
Cause
Test evidence
Webbing below specification
Break below rated load
Thread incompatible with the fabric
Seam slippage
Coating adhesion weak
Delamination after abrasion
Zipper chain out of tolerance
Early separation
The Corrective Table
Corrective action
When to use
Increase stitch density
Anchor failures
Change thread specification
Seam strength issues
Add reinforcement
Repeated tear-out
Change hardware supplier
Repeated part failure
Revise the pattern
Design-related failure
Add a control point
Process escape
Reporting Results and Working With Buyers
A test report is a communication document. It should let the buyer see what was tested, under what conditions, what happened, and what the factory will do about it.
The Report Section Table
Section
Content
Scope
What was tested and why
Sample
Model, size, batch, quantity
Method
Test, equipment, conditions
Result
Observation and measurement
Judgement
Pass or fail against criteria
Photographs
Before and after
Conclusion
Action and follow-up
The Evidence Table
Evidence
Purpose
Photograph of the setup
Shows the test was real
Photograph of the failure
Locates the problem
Measurement record
Quantifies the result
Equipment reference
Identifies the machine
Comparison sample
Shows the approved state
The Buyer Communication Table
Situation
Message
All tests pass
Confirm with data
Marginal result
Disclose and state the margin
Failure found
Report the cause and the corrective action
Buyer requires a specific test
Report against their criteria
Claim received
Provide the trace records for the batch
The Dispute Table
Dispute
Resolution
Buyer claims a defect
Compare with the tested sample
Factory claims correct production
Show the test record
Disagreement on the criterion
Refer to the agreed specification
Different test results
Compare method and conditions
The Deviation Table
Deviation
Handling
Test load reduced
Disclose and justify
Sample from a different batch
Note the difference
Condition not controlled
State it plainly
Test performed late
Record the actual date
Routine Testing in Production
Development testing confirms the design. Routine production testing confirms that the design is still being made. The second is what protects a running order.
The Routine Test Table
Frequency
Test performed
Per batch
Visual and functional check
Per shift
Sample load check
Weekly
Cycle test on a sample
Per style change
Full protocol
Per supplier change
Component-level test
After a complaint
Targeted test on the affected batch
The Sampling Table
Production volume
Sample
Small batch
One unit
Medium batch
One to three units
Large batch
Three or more across the run
Continuous production
Fixed interval sampling
The Trigger Table
Trigger
Test to run
New supplier of webbing
Load and tear test
New hardware batch
Cycle and load test
New operator on the anchor station
Anchor pull test
Machine recalibration
Seam strength check
Complaint from the field
Test the affected batch
Seasonal material change
Full protocol
The Trend Table
Signal
Interpretation
Test results drifting down
Process or material change
Increasing variation
Process control weakening
Occasional near-limit result
Margin reducing
Sudden step change
A process or material has changed
The Record Table
Record
Retention
Test reports
Per contract or policy
Photographs
With the report
Sample retention
Until the order closes
Equipment calibration
Per schedule
Deviation notes
With the report
Test Planning, Cost and Frequency
Testing consumes time, samples, and machine hours, so the program has to be proportionate. The objective is to place enough tests at the right points to catch a problem before it ships, without testing so much that the cost exceeds the risk being managed.
The Test Level Table
Level
Applied to
Development
New model before approval
Pre-production
First production batch
Routine
Each batch or shift sample
Triggered
After a change or complaint
The Cost Element Table
Element
Character
Sample consumed
Units not sold
Machine time
Operator and rig hours
Destructive test
Sample cannot be reused
External laboratory
Fee per test
Technician time
Labour
Record keeping
Administrative
The Frequency Decision Table
Factor
Raises frequency
New supplier
Yes
New model
Yes
Prior failures
Yes
High-value program
Yes
Stable repeat order
No
Simple construction
No
The Destructive Test Table
Test
Sample outcome
Pull to failure
Destroyed
Drop to failure
Damaged
Cycle to failure
Worn out
Abrasion to failure
Surface consumed
Compression
Deformed
The Prioritisation Table
Priority
Test
1
Anchor and strap load
2
Zipper cycle
3
Base drop
4
Buckle release force
5
Abrasion resistance
The Testing Checklist
Protocol
Item
Done
Test object defined
☐
Standard or specification referenced
☐
Sample size agreed
☐
Conditioning specified
☐
Failure criteria written
☐
Accept threshold stated
☐
Report format agreed
☐
Preparation
Item
Done
Equipment calibrated
☐
Fixtures inspected
☐
Loads verified
☐
Drop height confirmed
☐
Sample identified and photographed
☐
Ambient conditions recorded
☐
Execution
Item
Done
Test performed as specified
☐
Cycles or drops counted
☐
Observations recorded immediately
☐
Failure photographed in place
☐
Measurement taken
☐
Deviations noted
☐
Review
Item
Done
Result compared with criteria
☐
Judgement documented
☐
Cause investigated if failed
☐
Corrective action assigned
☐
Report issued
☐
Buyer informed where required
☐
The Eight Rules
Rule
Reason
Define failure before testing
Prevents post-hoc judgement
Always record where it failed
The location is the diagnosis
Test at multiples of the rated load
Reveals the margin
Condition samples consistently
Comparison depends on it
Photograph the setup and the failure
Evidence for the buyer
Retain the tested sample
Answers later questions
Test again after any change
Change invalidates prior results
Feed every failure into production
Otherwise the test changes nothing
FAQ
Do we need an accredited laboratory to test our bags?
Not for internal control. A factory can run meaningful drop, load, and cycle tests with its own equipment provided the method is defined, the equipment is calibrated, and the results are recorded consistently. What an accredited third-party laboratory adds is independent verification against a recognised standard, which some buyers require for approval or for a compliance file. The practical approach is to run internal testing routinely to catch problems early, and to use an external laboratory when a buyer’s contract or a specific market requires independent evidence.
What load should we test a backpack’s shoulder strap to?
The starting point is the declared load capacity, or the load a buyer’s specification states, and the test should be run at a multiple of that figure rather than exactly at it. Testing only at the rated load tells you the bag is adequate on the day of the test; testing at two or three times the rated load tells you how much margin exists to absorb manufacturing variation. The useful output is the load at which the anchor tears out, because that number shows whether there is room for a slightly weaker batch to still pass.
How many drops should a drop test include?
A single drop answers the question of immediate structural survival, which is the minimum. Three to five drops, repeated from the orientations that matter most for the product, begin to reveal cumulative damage at the corners and the base seam, which is where real failures start. Where the bag is likely to be handled roughly in transit, a repeated sequence with a partial load inside is more representative than a single empty drop, because the contents concentrate the impact energy at the base.
Why does the location of a failure matter more than the load at which it failed?
Because the location identifies the cause. A strap that separates at the bar-tack points to stitch density or thread, which is a process and specification problem the factory can correct. A strap that breaks in the middle of its length points to the webbing itself, which is a material problem that requires a supplier conversation or a specification change. A buckle that releases points to the engagement geometry of a moulded part. The load figure tells you whether the margin is adequate; the location tells you what to change.
How should a zip be cycle tested?
Full travel, open and close, with a defined cycle rate and a target cycle count that reflects the intended use of that compartment. A main compartment zipper that is opened and closed several times a day carries a much higher cycle expectation than an internal pocket that is rarely used, and the test should reflect that difference rather than applying one figure to every zipper. Where the zipper is likely to be pulled at an angle in service, applying a sideways force during cycling gives a more realistic result than cycling the slider in perfect alignment.
Can we test with a sample from the production line rather than a golden sample?
And in most cases you should, for routine checks. A golden sample proves the design can pass; a sample drawn from current production proves that the production being shipped today can also pass. Testing only golden samples provides false assurance, because a golden sample made under careful supervision with selected materials does not represent the units produced at the end of a busy shift. Routine testing should draw samples from the actual run, at a defined interval.
What should we do when a test fails?
Stop and find the cause before shipping, rather than recording the failure and continuing. The sequence is to photograph the failure, retrieve the work order and material lots, compare the failed part against the specification, and reproduce the test with another sample from the same batch to confirm it was not an isolated unit. Only when the cause is identified and corrected should the batch be released, and the corrective action should be recorded so that the same problem is checked for on the next run.
How long should tested samples be kept?
At least until the order closes and any associated warranty period has expired, and longer where the buyer’s contract requires it. The retained sample is what allows the factory to answer a claim months later by showing what the approved unit looked like when it was tested. It should be stored with its identification and its test report, because a sample without its record answers nothing. Where storage is limited, retaining the sample of each style and revision rather than every unit is usually enough.
Does a passing internal test protect us from a buyer claim?
It supports the factory’s position rather than guaranteeing it. A documented test on a sample drawn from the same production, with calibrated equipment and a recorded result, is strong evidence that the batch was made to the agreed specification and that the structure performed as intended. It does not rule out a claim based on a different failure mode, a different use condition, or a defect in a unit not sampled. What it does is shift the conversation from assertion to evidence, which is where claims are usually resolved.
Should we test components or the finished bag?
Both, and for different reasons. Component testing is faster, cheaper, and better suited to routine incoming control: a webbing pull test, a buckle release force check, or a zipper cycle on the component alone quickly confirms that a delivered lot meets specification. Finished-goods testing answers a different question, because the strength of a bag depends on how the components interact at the joints, the anchor points, and the stitch lines. A webbing that passes on its own can still tear out of a bag whose bar-tack is inadequate. Component testing catches material problems early; finished-goods testing catches assembly and design problems, which is where most field failures originate.
Conclusion
Finished-goods testing answers the question that visual inspection cannot: whether a bag will survive the force and the repetition that service will apply to it. Drop testing measures impact survival at the base, the corners, and the hardware.
Static and dynamic load testing measures the strength of the load path from strap to anchor point. Cycle testing measures how long zippers, buckles, and adjusters continue to work. Abrasion testing measures how the surfaces hold up against rubbing.
The discipline that makes these tests useful is the same in every case. Define the failure criteria before the test rather than after. Record where the failure occurred, because the location is the diagnosis. Test at multiples of the rated load so that the margin is visible.
Condition and identify samples so that results can be compared. Photograph the setup and the failure so that the evidence travels. And feed every failure back into the production process, because a test that does not change what the factory does is an expense rather than a control.
For factories, the return is a product that does not come back, a specification that is honest about its limits, and a claim file that contains data rather than assertions. A factory that can show a buyer the load at which its anchor tears out, the cycle count its zipper achieved, and the drop height its base survived is describing its product in the only terms that predict field performance.
For buyers, the practical test is to ask what the failure limit is, not whether the product passed. A supplier who knows the number has tested the product; one who only knows it passed has usually tested it once, at the load it was supposed to survive.