
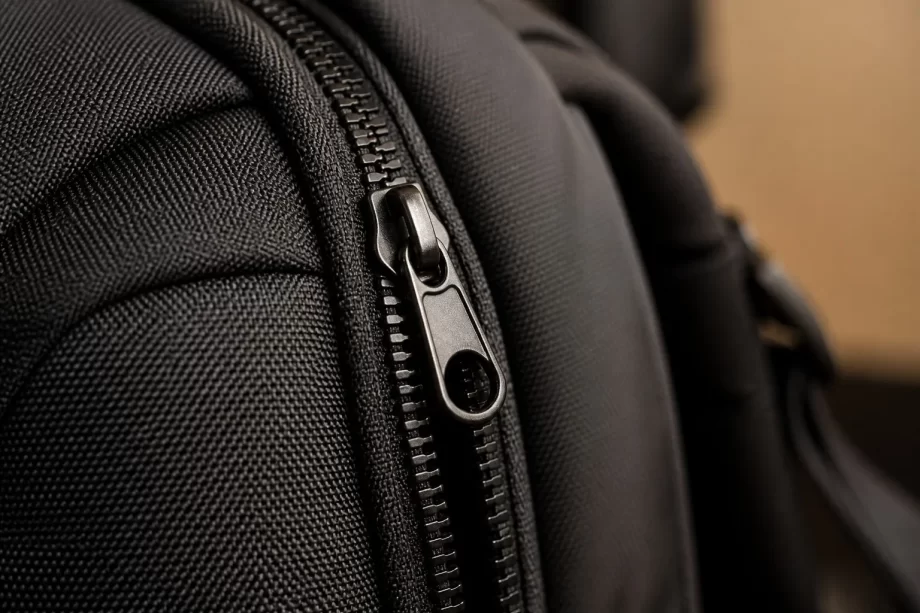
How Backpack Zippers and Hardware Are Made (and How to Choose Them)
A backpack can have perfect fabric, flawless stitching, and an excellent pattern — and still fail within months if the zippers jam, the buckles snap, or the webbing tears. The hardware is the hidden skeleton of every pack: it is what the user touches dozens of times a day, and it is where the vast majority of field failures actually occur.
Yet hardware is also the part of the bill of materials that buyers understand the least. Fabric gets discussed at length — denier, coatings, GSM — while zippers, buckles, cord locks, and webbing are often specified in a single vague line: “good quality zippers” or “standard hardware.” That vagueness is expensive. Hardware differences that cost pennies at the factory translate into dollars of difference in returns, warranty claims, and brand reputation.
This guide explains, from a manufacturer’s perspective, how the core hardware components of a backpack are made, what separates good hardware from bad, and how to specify it properly for your next production run.
- The Hardware Landscape of a Modern Backpack
- How Zippers Are Made
- Zipper Quality: What to Specify and Test
- How Buckles and Plastic Hardware Are Made
- Webbing: The Load-Bearing Backbone
- D-Rings, Hooks, and Metal Hardware
- Choosing Hardware for Your Product: A Decision Framework
- Cost Structure: What Hardware Really Costs
- Common Hardware Mistakes Buyers Make
- FAQ
- Conclusion
The Hardware Landscape of a Modern Backpack
A typical mid-size backpack carries between 15 and 40 individual hardware components. Here is what a standard school or commuter pack contains:
| Component | Typical quantity per pack | Primary function |
|---|---|---|
| Zippers (main + pockets) | 4–8 | Opening and closing compartments |
| Zipper sliders | 4–8 | Moving the zipper |
| Zipper pullers | 4–8 | Gripping the slider |
| Side-release buckles | 1–4 | Securing straps and closures |
| Cord locks | 2–6 | Adjusting drawstrings |
| D-rings / O-rings | 2–6 | Attachment points |
| Hooks / clips | 0–4 | Key chains, accessory attachment |
| Magnetic snaps | 0–3 | Flap closures |
| Webbing (straps, handles) | 3–8 meters | Load bearing |
| Metal feet / studs | 0–4 | Protecting the pack base |
| Hook-and-loop (velcro) | 0.1–0.5 meters | Adjustable closures |
Manufacturer’s note: When a buyer asks us to “upgrade the hardware,” we always ask which components — because upgrading everything is rarely the right use of budget. The highest-value upgrades are the main zipper, the shoulder-strap webbing, and the primary buckles. Those three components handle the most stress and the most user interaction.
Each component has its own manufacturing process, quality parameters, and failure modes. We will walk through the most important ones.
How Zippers Are Made
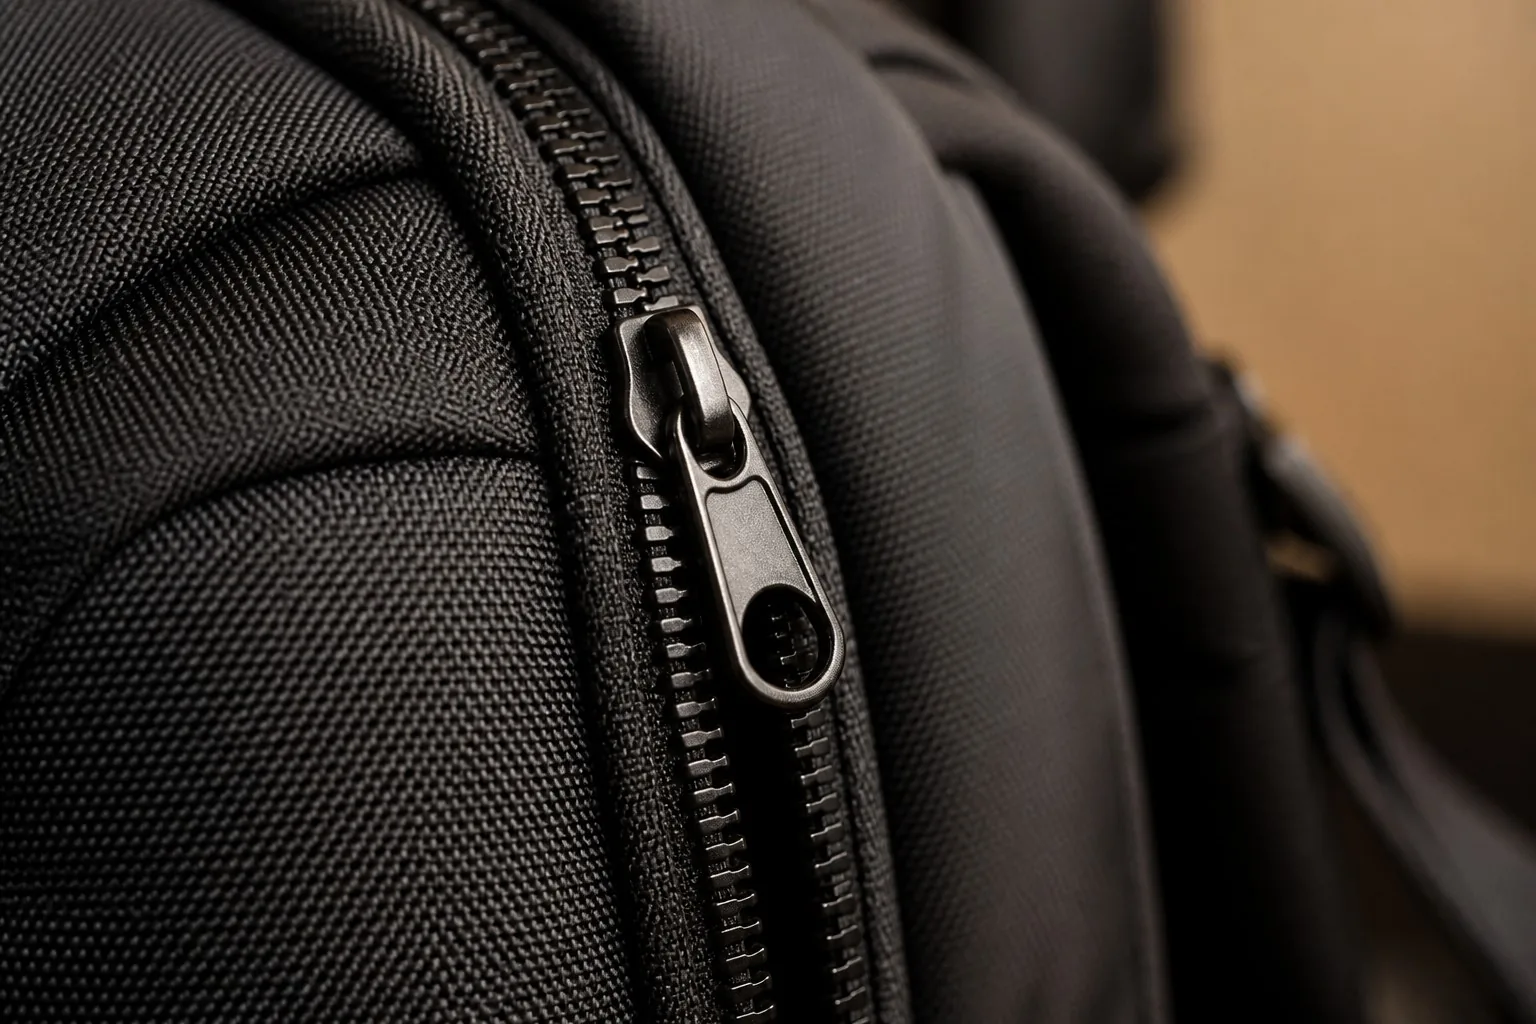
The zipper is the most complex and most failure-prone component of a backpack. A good zipper is a precision mechanism: dozens of interlocking elements must align perfectly, thousands of times, under load, for years.
The Anatomy of a Zipper
- Tape — the fabric strip the teeth are attached to; it is sewn into the backpack seam.
- Teeth (elements) — the interlocking elements, made of coil, molded plastic, or metal.
- Slider — the mechanism that opens and closes the teeth as it moves along the track.
- Puller (tab) — the handle attached to the slider, used to grip and move it.
- Top stop and bottom stop — the end fittings that prevent the slider from running off the track.
- Retainer box and pin — on separating (two-way) zippers, the mechanism that allows the halves to separate.
The Three Main Zipper Types
| Type | How it’s made | Typical use | Relative cost |
|---|---|---|---|
| Coil (nylon spiral) | A continuous nylon monofilament is spiral-wound and stitched to the tape | Standard packs, soft luggage, garment bags | Low–medium |
| Molded (plastic) teeth | Plastic is injection-molded directly onto the tape in individual teeth | Heavy packs, outdoor gear, tactical bags | Medium |
| Metal teeth | Brass, aluminum, or steel teeth are stamped and crimped onto the tape | Heritage-style packs, premium leather goods, workwear | High |
How Coil Zippers Are Made
- Extrusion — nylon polymer is melted and extruded into a monofilament.
- Spiral winding — the monofilament is wound into a continuous spiral coil.
- Stitching — the coil is stitched onto the zipper tape with polyester thread.
- Slider assembly — sliders are inserted, and the top and bottom stops are applied.
- Finishing — the zipper is cut to length, and pulls are attached.
How Molded Zippers Are Made
Molded zippers (like YKK’s Vislon range) are made by injection molding: the tape passes through a mold while molten plastic is injected tooth by tooth, forming individual elements fused to the tape. This produces large, sturdy teeth with excellent strength — the teeth are effectively one piece with the tape, so they rarely detach.
How Metal Zippers Are Made
Metal zipper teeth start as stamped shapes from brass or aluminum strip. Each tooth is then crimped around the tape edge at high speed. Metal zippers are the most labor-intensive to produce, which is why they are the most expensive — but they offer unmatched durability and a premium aesthetic.
Zipper Sizing
Zippers are sized by the width of the teeth in millimeters. Backpack zippers commonly range from #3 (narrow, for small pockets) to #10 (heavy-duty, for main compartments on large packs):
| Size | Teeth width | Typical backpack use |
|---|---|---|
| #3 | ~3 mm | Small internal pockets, pencil cases |
| #5 | ~5 mm | Standard pockets and secondary compartments |
| #8 | ~8 mm | Main compartments, medium packs |
| #10 | ~10 mm | Main compartments on large/heavy packs |
Manufacturer’s note: The most common zipper failure is not the teeth — it is the slider. Sliders wear, jam, and pull apart long before teeth fail. On any pack that will see daily use, specify a branded slider (YKK, SBS, or equivalent) even if the zipper chain itself is generic. The slider is the component worth paying for.
Zipper Quality: What to Specify and Test
Zipper quality is governed by a set of test standards (ISO, ASTM, and brand-specific protocols). The most relevant tests for backpacks:
- Slider pull force — the force required to move the slider; too high means difficult operation, too low means the slider drifts open.
- Cycle testing — the zipper is opened and closed repeatedly (typically 500–10,000 cycles depending on grade) and must remain functional.
- Crosswise and lengthwise strength — the force the zipper can withstand when pulled across its width or along its length.
- Slider retention — the force required to pull the slider off the track.
- Lateral force test — resistance to sideways stress, a common real-world failure for heavily loaded packs.
The Real-World Failure Modes
- Slider jamming — debris or thread caught in the slider; also caused by low-quality sliders with loose tolerances.
- Slider separating from track — the slider rides off the teeth; caused by weak stops or worn sliders.
- Teeth skipping — the slider jumps teeth; caused by misaligned elements or a worn slider body.
- Puller breaking — the pull tab snaps at the attachment loop; common on cheap die-cast pullers.
- Tape fraying — the zipper tape tears away from the seam; a sewing/tape-width issue, not a zipper-chain issue.
How a Manufacturer Verifies Zipper Quality
Every serious factory runs an incoming inspection on zipper batches: sample zippers are cycle-tested, slider pull force is measured, and the teeth are examined for defects. Ask your factory what zipper testing they actually perform — a factory that cannot answer has not been testing.
How Buckles and Plastic Hardware Are Made
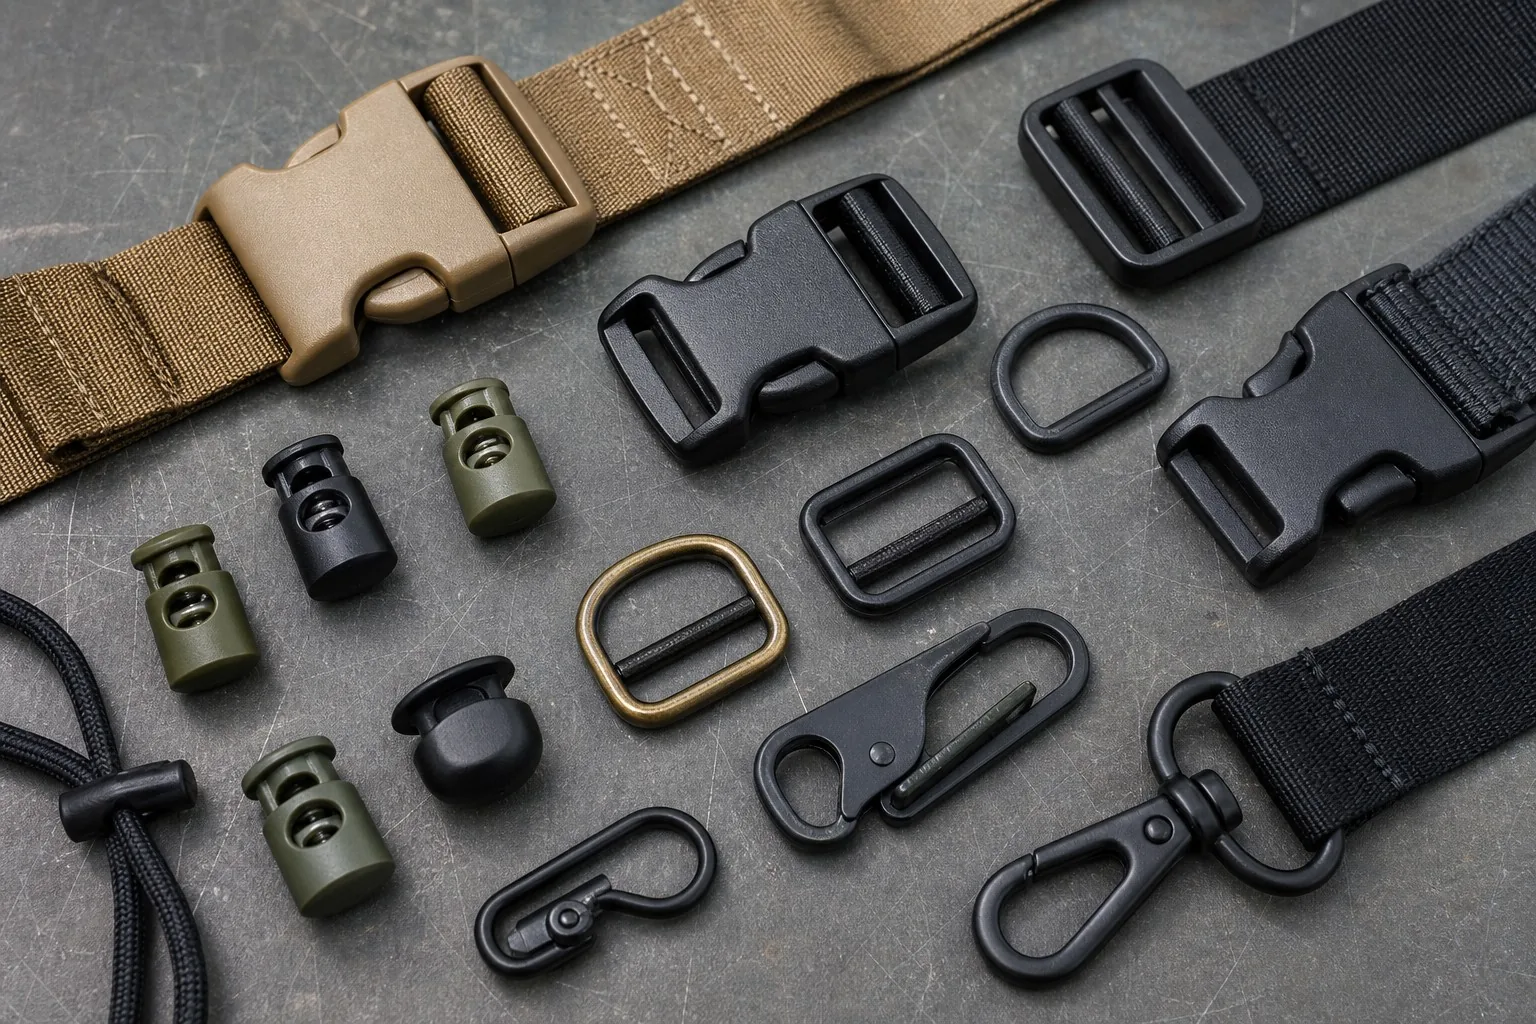
Most backpack buckles, cord locks, and plastic fittings are injection-molded from nylon (polyamide) or acetal (POM). The material choice is the single biggest quality differentiator.
The Injection Molding Process
- Material drying — nylon and acetal pellets are dried to remove moisture (moisture causes surface defects and weak parts).
- Melting — the dried pellets are melted in the injection molding machine barrel at controlled temperatures.
- Injection — molten plastic is injected under high pressure into a steel mold shaped like the buckle.
- Cooling and ejection — the part cools in the mold (seconds to minutes depending on wall thickness), then is ejected.
- Degating and finishing — the sprue and flash are trimmed, and the part is inspected.
Nylon vs Acetal: The Critical Material Decision
| Property | Nylon (PA) | Acetal (POM) |
|---|---|---|
| Impact strength | Excellent | Good |
| Flexibility | More flexible | Stiffer |
| Cold-weather behavior | Tougher at low temperatures | Can become brittle |
| Moisture absorption | Absorbs moisture (slight property shift) | Minimal |
| Cost | Higher | Medium |
| Typical use | Premium buckles, load-bearing | Cord locks, lighter fittings |
Manufacturer’s note: If your packs will be sold in cold climates, specify nylon buckles. Acetal is fine for cord locks and non-load-bearing parts, but load-bearing buckles that must survive -20°C winter use should be nylon. This is a specification detail that costs nothing at the factory but prevents a whole class of field failures.
How to Judge a Buckle’s Quality
- Weight and feel — good buckles feel dense and solid, not hollow and flimsy.
- Flash — check for excess plastic ridges along the mold lines; heavy flash indicates poor mold maintenance.
- The click — a quality side-release buckle clicks firmly into place and releases with a positive action.
- Cold test — freeze a sample buckle overnight and flex it; poor material becomes visibly brittle.
- Load test — buckles on shoulder straps should withstand repeated load cycling without cracking.
Webbing: The Load-Bearing Backbone
Polyester webbing carries most of a backpack’s load — shoulder straps, handles, compression straps, and attachment points. Webbing failure is rare but catastrophic when it happens: a strap that snaps under load can destroy a pack and injure its user.
How Webbing Is Made
Webbing is woven on narrow-fabric looms from polyester or nylon yarn. The two main types:
- Flat webbing — the standard 2–6 cm wide strap; available in various weaves (plain, twill, herringbone).
- Tubular webbing — woven as a tube, then flattened; softer and stronger per weight, used in premium packs.
Key Webbing Specs
- Width — 20 mm, 25 mm, 38 mm, 50 mm are common backpack widths.
- Breaking strength — typically 500–2,500 kg depending on width and construction. A 25 mm polyester strap commonly rates 700–1,500 kg.
- Edge finish — clean edges resist fraying.
- Dye and UV fastness — webbing fades and weakens in sun; solution-dyed webbing performs best.
- Webbing type — woven polyester is the standard; nylon webbing is stronger but stretches more.
Webbing Quality Checks
- Tensile test — measure the breaking strength of a sample strap.
- Edge inspection — check for fraying, skipped yarns, and uneven edges.
- Thickness consistency — a quality strap has uniform thickness along its length.
- Sewability — the webbing must accept bar-tacks cleanly without the needle deflecting or yarns breaking.
D-Rings, Hooks, and Metal Hardware
Metal hardware on backpacks includes D-rings, O-rings, hooks, swivel clips, magnetic snaps, and protective feet. Most are made from zinc alloy (die-cast), steel (stamped or forged), or brass.
Die-Cast Zinc Hardware
Most decorative and functional fittings (D-rings with buckles, magnetic snap housings, decorative studs) are zinc alloy die-cast:
- Molten zinc alloy is injected into a steel die under pressure.
- The part cools, is ejected, and is trimmed.
- It is surface finished — plated (nickel, black oxide, matte black, antique brass) or painted.
- Plating quality is tested (adhesion, salt-spray corrosion resistance).
Steel Hardware
Steel parts (heavy-duty hooks, carabiners, spring clips) are stamped from sheet steel or formed from wire, then heat-treated and plated. Steel is stronger than zinc but heavier and more expensive.
The Corrosion Question
Plating quality is the difference between hardware that lasts and hardware that corrodes within months:
- Salt-spray testing — plated parts are exposed to salt mist for 24–96 hours; the plating must resist corrosion without rust bleed.
- Plating thickness — measured in microns; thicker plating costs more but survives longer.
- Environment — packs used near the sea or in humid climates corrode fast; specify higher-grade plating for coastal markets.
Manufacturer’s note: If you have ever seen a backpack with green corrosion on its metal zipper pulls or black tarnish on its D-rings, the plating spec was too low for the use environment. Marine and coastal markets need corrosion-resistant finishes — it is a small spec change that dramatically improves field performance.
Choosing Hardware for Your Product: A Decision Framework
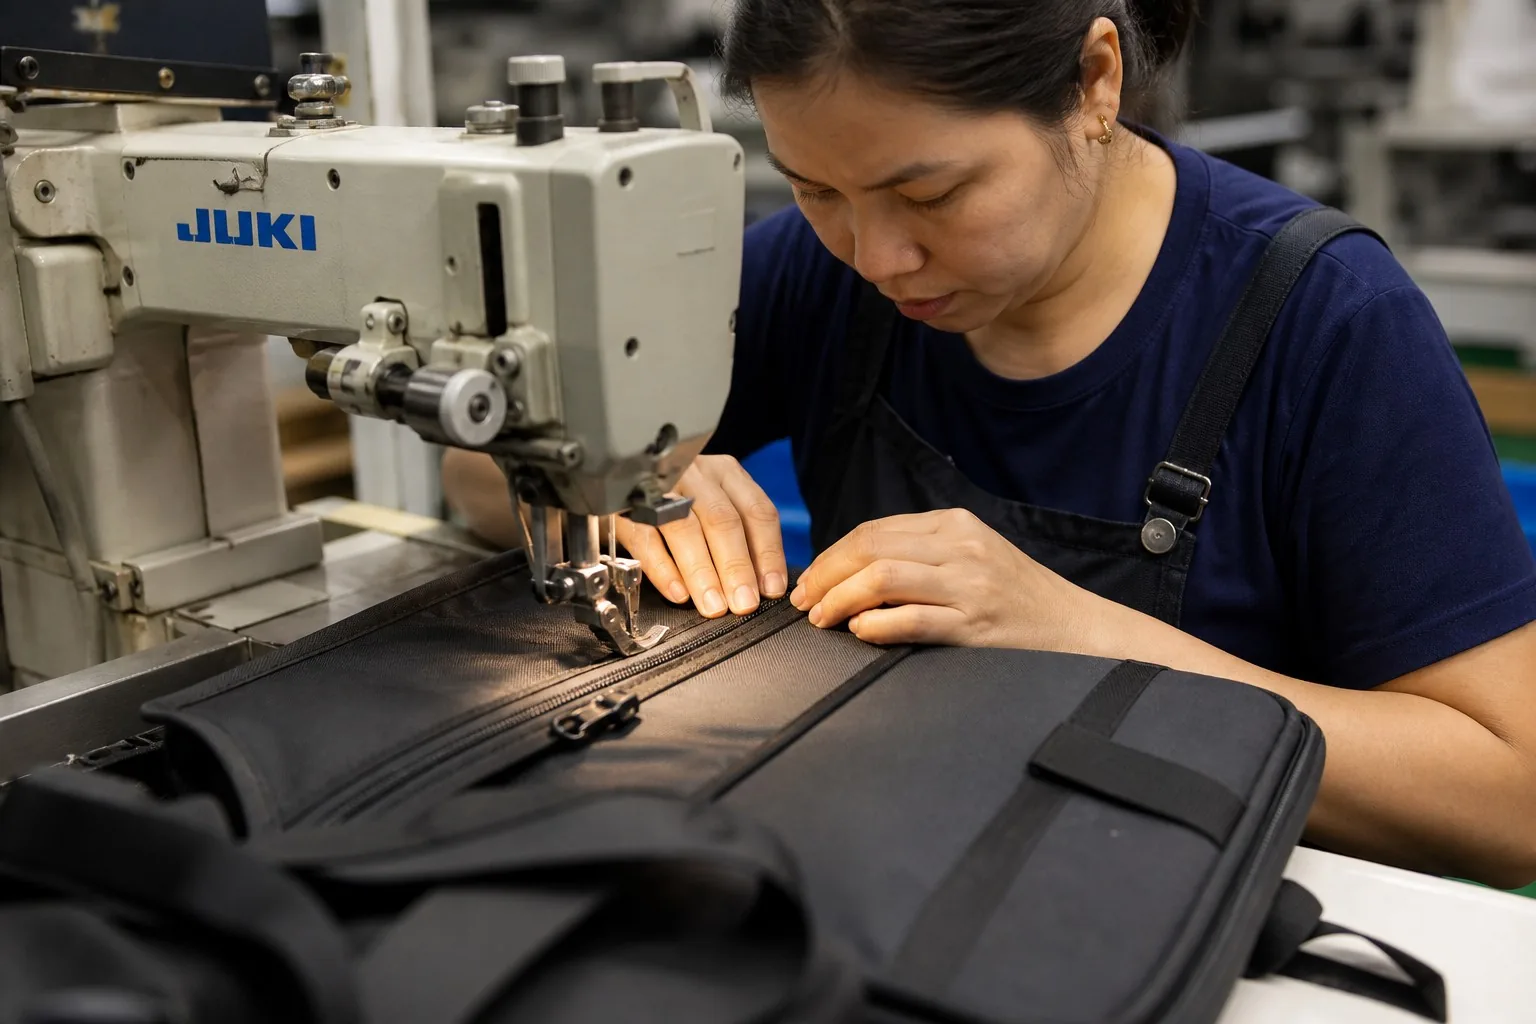
With the manufacturing background covered, here is how to actually make the decisions. We use this framework with clients:
Step 1: Define the Use Profile
| Product profile | Hardware implication |
|---|---|
| Light use (occasional, indoor) | #5 coil zippers, standard nylon buckles |
| Daily commuter | #8 zippers, branded sliders, quality nylon buckles |
| Outdoor / hiking | #8–#10 molded zippers, premium sliders, acetal/nylon mix, corrosion-resistant hardware |
| Tactical / heavy load | #10 zippers, steel or reinforced hardware, heavy webbing |
| Cold climates | Nylon buckles, cold-tested plastic parts |
| Coastal / humid | Corrosion-resistant plating on all metal |
Step 2: Allocate Budget by Stress
Put the budget where the stress is:
- Main zipper and slider — highest interaction and failure rate; pay for quality.
- Shoulder strap webbing and attachment hardware — safety-critical; never downgrade.
- Primary buckles — daily use; quality nylon buckles are worth the premium.
- Secondary zippers and cord locks — medium stress; standard quality is acceptable.
- Decorative hardware — lowest priority; upgrade only for aesthetics.
Step 3: Specify in Writing
Never leave hardware to verbal agreement. A proper specification includes:
- Zipper: size, type, slider brand and model, puller style, chain brand, color
- Buckles: type, size, material (nylon/acetal), brand if specified, color
- Webbing: width, material, weave, breaking strength, color
- Metal parts: material, finish, plating spec
- Testing: cycle counts, load tests, corrosion test requirement
Step 4: Verify with Samples
Before production, run a hardware sample evaluation: cycle every zipper 500 times, load-test every strap and buckle, freeze-test the buckles, and salt-spray the metal. This 30-minute evaluation on samples prevents months of field failures.
Cost Structure: What Hardware Really Costs
Hardware typically represents 10–20% of a backpack’s factory cost. Here is a realistic breakdown for a mid-range commuter pack:
| Component | Typical factory cost per unit |
|---|---|
| Zippers (all, with sliders and pulls) | $1.20–$2.50 |
| Buckles and cord locks | $0.30–$0.80 |
| Webbing | $0.40–$1.00 |
| D-rings, hooks, misc metal | $0.20–$0.60 |
| Hook-and-loop, snaps, misc | $0.10–$0.40 |
| Total hardware | $2.20–$5.30 |
Manufacturer’s note: Upgrading the main zipper from generic to branded (e.g., YKK) typically adds $0.30–$0.80 per pack at factory cost — and it is the single highest-impact hardware upgrade for perceived quality. Buyers who market a “premium feel” should start there, not with the fabric.
Common Hardware Mistakes Buyers Make
Over years of working with importers and brand owners, we see the same hardware mistakes repeated. Learning from them will save you time, money, and field failures.
Mistake 1: Specifying “Good Quality” Instead of Real Specs
“Use good zippers” means nothing to a factory. It invites interpretation — and interpretation usually drifts toward cost savings. A real spec names the size, type, slider brand, and testing requirement. If you cannot specify it, ask the factory to propose a written spec and approve it before sampling.
Mistake 2: Upgrading the Wrong Components
Buyers often spend the upgrade budget on visible parts — colored zipper pulls, branded logos, decorative hardware — while the invisible load-bearing parts stay at minimum quality. The result is a pack that looks premium but fails under load. Put the budget on the main zipper, strap webbing, and primary buckles first; make it pretty second.
Mistake 3: Ignoring the Environment
Hardware that survives a temperate climate can fail within a season in a coastal market or a cold winter market. Corrosion-resistant plating and cold-tough nylon cost almost nothing at the factory but are only specified when someone thinks about the destination market. Put the destination climate in the spec.
Mistake 4: Testing Only the Appearance
A sample pack can look flawless and still have a zipper that fails at 300 cycles. Visual inspection cannot verify cycle life, load capacity, or corrosion resistance. The only way to know is to test — and testing a handful of components costs less than one return shipment.
Mistake 5: Changing Hardware After Production Starts
Hardware changes mid-production are a common source of quality disasters. The new buckle is a slightly different size, the zipper tape is a different width, and suddenly seams don’t align. Lock the hardware spec at sampling, and require written approval for any change — including “equivalent” substitutions, which are rarely truly equivalent.
The One-Question Hardware Audit
If you only remember one thing from this section, use this audit on any factory you evaluate: ask to see the hardware samples for the last three orders, and ask what was tested on them and what failed. A factory that tests hardware will have a concrete answer. One that does not will change the subject. That answer tells you more about the factory than any showroom tour.
FAQ
Are YKK zippers always worth the premium?
Usually yes for main zippers and any zipper that sees daily use. YKK (and other top brands like SBS, RIRI, Talon) run tighter tolerances and better slider mechanisms. For low-use internal pockets, a good generic zipper is often acceptable.
What zipper size should I use for the main compartment of a school backpack?
For a standard school backpack, #8 is a good main-compartment choice — strong enough for daily abuse without the bulk and cost of #10. Use #5 for secondary pockets and #3 for small internal organizers.
What is the difference between coil, molded, and metal zippers?
Coil zippers are flexible, lightweight, and cost-effective — standard for most packs. Molded (plastic teeth) zippers are sturdier and self-repairing, ideal for heavy packs. Metal zippers are the most durable and premium-looking but heaviest and most expensive.
Why do buckles break in winter?
Most likely the plastic grade. Acetal (POM) becomes brittle at low temperatures, while nylon (PA) retains toughness. If your market has cold winters, specify nylon buckles for load-bearing parts.
How can I verify hardware quality before placing a bulk order?
Run a sample evaluation: cycle zippers, load-test straps and buckles, freeze-test plastic parts, and salt-spray metal hardware. Also ask the factory for their incoming inspection reports and hardware test certificates.
How much does upgrading to branded hardware add to the cost?
Typically $0.50–$1.50 per pack at factory cost for a full upgrade (branded zippers, better buckles, stronger webbing). At retail this often justifies a $5–$15 price increase — and dramatically reduces returns.
Conclusion
Hardware is the most underestimated part of backpack manufacturing. Zippers, buckles, webbing, and metal fittings carry the daily stress of the product, and their quality determines whether a pack lasts three years or three months. Yet hardware is also the easiest part of the spec to upgrade — the cost differences are pennies at the factory level, while the performance and perception differences are enormous.
The practical path for any brand is clear: define the use profile, allocate hardware budget by stress, write the specifications down, verify with samples, and test before production. Do that, and your packs will be remembered for their quality — not for the zipper that jammed on the first day of school.
When you are ready to spec your next line, our factory team can walk you through the hardware options that fit your product, market, and budget — with samples you can test yourself before committing to production.